Using Glycerin with Resin-Based Temporary Dental Cements 

April 1, 2024 Kelley Brummett DMD

Kelley Brummett, DMD 

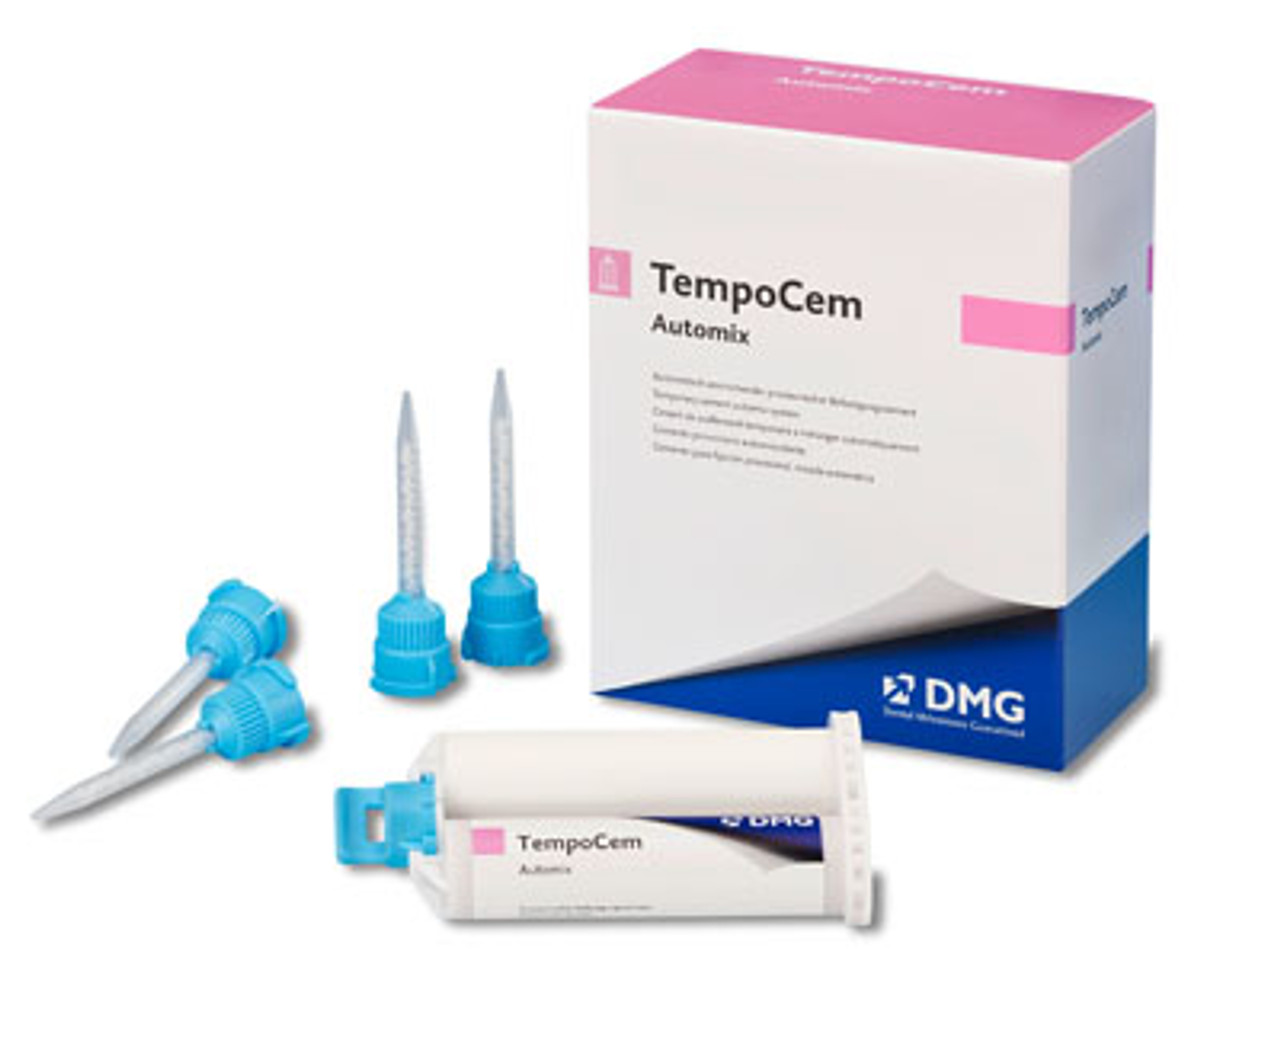
Resin-based temporary cements are wonderful due to their translucency and their ease of cleanup after light curing. My favorite is TempoCem from DMG.  

To prevent resin-based temporary cement from bonding to the newly placed composite, some dentists apply Vaseline on the prep before placing the provisional. 

Instead of Vaseline, I use glycerin. We keep glycerin in a little syringe in the room, and we put just a smidge in a little dapping dish so I can coat the top of the prep with it. Since beginning to use glycerin, I have not had difficulty retrieving bonded provisionals. 

If your provisionals come off, just get a new and stronger temporary cement. No! I am just kidding! If the provisional comes loose, it is often because you do not have enough space, so excursive interferences are high. When this happens, I engage with the patient in checking their occlusion, and continue to work out the determinants of their occlusion.  

Figuring these things out while the patient is in a provisional that is retrievable due to the ease of the temporary cement used, helps me continue to make progress on their occlusion before moving forward with the final restoration.  

It is not a failure of cement; it is a growth opportunity for discovery and patient engagement! 

Related Course

Compromise to Co-Discovery: A Treatment Planning Journey

DATE: October 21 2025 @ 8:00 am - October 23 2025 @ 1:00 pm

Location: Online

CE HOURS: 21

Regular Tuition: $ 2995

Single Occupancy with Ensuite Private Bath (per night): $ 345

The Balance of Communication, Case Planning & Occlusion Dr. Melkers always brings a unique perspective to his workshops and challenges us to the way we think. At Compromise to Co-Discovery,…

Learn More>

About Author

User Image
Kelley Brummett DMD

Dr. Kelley D. Brummett was born and raised in Missouri. She attended the University of Kansas on a full-ride scholarship in springboard diving and received honors for being the Big Eight Diving Champion on the 1 meter springboard in 1988 and in 1992. Dr. Kelley received her BA in communication at the University of Kansas and went on to receive her Bachelor of Science in Nursing. After practicing nursing, Dr Kelley Brummett went on to earn a degree in Dentistry at the Medical College of Georgia. She has continued her education at the Pankey Institute to further her love of learning and her pursuit to provide quality individual care. Dr. Brummett is a Clinical Instructor at Georgia Regents University and is a member of the American Academy of Cosmetic Dentistry. Dr. Brummett and her husband Darin have two children, Sarah and Sam. They have made Newnan their home for the past 9 years. In her free time, she enjoys traveling, reading and playing with her dogs. Dr. Brummett is an active member of the ADA, GDA, AGDA, and an alumni of the Pankey Institute.

FIND A PANKEY DENTIST OR TECHNICIAN

I AM A
I AM INTERESTED IN

VIEW COURSE CALENDAR

Dental Photography Part 2: Deciding Between Saving Images as JPEG or RAW 

March 20, 2024 Charlie Ward, DDS

Charlie Ward, DDS

In this article, I’ll share how I save my Dental DSLR photos and choose between the file formats of RAW versus JPEG. There are specific reasons why we might need one format or the other, or perhaps both. I’ll also share how I store and protect my ever-growing collection of images. 

The Difference Between RAW and JPEG Format 

We have a choice when we’re shooting with our DSLR about how we want to save our files. On the menu of our camera, we see that we can choose between RAW and JPEG, and the quality of JPEG. When RAW is selected, all data that hits the camera sensor is saved. A JPEG is a processed image resulting in a compressed (smaller) file size.  

The data stored in RAW images can be 3 to 4 times more than in JPEG images, depending on the quality of JPEG you select on the camera menu. The processor in your DSLR camera will remove data from a JPEG image that it perceives to be imperceptible to the human eye. The greatly smaller size of JPEGS makes them universally preferred, not only for storage but for quick upload, download, and opening for viewing online. I routinely shoot high-quality JPEGs for diagnostics and routine lab communication.  

(If you are wondering what JPEG stands for, it’s for Joint Photographic Experts Group. Once JPEG images are in your computer, they can be saved as different file formats ending in different extensions such as .eps, .pdf, .jpg, .jpeg, .bmp, .tif, and .tiff.) 

If I take an image in both RAW and JPEG format, at first glance, the JPEG and RAW images may look the same, but on closer inspection, I may see that the stain on a tooth’s enamel or surrounding skin tones appear lighter in the RAW image. The camera itself has processed the image and determined that some of that data is unnecessary.  

When to Shoot RAW Images 

For most of what dentists do with our DSLR cameras, JPEGS are fine. There are three situations when we should choose to shoot RAW images. 

  1. When we want to edit images like a professional photographer. 
  1. When we shoot images for accreditation for the American Academy of Cosmetic Dentistry. The Academy requires images in raw format so they can tell that the images have not been edited.  
  1. When we are using a digital shade matching system like eLab or Matisse that requires RAW input. 

Why Shoot Both Versions When You Want RAW 

If you are storing CBCT and RAW images on your server, a lot of data can accumulate quickly. I shoot JPEG versions of the images I shoot in RAW format so I can delete the RAW files from my server when they are no longer needed and still have a case record with the JPEG files. 

Storage Tip: In my practice, we download the patient’s or the day’s images from the SD card on to our server in a patient folder. We have one main folder and within it a subfolder for each letter of the alphabet. Inside each alphabet letter’s folder is another subfolder labeled with the patient’s name for each patient whose last name begins with that alphabet letter. Inside each patient’s folder are appropriate subfolders, labeled for example, “Name-Prep-Date.” 


About Author

Default Avatar
Charlie Ward, DDS

FIND A PANKEY DENTIST OR TECHNICIAN

I AM A
I AM INTERESTED IN

VIEW COURSE CALENDAR

The Effect of Rubber Dam Isolation on Bond Strength to Enamel 

March 13, 2024 Christopher Mazzola, DDS

Christopher Mazzola, DDS 

This is an example of a clinical study that can help us in our everyday practice of dentistry. Although the findings do not surprise us, keeping the findings in mind will guide us in decisions we make when performing treatments our patients are counting on to be long lasting. 

Dr. Markus Blatz is co-founder and past President of the International Academy for Adhesive Dentistry (IAAD) and Chairman of the Department of Preventive and Restorative Sciences and Assistant Dean for Digital Innovation and Professional Development at the University of Pennsylvania School of Dental Medicine in Philadelphia. He and a research team from the University of Coimbra, in Portugal, studied the effect of rubber dam isolation on bond strength to enamel. Their goal was to test two hypotheses. 

Hypothesis 1: Rubber dam isolation improves sheer bond strength independent of the adhesive system used. 

Hypothesis 2: A highly filled 3-step etch and rinse adhesive will provide higher bond strength values than an isopropyl-based universal adhesive. 

For their tests, they used OptiBond FL from Kerr for the 3-step etch and rinse adhesive and Prime & Bond Universal Adhesive for the isopropyl-based universal adhesive. 

The mesial, distal, lingual, and vestibular enamel surfaces of thirty human third molars were prepared (total n = 120 surfaces). A custom splint was made to fit a volunteer’s maxilla, holding the specimens in place in the oral cavity. Four composite resin cylinders were bonded to each tooth with one of two bonding agents (OptiBond FL and Prime & Bond) with or without rubber dam isolation. Shear bond strength was tested in a universal testing machine and failure modes were assessed. 

Both hypotheses were supported by the results reported in the Journal of Esthetic and Restorative Dentistry in November of 2022. 

  • With the rubber dam in place, both of the adhesives performed better than without the rubber dam in place, resulting in approximately twice as much shear bond strength with the rubber dam. 
  • The 3-step OptiBond FL system resulted in a more resilient bond than the Prime & Bond Universal adhesive. The OptiBond FL group with rubber dam presented the highest mean bond strength values. Fracture modes for specimens bonded without rubber dam isolation were adhesive and cohesive within enamel, while rubber dam experimental groups revealed only cohesive fractures. 

For the benefit of our patients, we shouldn’t cut corners that will impact the longevity of a restoration. My thoughts are that whenever we have basic pure enamel bonding it should be under a rubber dam, using a total etch, 3-step adhesive system. But considering dentin likes to be moist, we may need to make other clinical judgments.  

Related Course

Smile Design: The 7 Deadly Sins

DATE: October 10 2025 @ 8:00 am - October 11 2025 @ 3:00 pm

Location: Online

CE HOURS: 16

Dentist Tuition: $ 2295

Single Occupancy with Ensuite Private Bath (per night): $ 345

Designing Smiles is What We Do! From direct to indirect restorative – to clear aligners – to interdisciplinary care – designing smiles is what we do. Those who understand and…

Learn More>

About Author

Default Avatar
Christopher Mazzola, DDS

FIND A PANKEY DENTIST OR TECHNICIAN

I AM A
I AM INTERESTED IN

VIEW COURSE CALENDAR

A Tip for Matching the Color of Cement Between an Implant Abutment and Crown

March 8, 2024 Lee Ann Brady

Trying to match the color of the cement between the abutment and the dental implant crown in the anterior can be very frustrating. Here’s a trick that works well for me. 

A while back I was struggling to match the color of the cement between the abutment and an anterior implant crown. I always try-in the abutment and the crown and try to confirm the shade before they are put together. We do this because the laboratory can’t redo the shade once they’ve bonded the crown and the abutment for screw retention without trying to separate the cement, which is difficult. 

Over the years, it was a challenge to replicate the opacity of the cement used to connect the titanium abutment and ceramic crown. I’ve tried using some of the opaquest try-in paste on the market. 

In the case I referred to above, we thought we had it. My lab cemented it together and I put it in. I could see the opacity of the cement through the restoration. So, we had to take it apart and try again. My laboratory technician shared with me a trick that he had learned from one of his other dentist clients. And that was to simply go to CVS, Costco, or Target and buy good old fashioned liquid white out.  

Now, I put a very tiny amount of whiteout on a micro brush and paint it on the inside of the labial surface of the crown on the intaglio surface. Then, I use a bit of translucent try-in paste to seat the crown. 

The whiteout works well because it is basically titanium dioxide and water with preservatives—the same white compound that is in super white sunscreens. In my opinion, it is relatively safe to use, and I can see what the implant will look like when the pieces are cemented together. 

Related Course

Smile Design: The 7 Deadly Sins

DATE: October 10 2025 @ 8:00 am - October 11 2025 @ 3:00 pm

Location: Online

CE HOURS: 16

Dentist Tuition: $ 2295

Single Occupancy with Ensuite Private Bath (per night): $ 345

Designing Smiles is What We Do! From direct to indirect restorative – to clear aligners – to interdisciplinary care – designing smiles is what we do. Those who understand and…

Learn More>

About Author

User Image
Lee Ann Brady

FIND A PANKEY DENTIST OR TECHNICIAN

I AM A
I AM INTERESTED IN

VIEW COURSE CALENDAR

Caring for a Dental Leaf Gauge

February 21, 2024 Lee Ann Brady

Caring for a Dental Leaf Gauge 

Lee Ann Brady, DMD 

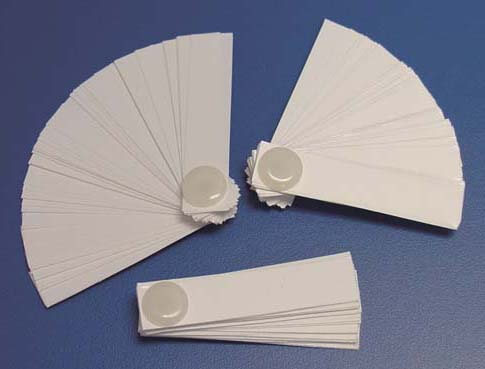
In the Pankey Essentials courses, we use dental leaf gauges to train dentists in how to feel for the first point of occlusal contact, as a method for occlusal deprogramming, and as a tool for articulating models on an articulator in centric relation. Dental leaf gauges not only assist us in diagnosis and treatment planning but also in enabling our patients to discover the nature of their occlusion as we help them understand how malocclusion can manifest in TMD symptoms, parafunction, tooth damage, and more. 

In our Essentials 1 course, I am sometimes asked how to take care of leaf gauges, so I thought I would share my answer.  

Although they don’t last forever, dental leaf gauges do last a long time and you can autoclave them between uses. When you sterilize them, the leaves become sticky, so I separate them like a hand of cards before putting the gauge in the autoclave bag and separate them again when I take them out of the bag just before going to the mouth. 

Over time, with use, a leaf gauge will start to look a little beat up. I’m looking at one now. The Teflon screw that holds it together has turned color from going through the autoclave. I can see some ink stains from Madame Butterfly silk. It’s at the point where I think it looks too grungy to keep using. Although it might continue functioning for quite some time, I’m going to toss it and use a new one. After all, they are relatively low cost with a high return on investment.  

I’ve never seen a dental leaf gauge break after many trips through the autoclave. I tested cold sterilizing one and discovered the chemistry in the ultrasonic cleaner started to make the leaves brittle and they came out stickier than when autoclaved. So, my preference (and the protocol in my practice) is to bag them and put them through the autoclave. 

Related Course

TMD & Orofacial Pain: Managing Complex Patients

DATE: January 29 2025 @ 8:00 am - February 2 2025 @ 1:00 pm

Location: The Pankey Institute

CE HOURS: 37

Dentist Tuition: $ 7200

Single Occupancy with Ensuite Private Bath (per night): $ 345

THIS COURSE IS SOLD OUT TMD patients present with a wide range of concerns and symptoms from tension headaches and muscle challenges to significant joint inflammation and breakdown. Accurate thorough…

Learn More>

About Author

User Image
Lee Ann Brady

FIND A PANKEY DENTIST OR TECHNICIAN

I AM A
I AM INTERESTED IN

VIEW COURSE CALENDAR

Restorative Notes on Bonding to Sclerotic Dentin and Removing All-Ceramic Crowns

February 7, 2024 Lee Ann Brady

Restorative Notes on Bonding to Sclerotic Dentin and Removing All-Ceramic Crowns 

By Lee Ann Brady, DMD 

Bonding to Sclerotic Dentin 

Bonding to sclerotic dentin is difficult, if not close to impossible. If the lion’s share of the tooth’s surface is sclerotic, you may not have the longevity that you’re hoping for. I’m specifically thinking of some lower anterior restorative cases I’ve seen over the years, where the veneers just haven’t held up and we’ve had to go to full coverage. 

I don’t trust some of the self-etching adhesives to result in a strong bond on sclerotic dentin, even the newer ones in the eighth generation. Fortunately, one thing we don’t need to worry about is sensitivity because the dental tubules are closed. Since I’m not worried about sensitivity, I can apply the same techniques I would with enamel with the intent of improving the probability of a strong bond. I can do a light prep, get rid of the sclerotic surface, and etch it with phosphoric acid for 25 or 30 seconds. Alternatively, I can use 30- to 50-micron aluminum oxide in an abrasion unit.  

Removing All-Ceramic Crowns 

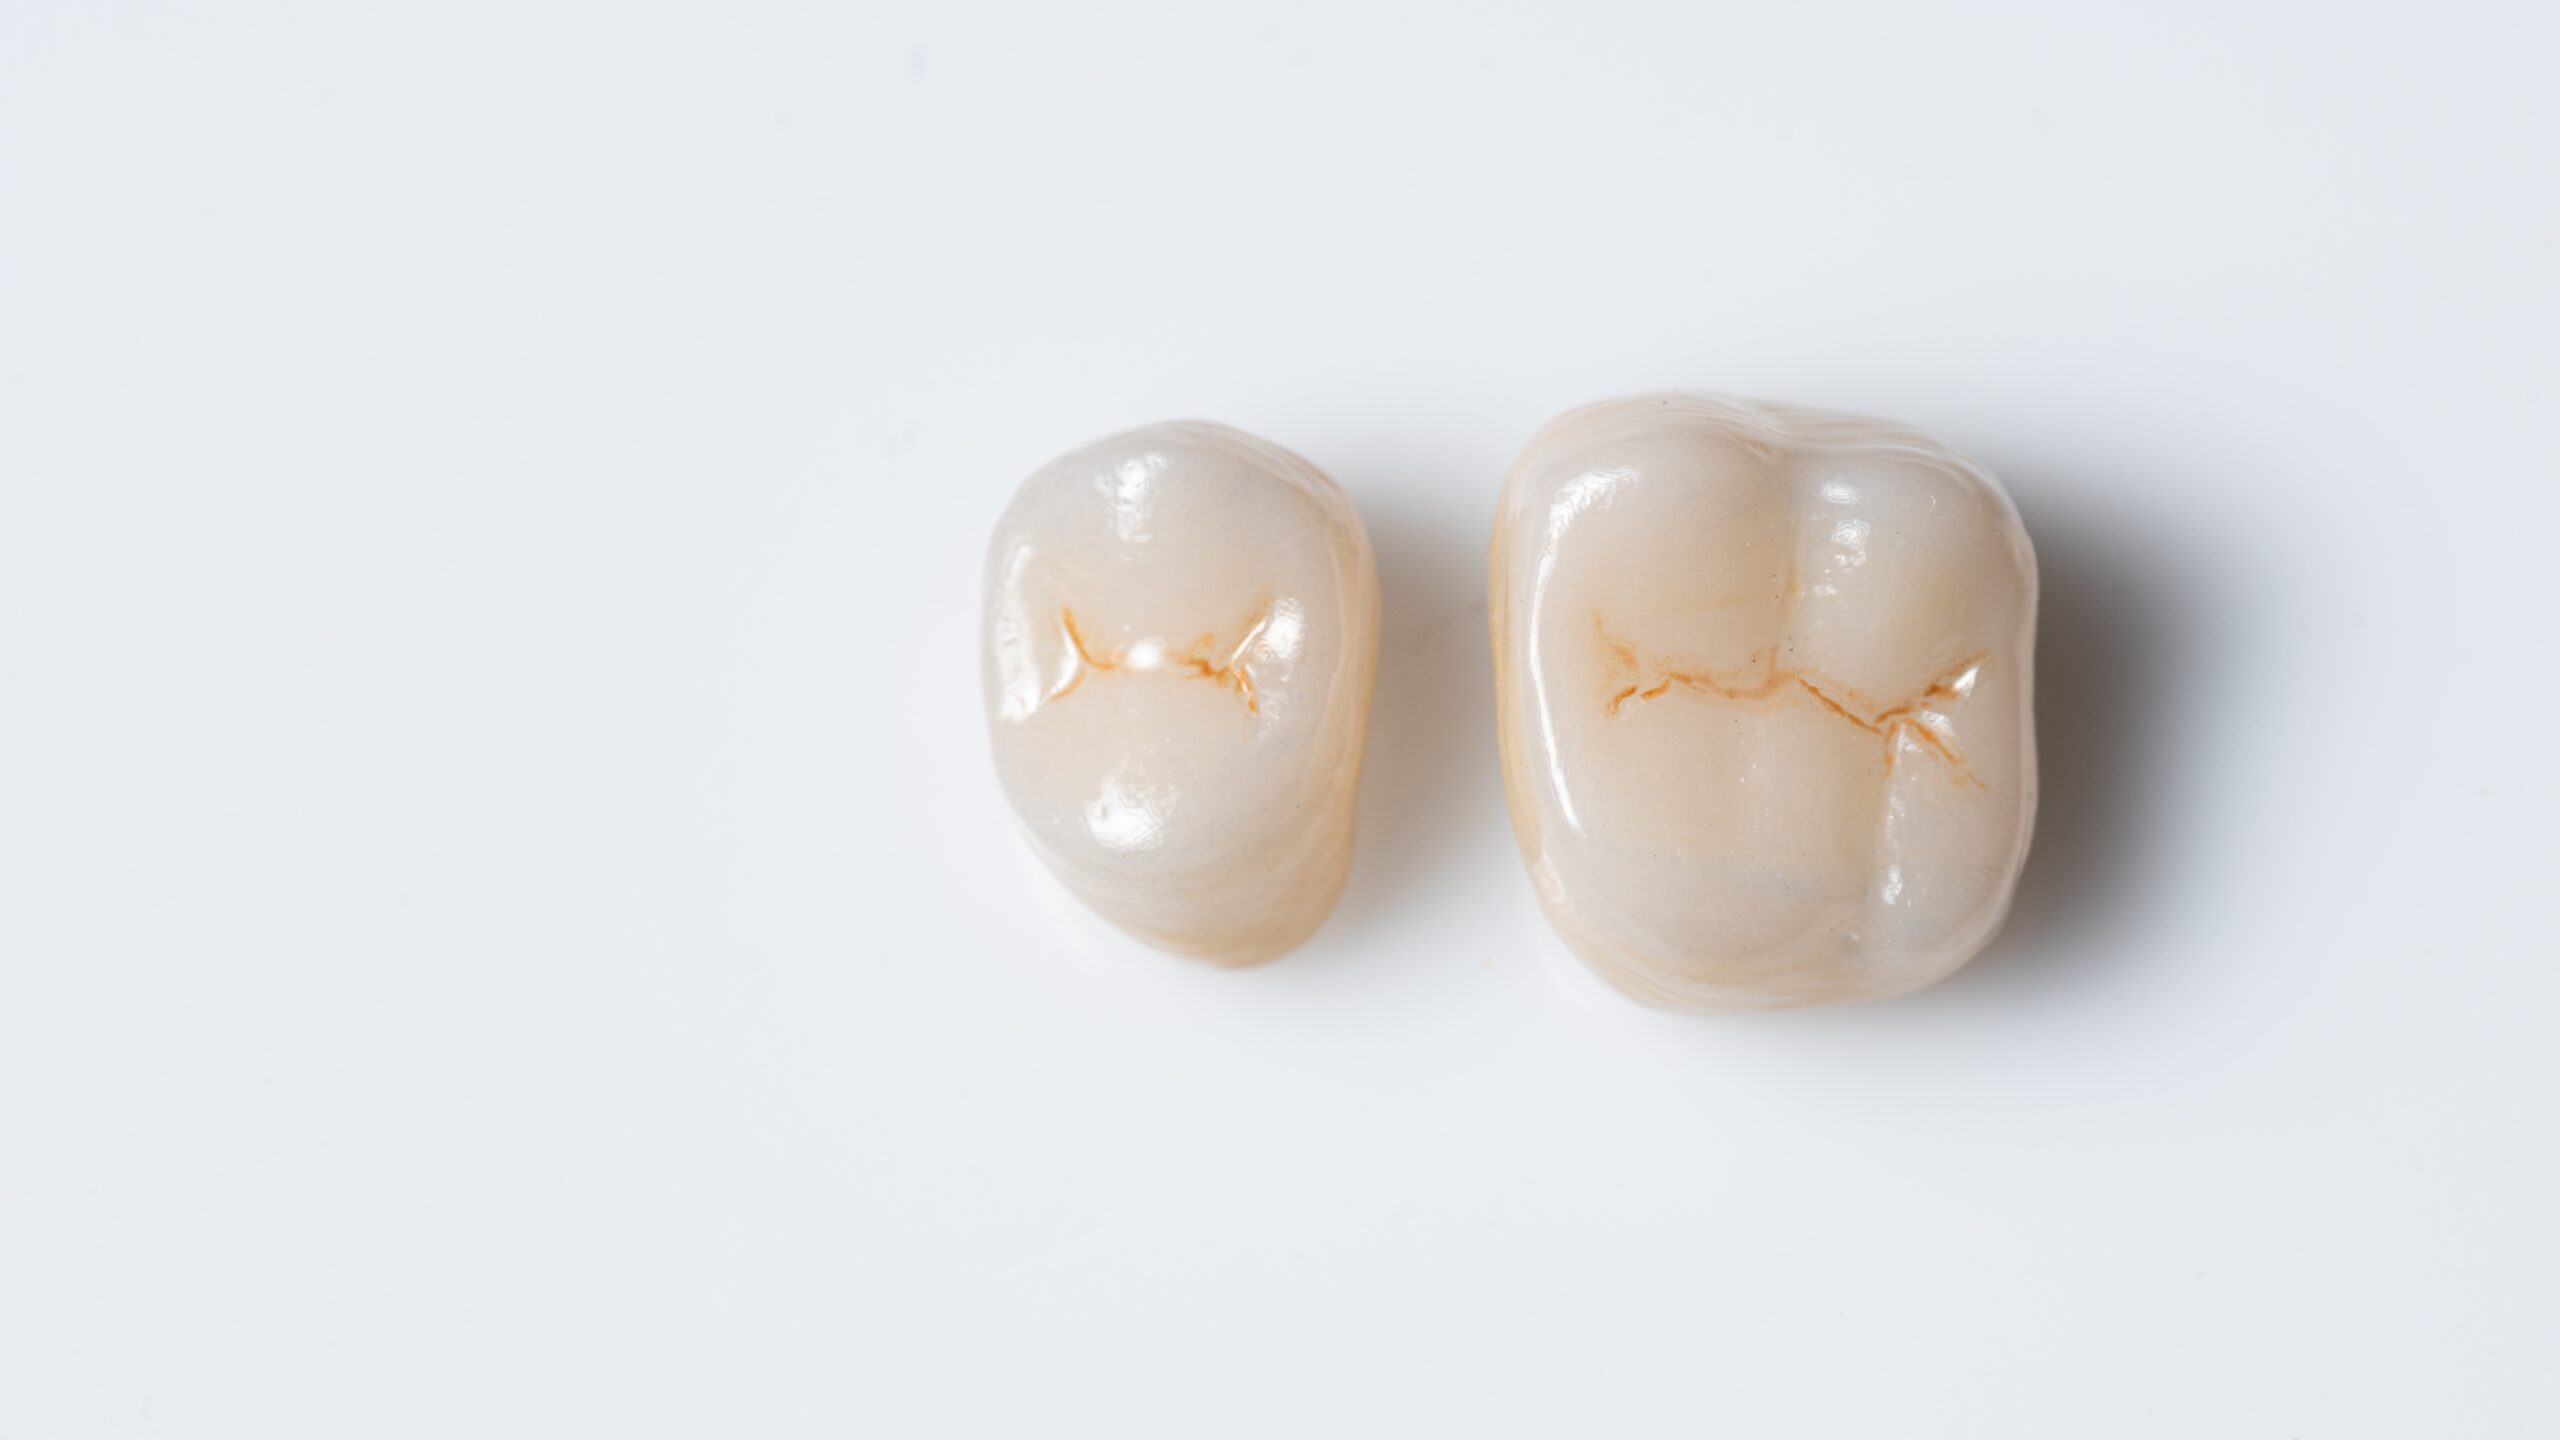
Removing dental crowns can be a delicate and time-consuming procedure. In a world of so many different materials, it’s helpful to have an idea of which bur to use and how long removing the crown could take. One of the biggest challenges is determining whether a crown is a lithium disilicate or zirconia restoration. The radiograph and visual inspection will give us clues but afterwards, we must go through a process to understand what may be involved. 

Our First Clue: Zirconia looks like metal on a radiograph, and lithium disilicate looks radiolucent like natural tooth structure.   

Our Second Clue: If the crown is partial coverage, it’s much more likely to be bonded and I plan to prep down the entire restoration.  

Lithium disilicate restorations are often easier to cut through or section but they could be bonded and impossible to remove in pieces. Even if we can cut four pieces, we may have extensive prepping to do.  

On the other hand, zirconia can be harder to cut through, especially the 3y or 4y variety. But at least once you get to the cement layer, you can normally break it into pieces and remove them instead of having to extensively prep the entire tooth.  

If the restoration is full coverage, I can easily remove it in sections. In this case, I attempt to make my cuts all the way from buccal to lingual across the occlusal surface without bothering to stop. At this stage, I can pick up a crown remover and apply some general pressure to crack it off. If the crown is not budging at all, I assume it is bonded to the tooth, and the next thing I do is pick up a big flat-top diamond to do my occlusal reduction as if I were prepping a natural tooth. Once all the occlusal is off the glass, the pieces on the buccal, lingual, and interproximal fall off. 


Related Course

Smile Design: The 7 Deadly Sins

DATE: October 10 2025 @ 8:00 am - October 11 2025 @ 3:00 pm

Location: Online

CE HOURS: 16

Dentist Tuition: $ 2295

Single Occupancy with Ensuite Private Bath (per night): $ 345

Designing Smiles is What We Do! From direct to indirect restorative – to clear aligners – to interdisciplinary care – designing smiles is what we do. Those who understand and…

Learn More>

About Author

User Image
Lee Ann Brady

FIND A PANKEY DENTIST OR TECHNICIAN

I AM A
I AM INTERESTED IN

VIEW COURSE CALENDAR

Do You Know What Type of Zirconia You Are Using? 

September 5, 2023 Lee Ann Brady DMD

We use the words “multilayer” and “multilayered” to describe lots of different materials from different manufacturers. If your lab tells you they use multilayered zirconia on a restoration or abutment, do you know what you are getting?

One of the ways we use the word multilayered is to describe a puck of zirconia that has two different types of zirconia.

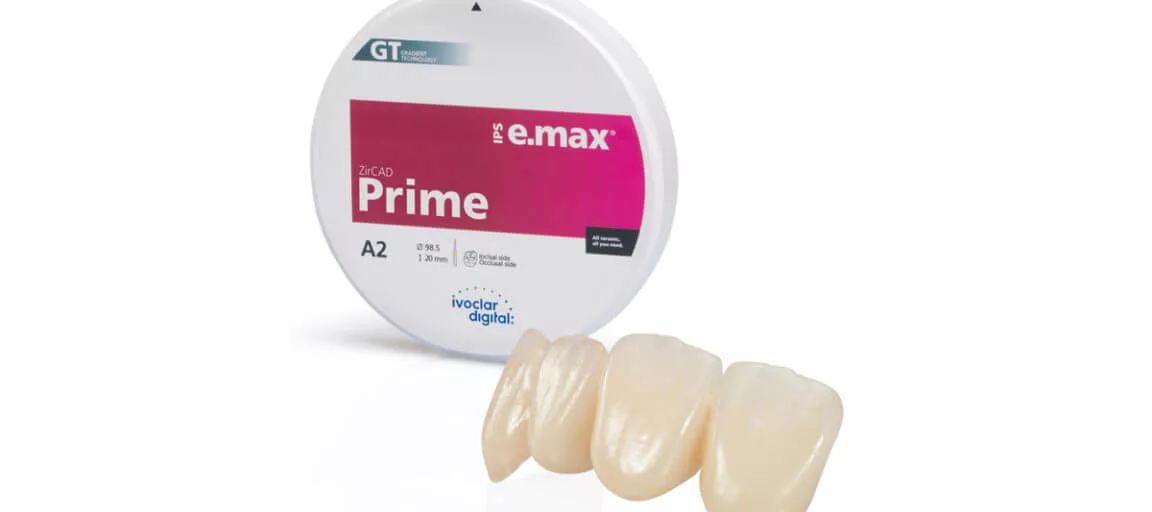
Some of the pucks are a layer of 3y (the strongest but least aesthetic zirconia) with a layer of 5y (the weakest but most aesthetic zirconia). The laboratory technician puts the restoration design in the puck so that the 5y is on the facial of the restoration where you can see it and the 3y is on the incisal edge and lingual.

There are also pucks that are 4y zirconia layered with 5y zirconia. The 4y zirconia is a middle grade of both strength and aesthetics. In this case, the 5y is on the facial and the 4y is on the incisal edge and lingual.

Thus, there are two different ways to mix strength and aesthetics in one puck of zirconia and both variations are called “multi-layered.”

Complicating this even more, we use “multi-layered” to describe layers of chroma gradient or translucency. The laboratory technician can put the design pattern in the puck to achieve different gradient effects, but the restoration is all of one strength (one type of zirconia).

One of the challenges today with zirconia is that there is no place on a laboratory prescription to specify one of these varieties, and it needs to be clarified when communicating with your lab technician. Ask what your lab technician means by “multilayered zirconia,” and communicate clearly the multilayering you want used.

Related Course

Smile Design: The 7 Deadly Sins

DATE: October 10 2025 @ 8:00 am - October 11 2025 @ 3:00 pm

Location: Online

CE HOURS: 16

Dentist Tuition: $ 2295

Single Occupancy with Ensuite Private Bath (per night): $ 345

Designing Smiles is What We Do! From direct to indirect restorative – to clear aligners – to interdisciplinary care – designing smiles is what we do. Those who understand and…

Learn More>

About Author

User Image
Lee Ann Brady DMD

Dr. Lee Ann Brady is passionate about dentistry, her family and making a difference. She is a general dentist and owns a practice in Glendale, AZ limited to restorative dentistry. Lee’s passion for dental education began as a CE junkie herself, pursuing lots of advanced continuing education focused on Restorative and Occlusion. In 2005, she became a full time resident faculty member for The Pankey Institute, and was promoted to Clinical Director in 2006. Lee joined Spear Education as Executive VP of Education in the fall of 2008 to teach and coordinate the educational curriculum. In June of 2011, she left Spear Education, founded leeannbrady.com and joined the dental practice she now owns as an associate. Today, she teaches at dental meetings and study clubs both nationally and internationally, continues to write for dental journals and her website, sits on the editorial board of the Journal of Cosmetic Dentistry, Inside Dentistry and DentalTown Magazines and is the Director of Education for The Pankey Institute.

FIND A PANKEY DENTIST OR TECHNICIAN

I AM A
I AM INTERESTED IN

VIEW COURSE CALENDAR

Acetone to the Rescue!

August 9, 2023 Lee Ann Brady DMD

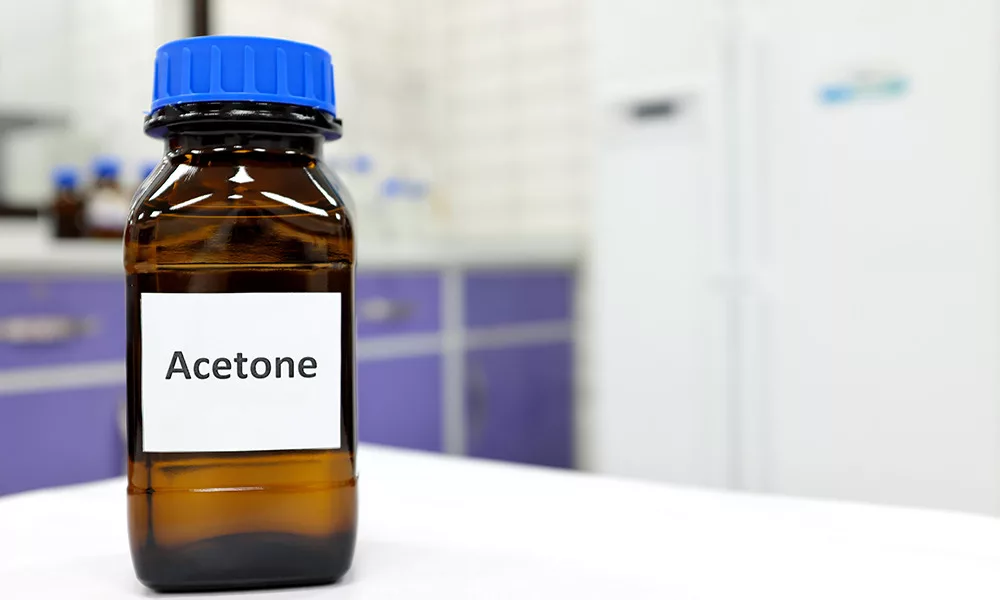
Seating dental restorations with resin-based cement can be daunting. The process is extremely technique sensitive and requires multiple steps. One of the things I learned years ago is to keep a small cup of acetone or ethanol on the tray table when I am seating restorations using resin-based cement.

All our resin materials have a solvent in them. That solvent is often ethanol or acetone. The solvent disrupts the chemistry, spreads out particles, and stops the resin from polymerizing. So, we can use a solvent to prevent the resin from setting and turn it completely into a liquid then wipe it away. Now we can go back to our steps to clean the ceramic, selenate the ceramic, etch the tooth, apply the dental adhesive, and freshly seat the restoration in the same appointment.

Recently, I was in the process of seating veneers. I prepped #6 and loaded the resin. As I raised the veneer, I realized it was for #11 instead of #6. So, I dropped the veneer in the little cup of acetone on my tray. I soaked a 2×2 in the solvent and completely wiped the resin off tooth #6 and completely wiped the resin off the back of veneer #11. Then, I took a deep breath and was ready for a do-over.

This was the first time I had to use that little cup of solvent in over 15 years, but I was delighted it was on my tray table. Time and again we have thrown that little cup away—for years and years, and now I have experienced firsthand why that cup of solvent is always “at the ready” when I seat restorations using resin-based cement.


Here at Pankey, we are committed to helping you through any of the questions you might have while practicing dentistry. I recommend starting your advanced dental education journey with our Essentials 1 course. You will gain essential knowledge and skills, enabling you to build a solid understanding of fundamental concepts in dentistry. From fundamental principles to essential clinical techniques, The Essentials Series will lay down the groundwork for a successful dental practice and further specialization. 

Related Course

E3: Restorative Integration of Form & Function

DATE: October 5 2025 @ 8:00 am - October 9 2025 @ 2:30 pm

Location: The Pankey Institute

CE HOURS: 41

Dentist Tuition: $ 7400

Single Occupancy with Ensuite Private Bath (per night): $ 345

THIS COURSE IS SOLD OUT Understanding that “form follows function” is critical for knowing how to blend what looks good with what predictably functions well. E3 is the phase of…

Learn More>

About Author

User Image
Lee Ann Brady DMD

Dr. Lee Ann Brady is passionate about dentistry, her family and making a difference. She is a general dentist and owns a practice in Glendale, AZ limited to restorative dentistry. Lee’s passion for dental education began as a CE junkie herself, pursuing lots of advanced continuing education focused on Restorative and Occlusion. In 2005, she became a full time resident faculty member for The Pankey Institute, and was promoted to Clinical Director in 2006. Lee joined Spear Education as Executive VP of Education in the fall of 2008 to teach and coordinate the educational curriculum. In June of 2011, she left Spear Education, founded leeannbrady.com and joined the dental practice she now owns as an associate. Today, she teaches at dental meetings and study clubs both nationally and internationally, continues to write for dental journals and her website, sits on the editorial board of the Journal of Cosmetic Dentistry, Inside Dentistry and DentalTown Magazines and is the Director of Education for The Pankey Institute.

FIND A PANKEY DENTIST OR TECHNICIAN

I AM A
I AM INTERESTED IN

VIEW COURSE CALENDAR

Temporary Crowns Are an Occasion for Dental Patient Education 

May 4, 2022 Kelley Brummett DMD

Another dentist asked me, “What temporary cement do you use so your temporary crowns actually stay on?”

The cement I like is TempoCem from DMG America. It is easy to utilize and clean. But there is a more important question than what type of material I like to use. It is: “What is going on with the tooth before the prep is begun?”

I have found that the reason temporaries come off is because something in the functional movement of the patient’s mouth is interfering with the tooth. Before prepping a tooth for a temporary, I anticipate I may need to re-design the tooth first.

Before prepping the tooth, I take an intraoral photo of the bite marks to understand what is going on functionally. I explain to the patient what I am looking for and show the patient the evidence of excursive interferences on the tooth. My goal is to design the provisional and the crown to decrease the forces and increase the functionality of the tooth. I then modify the tooth and take another intraoral photo of the bite marks to show the patient the changes before making the impression of the natural tooth.

I realize many dentists check the bite marks and modify the tooth prior to making an impression without the added step of photography and patient education. But I suggest you try using before and after photo images chairside to educate your patients. This process engages the patient in understanding how their teeth function and why there has been damage to the tooth. I’ve learned it also “opens their eyes” and increases their appreciation for the additional dentistry I recommend based on my comprehensive examination of their mouth and diagnosis.

Related Course

The Pankey Hygienist: Where Clinical & Behavioral Science Unite

DATE: January 9 2025 @ 8:00 am - January 11 2025 @ 1:00 pm

Location: The Pankey Institute

CE HOURS: 23

Regular Tuition: $ 3195

Single Occupancy Room with Ensuite Bath (Per Night): $ 345

The Power of Development Hygienists and Dentists: Are you ready for your hygiene appointments to be more effective both clinically and relationally? Can you imagine having a totally fresh perspective…

Learn More>

About Author

User Image
Kelley Brummett DMD

Dr. Kelley D. Brummett was born and raised in Missouri. She attended the University of Kansas on a full-ride scholarship in springboard diving and received honors for being the Big Eight Diving Champion on the 1 meter springboard in 1988 and in 1992. Dr. Kelley received her BA in communication at the University of Kansas and went on to receive her Bachelor of Science in Nursing. After practicing nursing, Dr Kelley Brummett went on to earn a degree in Dentistry at the Medical College of Georgia. She has continued her education at the Pankey Institute to further her love of learning and her pursuit to provide quality individual care. Dr. Brummett is a Clinical Instructor at Georgia Regents University and is a member of the American Academy of Cosmetic Dentistry. Dr. Brummett and her husband Darin have two children, Sarah and Sam. They have made Newnan their home for the past 9 years. In her free time, she enjoys traveling, reading and playing with her dogs. Dr. Brummett is an active member of the ADA, GDA, AGDA, and an alumni of the Pankey Institute.

FIND A PANKEY DENTIST OR TECHNICIAN

I AM A
I AM INTERESTED IN

VIEW COURSE CALENDAR

Understanding Bulk Fill Composites (Part 2)

April 25, 2022 Lee Ann Brady DMD

Dentists love the handling of self-leveling bulk-fill composites because we do not need to move the tip around, which can introduce voids, and we do not need to use a condenser to reduce voids.

A lot of science has gone in today’s bulk fill composites.

  • As manufacturers have advanced the science of composites, they have had to balance the percentage of filler content and the viscosity of the material so it flows and has good handling properties.
  • We now see bulk fill composites that are relatively translucent when they are non-polymerized, and when they are polymerized, they become opaquer. To increase the depth of cure, manufacturers came up with new photo initiators that require less light to activate an equal amount of polymerization.

Cap Layers

The percentage of filler content in the bulk fill composite determines whether you must do a traditional high fill cap layer. A traditional high fill, nano composite cap layer (veneer) is going to have superior physical properties, including wear resistance, esthetics, and flexural stress. When a cap layer is optional, my decision is based on whether the restoration is in a visible place, how fussy the patient is about esthetics, and if the patient is at high risk for functional wear.

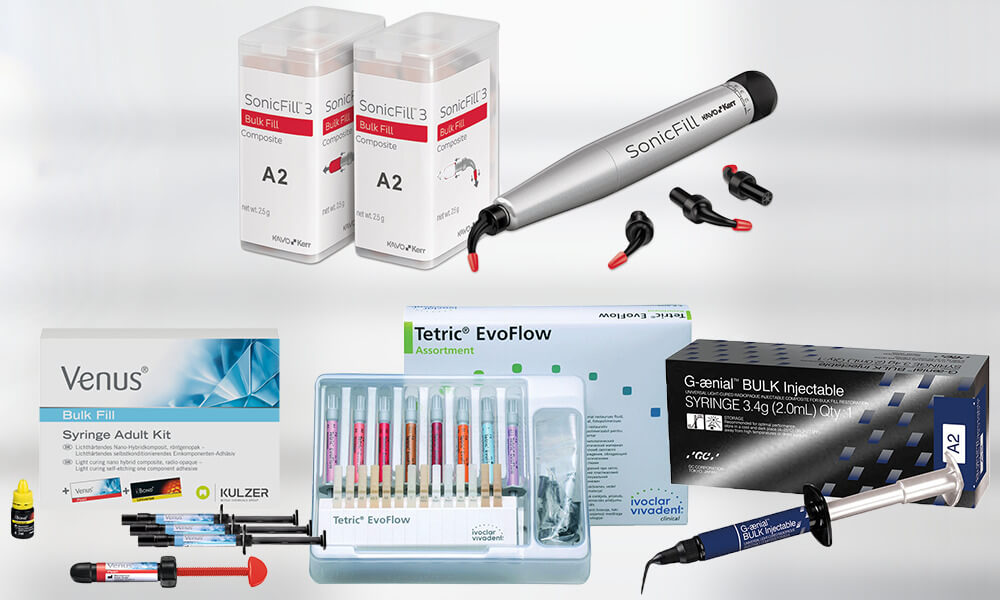
A cap layer should be only 1-2 mm in thickness because our traditional high fill composites have a depth of cure of 1-2 mm. In my practice, I use a perio probe to measure the depth of the prepared cavity. When I do a class I filling, where the prep cavity does not descend beyond 4 mm, I can make the decision to fill the cavity partially with bulk fill and add a cap layer or to completely fill the cavity with a high fill bulk fill composite like SonicFill or G-aenial BULK Injectable (discussed below).

When I do a class II filling, I often place a bulk fill layer and then a cap layer. If the cavity is 6-8 mm or greater in depth, two increments of bulk fill composite can be used before adding a cap layer.

Bulk Fill Composites I Use

Personally, I prefer radiopaque materials. On radiographs, I want to easily see any voids and be able to distinguish the composite from the dentin, the enamel, and possible decay.

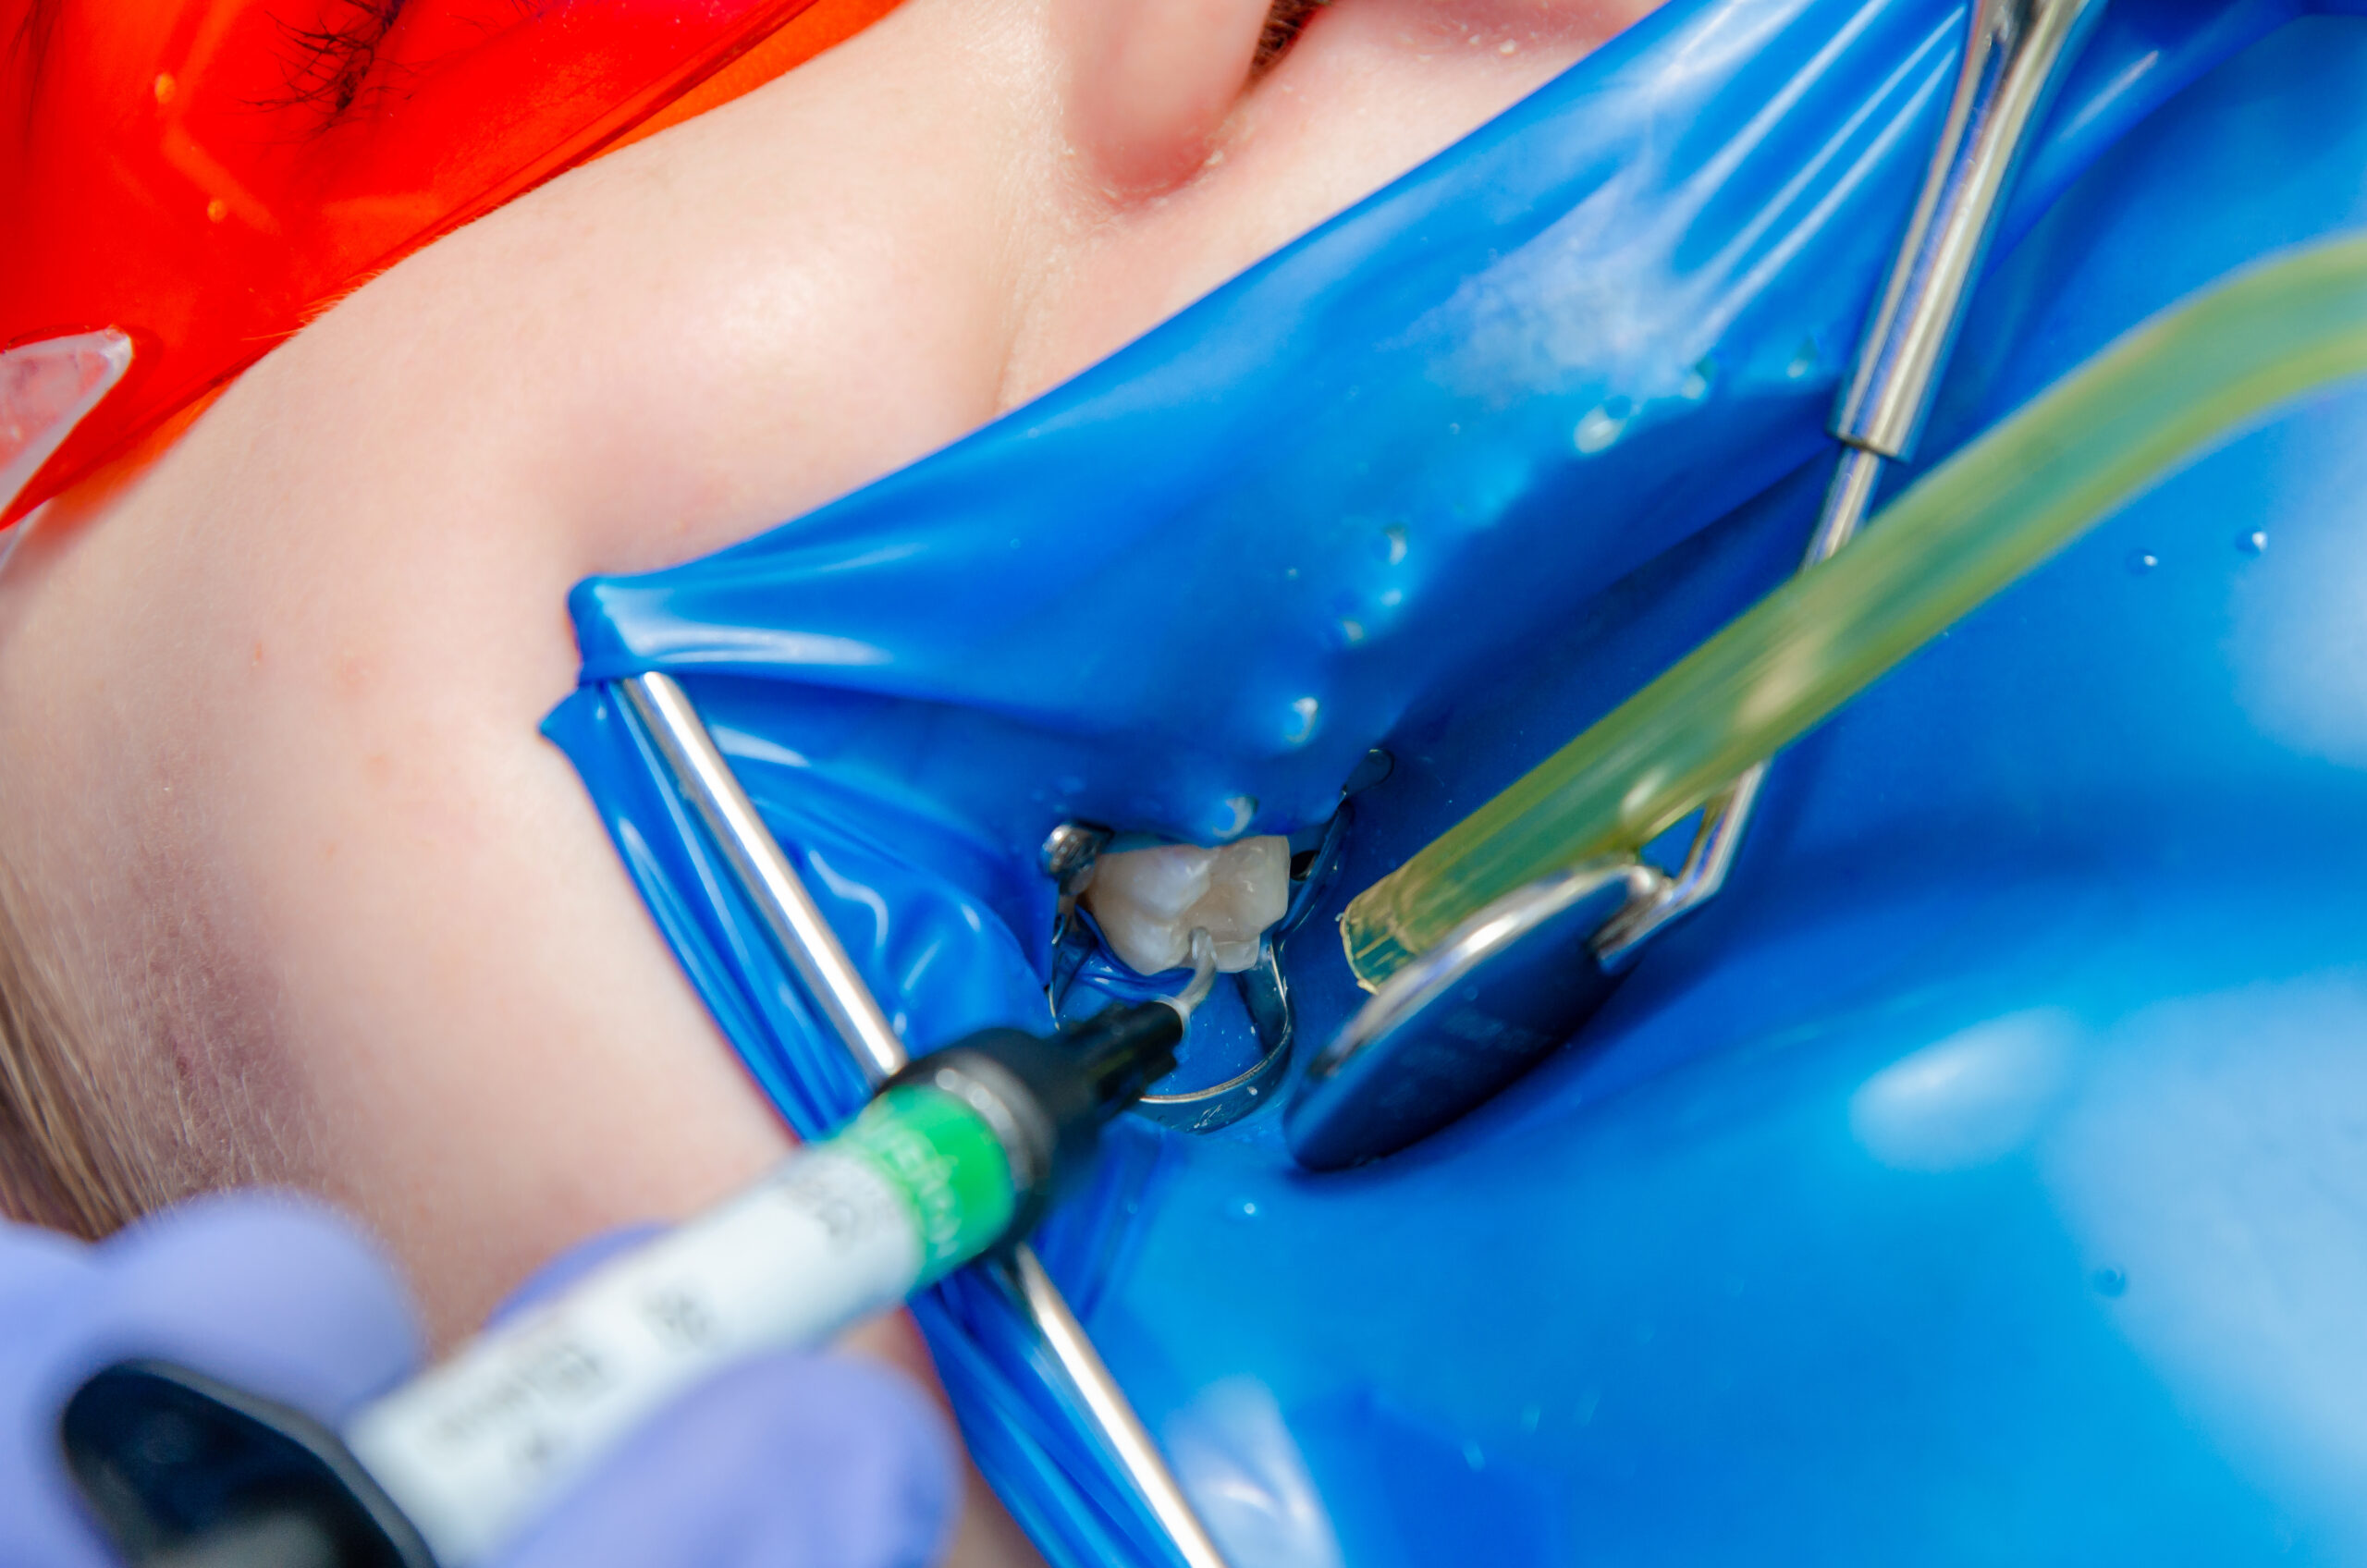
I’ve tried SonicFill™ by Kerr. A special handpiece injects a high filler composite while delivering sonic vibration. This composite has a higher percentage of filler content than the bulk fill “flowable” composites. The high percentage improves the physical properties of the composite, so you do not need to add a cap layer unless esthetics are important. The sonic kinetic energy temporarily lowers the viscosity of the composite so it optimally flows. This filler has a 6 mm depth of cure because it is very translucent.

Most manufacturers have a flowable composite. For these to flow, they have a lower percentage of filler content. The flowable composites self-level and have a 4 mm depth of cure. All manufacturers’ versions of flowable require a cap layer because they have lower physical properties to withstand occlusal wear.

I’ve used both Venus® Bulk Fill by Kulzer and Tetric EvoFlow® by Ivoclar in my practice. Both allow me to easily fill class I and II cavities in increments of up to 4mm. I classically use Tetric EvoFlow for my class II boxes because it is radiopaque and nicely self-levels. There are many versions of advanced bulk fill composites and veneer systems on the market, like the Tetric EvoFlow® and Tetric EvoCeram® that I use.

G-aenial™ BULK Injectable by GC is different because it has a higher percentage of filler content. This injectable bulk filler is radiopaque and can be used without a cap layer. I’ve used this in my practice to do some small class I and some class IV restorations.

There are even “condensable,” bulk fill deposits on the market with high percentage fill materials that do not require a cap layer and are highly durable. If you use these, you will have the challenge of placing more viscous materials and condensing them.

My Bulk Fill Technique

What I like to do is inject flowable material in a central position, for example, in the center of my class II box, and move the tip of the syringe as little as possible. I watch for the flow to reach the buccal, lingual, and axial walls of the cavity prep, and then I slowly lift the tip of the syringe as the occlusal is filling. I strive to not lift the tip prematurely and put it back in, because this introduces “stuck back” porosities. I do not play with the composite with an explorer or condenser because this creates “stuck back” porosities. I wait 10 full seconds to allow the composite to self-level before I begin light cure polymerization.

Related Course

E4: Posterior Reconstruction and Completing the Comprehensive Treatment Sequence

DATE: July 31 2025 @ 8:00 am - August 4 2025 @ 2:30 pm

Location: The Pankey Institute

CE HOURS: 44

Dentist Tuition: $ 7400

Single Occupancy with Ensuite Private Bath (per night): $ 345

The purpose of this course is to help you develop mastery with complex cases involving advanced restorative procedures, precise sequencing and interdisciplinary coordination. Building on the learning in Essentials Three…

Learn More>

About Author

User Image
Lee Ann Brady DMD

Dr. Lee Ann Brady is passionate about dentistry, her family and making a difference. She is a general dentist and owns a practice in Glendale, AZ limited to restorative dentistry. Lee’s passion for dental education began as a CE junkie herself, pursuing lots of advanced continuing education focused on Restorative and Occlusion. In 2005, she became a full time resident faculty member for The Pankey Institute, and was promoted to Clinical Director in 2006. Lee joined Spear Education as Executive VP of Education in the fall of 2008 to teach and coordinate the educational curriculum. In June of 2011, she left Spear Education, founded leeannbrady.com and joined the dental practice she now owns as an associate. Today, she teaches at dental meetings and study clubs both nationally and internationally, continues to write for dental journals and her website, sits on the editorial board of the Journal of Cosmetic Dentistry, Inside Dentistry and DentalTown Magazines and is the Director of Education for The Pankey Institute.

FIND A PANKEY DENTIST OR TECHNICIAN

I AM A
I AM INTERESTED IN

VIEW COURSE CALENDAR