Polishing Indirect Preparations

August 6, 2021 Lee Ann Brady DMD

The question of whether it is better to have a rough or smooth tooth preparation for indirect restorations pops up from time to time, and dentists relate to me they have heard conflicting opinions.

I go to the research literature to become better informed when questions arise, and this is one question research has answered convincingly for me.

What is the impact of texture on the predictability of your restorations?

When we think about the surface texture of a tooth preparation, there are two considerations.

  1. How does the surface texture have an impact on bond strength or retention of an adhesively placed restoration? Do coarser surface textures on preps increase bond strength, or is it exactly the opposite?
  2. How does the surface texture impact the accuracy of a VPS or Polyether impression and therefore the fit of the restoration?

It turns out that smoother is better.

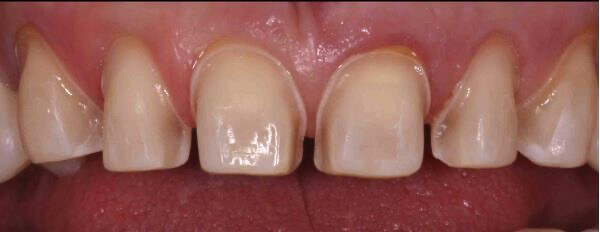
If you go to the literature and look up the research studies in PubMed, you will find there is a high correlation between high bond strength and extremely smooth surface texture. To achieve an extremely smooth surface texture, multiple studies used carbide burs that are in the same shape that we use in doing crown and veneer preparations.

The other piece of the puzzle (the second consideration) has to do with the contact angle of VPS or Polyether impression materials and the tooth preparation. The smoother the preparation surface is, the more accurate the impression will be. The more accurate the impression is, the more accurate the die will be. And the more accurate the die is, the more accurate the fit of the final restoration will be.

So, in both categories, bond strength for adhesives and accuracy of physical impressions, smoother preps win over coarser preps.

Related Course

E2: Occlusal Appliances & Equilibration

DATE: August 10 2025 @ 8:00 am - August 14 2025 @ 2:30 pm

Location: The Pankey Institute

CE HOURS: 44

Dentist Tuition: $ 7400

Single Occupancy with Ensuite Private Bath (per night): $ 345

What if you had one tool that increased comprehensive case acceptance, managed patients with moderate to high functional risk, verified centric relation and treated signs and symptoms of TMD? Appliance…

Learn More>
About Author

User Image
Lee Ann Brady DMD

Dr. Lee Ann Brady is passionate about dentistry, her family and making a difference. She is a general dentist and owns a practice in Glendale, AZ limited to restorative dentistry. Lee’s passion for dental education began as a CE junkie herself, pursuing lots of advanced continuing education focused on Restorative and Occlusion. In 2005, she became a full time resident faculty member for The Pankey Institute, and was promoted to Clinical Director in 2006. Lee joined Spear Education as Executive VP of Education in the fall of 2008 to teach and coordinate the educational curriculum. In June of 2011, she left Spear Education, founded leeannbrady.com and joined the dental practice she now owns as an associate. Today, she teaches at dental meetings and study clubs both nationally and internationally, continues to write for dental journals and her website, sits on the editorial board of the Journal of Cosmetic Dentistry, Inside Dentistry and DentalTown Magazines and is the Director of Education for The Pankey Institute.

FIND A PANKEY DENTIST OR TECHNICIAN

I AM A
I AM INTERESTED IN

VIEW COURSE CALENDAR

Capturing an Exquisite Crown & Bridge Impression

August 28, 2019 Lee Ann Brady DMD

Capturing an exquisite final impression is our goal every time. Getting this result can be one of the most challenging things we do in dentistry. In addition to being masterful in taking an impression and handling the materials, we also must manage the oral environment properly.

Improving the Gingival Tissue Prior to the Impression Appointment

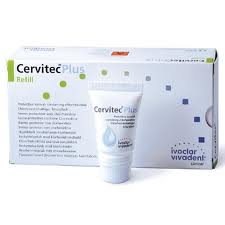
For crown and bridge impressions this process has to begin with optimal tissue management, and tissue management always begins before tooth preparation. Old restorations with poor margins often compromise hygiene with resultant irritated and inflamed gingival tissues. If the tissue is inflamed at the time, we recommend the tooth be crowned, we apply chlorhexidine varnish (Cervitec Plus – Ivoclar Vivadent). When the patient returns for impressions, tissue health is vastly improved.

Managing the Gingival Tissue for Tooth Preparation

Tooth preparation itself can result in difficulty managing the tissue. My preference is always to leave margins supragingival if that is clinically appropriate. My second choice is equigingival, where the margins are right at the crest of the tissue. If the margins are to be placed subgingival, I want to avoid cutting the tissue and then having to manage bleeding. If my initial margin placement is equigingival, I place a primary cord to move the tissue out of the way. This allows me to now drop the margin subgingival with minimal trauma to the tissue.

Retraction of the Gingival Tissue for the Impression

Once tooth preparation is complete, retraction creates a space for the impression material to go past the margin apically so that we can create the proper emergence profile of the restoration. There are many ways to retract prior to an impression. I personally use a second or top cord with a larger diameter than the primary cord I placed to move the tissue for subgingival preparation. If the tissue is bleeding after the placement of the top cord, I place 3M’s “Retraction paste” as a hemostatic agent. This allows for optimal control of bleeding without worry of negatively impacting the set of my impression materials or staining the prep or gingival tissues.

Taking the Final Impression

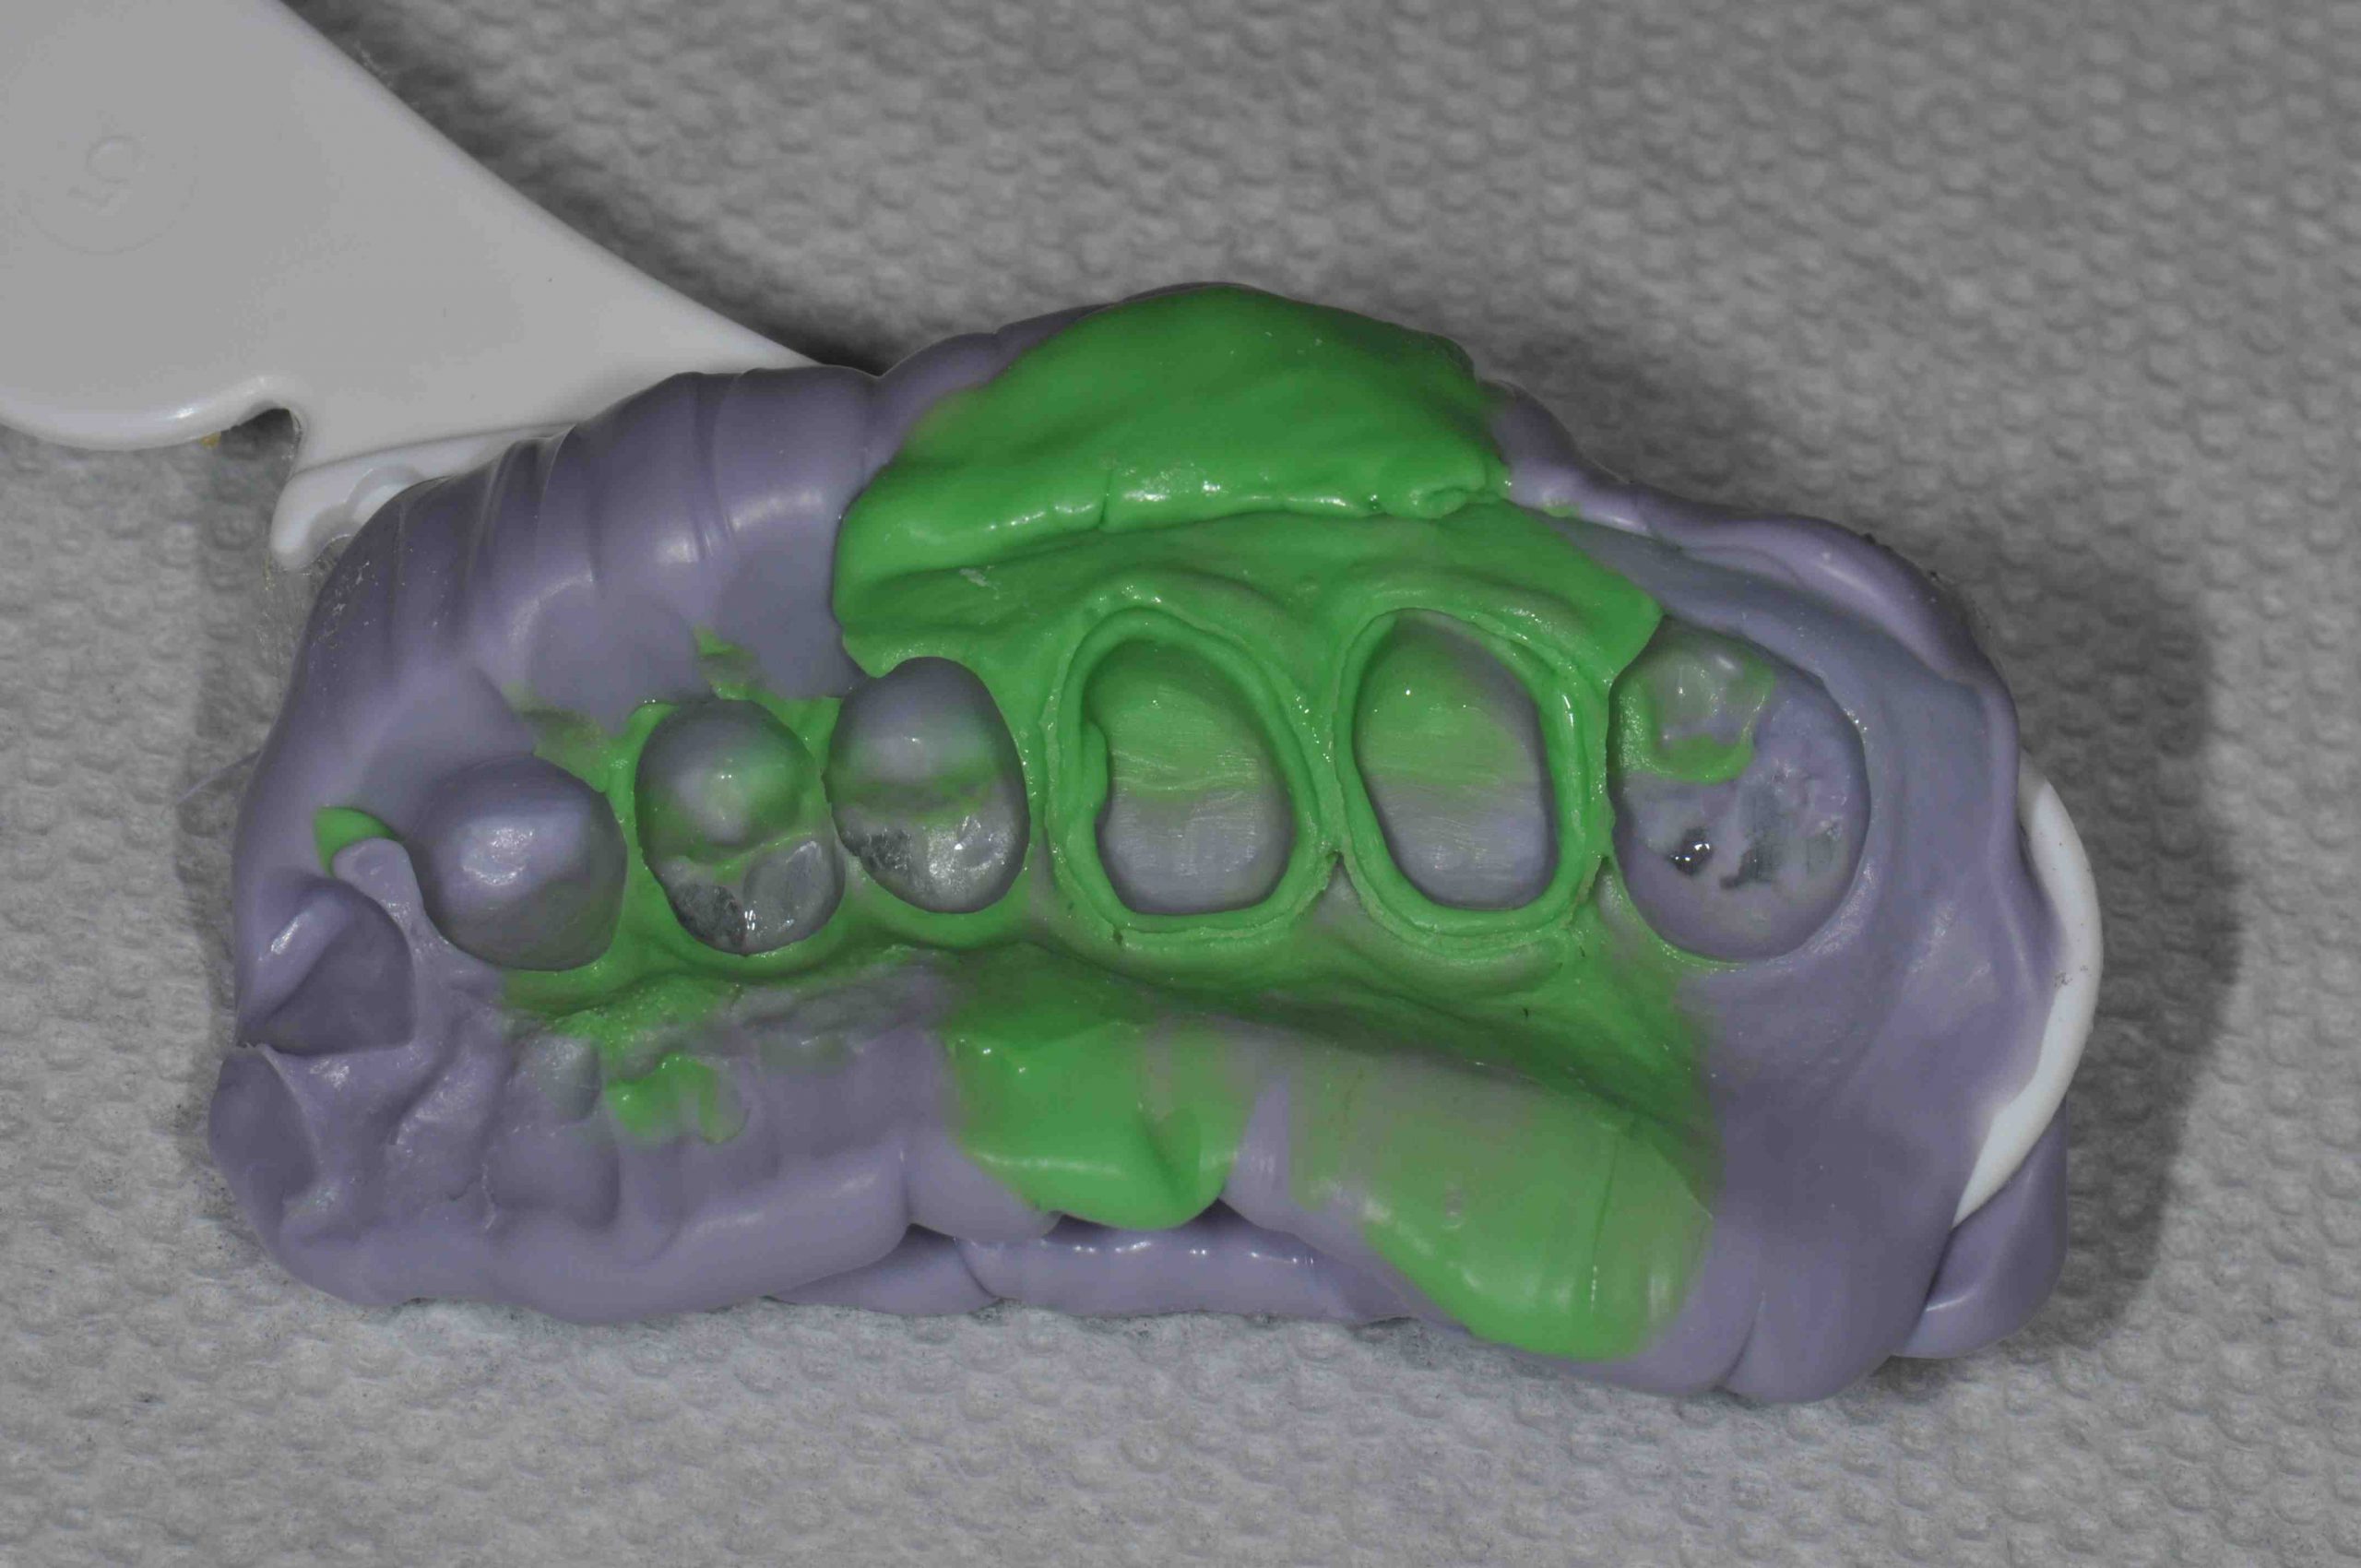
The final impression is taken with Flexitime impression material (Kulzer). I have my assistant load the tray with heavy body material. I first wet the top cord, so I do not cause bleeding upon removal. The area is now thoroughly dried to allow for proper contact of the impression material to the tooth and tissue surfaces. I inject Flexitime CorrectFlow (Kulzer) and then seat the impression tray. I hold the tray for the full intra-oral set time and do not allow patients to close or bite on the tray, as movement can negatively impact the accuracy of the impression.

Is the impression perfect?

Once removed I inspect the impression using magnification to assess that I have adequate flash beyond the margins of the light body, no pulls, voids, drags or evidence that the impression moved. There is no way to correct an impression for errors. If errors occur, we repeat the process from the beginning to take a new impression.

Check out some of my short videos about impressions on Restorative Nation at https://restorativenation.com/?s=impression.

Related Course

E2: Occlusal Appliances & Equilibration

DATE: August 10 2025 @ 8:00 am - August 14 2025 @ 2:30 pm

Location: The Pankey Institute

CE HOURS: 44

Dentist Tuition: $ 7400

Single Occupancy with Ensuite Private Bath (per night): $ 345

What if you had one tool that increased comprehensive case acceptance, managed patients with moderate to high functional risk, verified centric relation and treated signs and symptoms of TMD? Appliance…

Learn More>

About Author

User Image
Lee Ann Brady DMD

Dr. Lee Ann Brady is passionate about dentistry, her family and making a difference. She is a general dentist and owns a practice in Glendale, AZ limited to restorative dentistry. Lee’s passion for dental education began as a CE junkie herself, pursuing lots of advanced continuing education focused on Restorative and Occlusion. In 2005, she became a full time resident faculty member for The Pankey Institute, and was promoted to Clinical Director in 2006. Lee joined Spear Education as Executive VP of Education in the fall of 2008 to teach and coordinate the educational curriculum. In June of 2011, she left Spear Education, founded leeannbrady.com and joined the dental practice she now owns as an associate. Today, she teaches at dental meetings and study clubs both nationally and internationally, continues to write for dental journals and her website, sits on the editorial board of the Journal of Cosmetic Dentistry, Inside Dentistry and DentalTown Magazines and is the Director of Education for The Pankey Institute.

FIND A PANKEY DENTIST OR TECHNICIAN

I AM A
I AM INTERESTED IN

VIEW COURSE CALENDAR

Triple Tray Versus Full Arch Impressions

February 7, 2019 Lee Ann Brady DMD

Indirect restorations are the mainstay of most general practices.

Deciding whether to take triple tray or full arch impressions is a process that represents the classic dilemma we all face. It feels like we are deciding between “quality” and “economics”. In truth I think there are “quality” and “economic” pros and cons to both types of impressions.

From an economic perspective triple tray impressions are a straightforward decision.

A triple tray and the VPS to take it represent about $10 in materials compared to two full arch trays, VPS material, facebow and bite registration at a cost of about $25 in materials. Additionally a very important economic factor is productive chair time. A triple tray impression should take about 5 minutes of chair time, whereas full arch impressions and all the accompanying records take approximately 15 to 20 minutes.

The balance to the chair time on the front end is the chair time required to seat and adjust the case. In order to do an accurate comparison of the seat appointment we need to discuss the technical risks and benefits of the two approaches. We are going to assume on the front end that both techniques are done with proper retraction and accurately represent the prep and margins. A triple tray impression captures the occlusal information at maximum intercuspal position extremely accurately, but it is the only functional position they can replicate.

Full arch impressions taken without a facebow transfer, either hand articulated, or with a bite registration only over the prepared teeth only give the same information about maximum intercuspal position to the laboratory as a triple tray.

The advantage to taking full arch impressions is that they can be mounted with a facebow transfer and allow the laboratory to see the interaction of the teeth in excursive and end to end positions. A facebow records the relationship of the maxillary arch to hinge axis in all planes of space, and then transfers this information to an articulator. It can also be used to communicate esthetic information about the relationship of the incisal and occlusal plane to the horizon if the bow is leveled when the record is taken.

So the ultimate difference between a triple tray and full arch impressions is the addition of functional information about excursive movements and end-to-end positions. This requires taking a facebow record, and can be increased in accuracy by setting the condylar elements on a semi-adjustable articulator either with a protrusive bite record or an end to end retracted photograph. Using either technique the most accurate bite record is always captured with the unprepared teeth in full occlusal contact. So the decision between the two approaches really depends on the functional and esthetic risk factors of the case. The more esthetic and functional information we send to the laboratory the higher our chances of managing the esthetic and functional issues of the case precisely.

Related Course

E1: Aesthetic & Functional Treatment Planning

DATE: May 1 2025 @ 8:00 am - May 4 2025 @ 2:30 pm

Location: The Pankey Institute

CE HOURS: 39

Dentist Tuition: $ 6800

Single Occupancy with Ensuite Private Bath (Per Night): $ 345

Transform your experience of practicing dentistry, increase predictability, profitability and fulfillment. The Essentials Series is the Key, and Aesthetic and Functional Treatment Planning is where your journey begins.  Following a system of…

Learn More>

About Author

User Image
Lee Ann Brady DMD

Dr. Lee Ann Brady is passionate about dentistry, her family and making a difference. She is a general dentist and owns a practice in Glendale, AZ limited to restorative dentistry. Lee’s passion for dental education began as a CE junkie herself, pursuing lots of advanced continuing education focused on Restorative and Occlusion. In 2005, she became a full time resident faculty member for The Pankey Institute, and was promoted to Clinical Director in 2006. Lee joined Spear Education as Executive VP of Education in the fall of 2008 to teach and coordinate the educational curriculum. In June of 2011, she left Spear Education, founded leeannbrady.com and joined the dental practice she now owns as an associate. Today, she teaches at dental meetings and study clubs both nationally and internationally, continues to write for dental journals and her website, sits on the editorial board of the Journal of Cosmetic Dentistry, Inside Dentistry and DentalTown Magazines and is the Director of Education for The Pankey Institute.

FIND A PANKEY DENTIST OR TECHNICIAN

I AM A
I AM INTERESTED IN

VIEW COURSE CALENDAR

Exquisite Alginate Impressions

August 26, 2017 Jeff Baggett DDS

Improving the quality of alginate impressions for diagnostic models requires a fine-tuned technique based on specific materials. These materials are used in conjunction with clever steps that lead to a minimization of voids and bubbles.

Dr. Baggett explains his exact procedure for achieving drastically improved alginate impressions. With these recommendations, you’ll find your confidence and efficiency soaring. Impressions are one part of the treatment puzzle that must be as precise as possible to avoid problems down the road.

How to Improve Alginate Impressions for Diagnostic Models

At my practice, we still use alginate impressions as our main impression material for diagnostic models. I generally take them. A very helpful tip to improve the quality of your impressions is to use a 35 ml monoject plastic syringe (from your local dental supplier) and Ivoclar Accudent XD Pre-Sure Tip applicators (Ivoclar Reorder number 67891 Soft Flex Tips).  

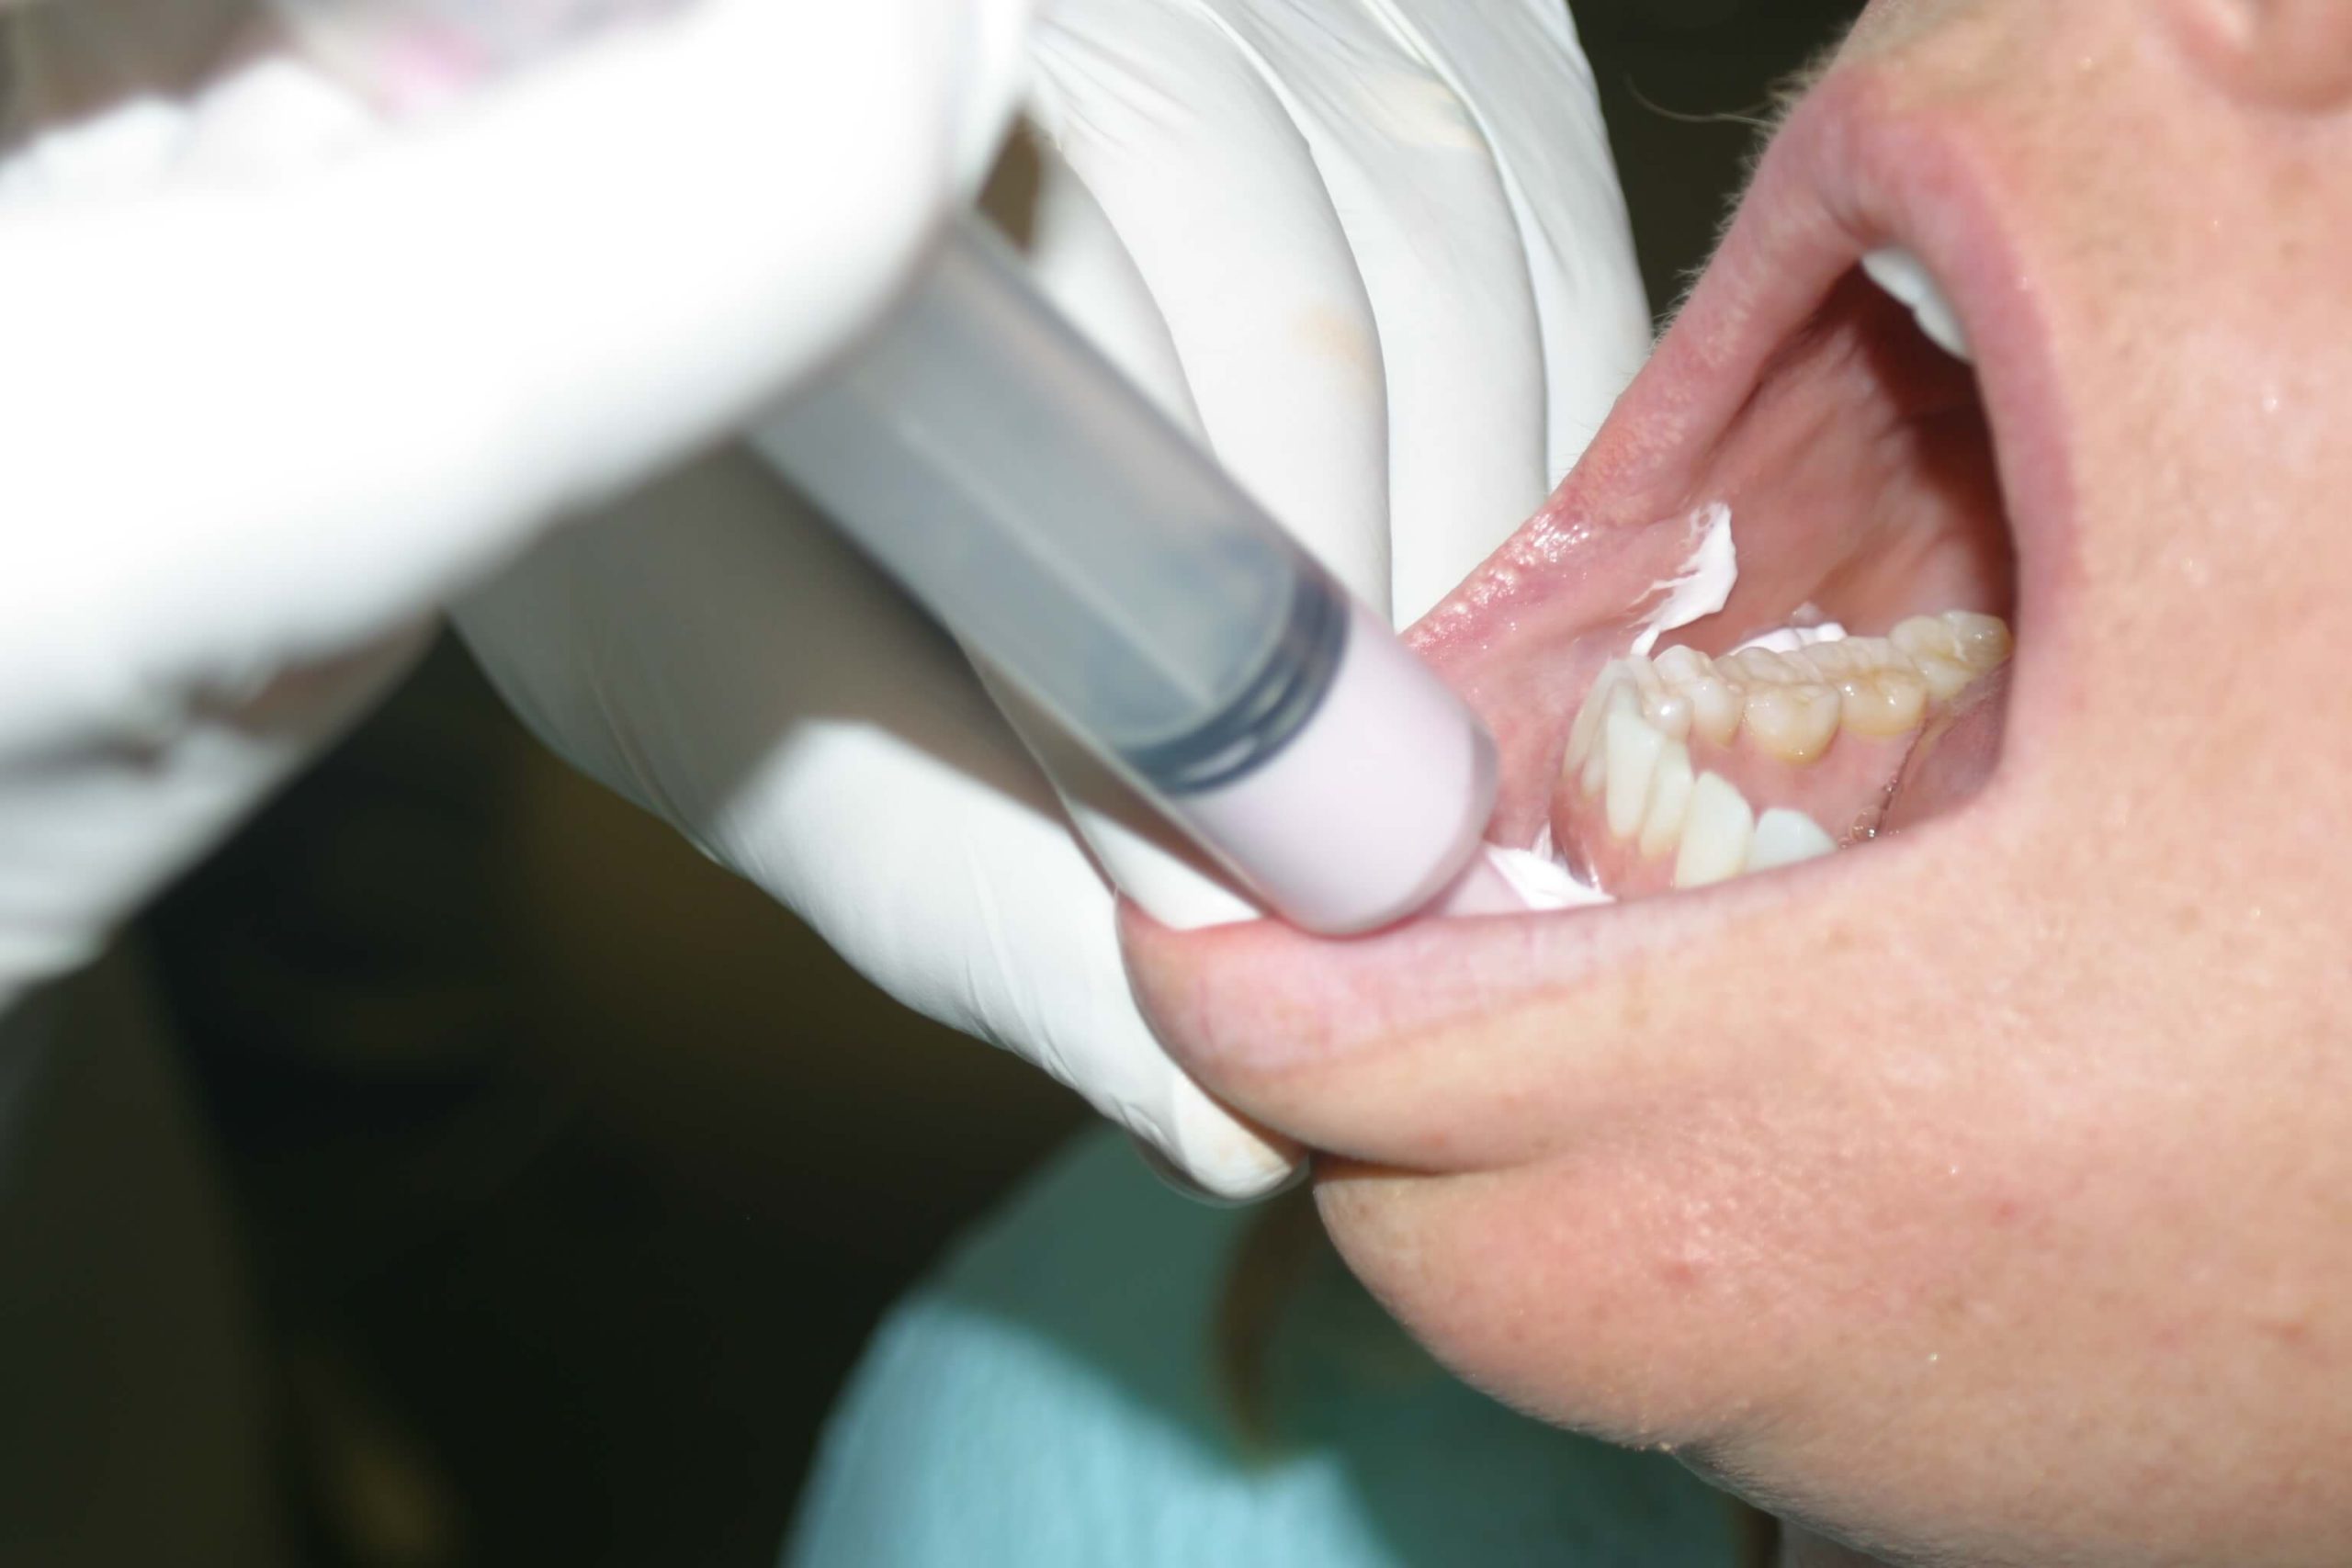
By placing the flexible tips on the end of the 35 ml plastic syringes, you are able to squirt excess alginate loaded into the syringe onto the teeth at a 90 degree angle starting at the distals of the second molars. You can do this instead of wiping alginate on the teeth with your fingers before you seat the alginate loaded tray.

This technique results in a lot less bubbles and minimizes the chance for voids distal to the most posterior teeth. The flexible tips are autoclavable, the monoject syringes can be cold sterilized, and petroleum jelly can be applied to the rubber plungers so they can be used again.   

This tip – combined with the use of 1-inch medical tape along the posteriors of our maxillary trays as a post-dam seal – has improved the impressions taken at my practice tremendously.

What aspect of impressions do you find the most challenging and why? We’d love to hear from you in the comments!


Related Course

Mastering Dental Photography: From Start to Finish

DATE: October 29 2026 @ 8:00 am - October 31 2026 @ 12:00 pm

Location: The Pankey Institute

CE HOURS: 19

Regular Tuition: $ 2995

Single Occupancy with Ensuite Private Bath (per night): $ 355

Dental photography is an indispensable tool for a high level practice. We will review camera set-up and what settings to use for each photo. All photos from diagnostic series, portraits,…

Learn More>

About Author

User Image
Jeff Baggett DDS

Dr. Jeff D. Baggett attended Oklahoma State University where he received his undergraduate degree and attended professional school at the University of Oklahoma College of Dentistry. After obtaining his Doctorate of Dental Surgery degree, Dr. Baggett received postgraduate training at the L.D. Pankey Institute, recognized worldwide for its excellence in advanced technical dentistry. He was accredited as a Pankey Scholar. Practicing for over 30 years, Dr. Baggett is also a visiting faculty member at the L.D. Pankey Institute. He lectures various dental study clubs and dental meetings. He is a guest speaker of the Victim's Impact Panel Against Drunk Driving. A published author, Dr. Baggett wrote sections in the book Photoshop CS3 and PowerPoint 2007 for the Dental Professional. Dr. Baggett is also the team dentist for the Oklahoma City Thunder with his partner, Dr. Lembke. An esteemed member of the dental community, Dr. Baggett is a member of many professional organizations including the American Dental Association, the Oklahoma Dental Association, the Oklahoma County Dental Society, the Southwest Academy of Restorative Dentistry, the McGarry Study Club, the University Oklahoma College of Dentistry Alumni Association and the Oklahoma State University Alumni Association. He also served on the Board of Directors of the Oklahoma County Dental Society.

FIND A PANKEY DENTIST OR TECHNICIAN

I AM A
I AM INTERESTED IN

VIEW COURSE CALENDAR