Using X-Floss for Dental Implant Care 

June 3, 2024 Lee Ann Brady DMD

By Lee Ann Brady, DMD 

Cleaning the larger gingival embrasures around a posterior dental implant can be a challenge for patients. In my practice, posterior implant patients are some of the individuals we give X-Floss samples to try at home.  

X-Floss is a dental floss made by iDontix® that is designed to make flossing easier for individuals with bridges, braces, implants, or larger-than-normal gingival embrasures. It resembles yarn, has a thick texture, and has a hard end, making it easy to push under orthodontic wires, bridges, or in embrasure spaces. It effectively cleans larger spaces while remaining gentle on the gums. The soft material minimizes the risk of injury during flossing, even in subgingival areas, and it is conveniently available on Amazon and in drugstores.  

There are two varieties. Green X-Floss from is too thick for some spaces. Blue X-Floss Lite is less thick and just right for some spaces. You and your hygienist may want to give samples of both to your patients to try. Some of your patients are likely to more effectively and consistently floss once they are using this type of floss.  

Related Course

Integrative Dental Medicine: Creating Healthier Patients & Practices

DATE: June 27 2025 @ 8:00 am - June 28 2025 @ 4:00 pm

Location: The Pankey Institute

CE HOURS: 16

Regular Tuition: $ 2995

Single Occupancy with Ensuite Private Bath (per night): $ 345

We face a severe health crisis, that is a much larger pandemic than Covid-19! Our western lifestyle affects periodontal & periapical oral disease, vascular disease, breathing disordered sleep, GERD, dental…

Learn More>

About Author

User Image
Lee Ann Brady DMD

Dr. Lee Ann Brady is passionate about dentistry, her family and making a difference. She is a general dentist and owns a practice in Glendale, AZ limited to restorative dentistry. Lee’s passion for dental education began as a CE junkie herself, pursuing lots of advanced continuing education focused on Restorative and Occlusion. In 2005, she became a full time resident faculty member for The Pankey Institute, and was promoted to Clinical Director in 2006. Lee joined Spear Education as Executive VP of Education in the fall of 2008 to teach and coordinate the educational curriculum. In June of 2011, she left Spear Education, founded leeannbrady.com and joined the dental practice she now owns as an associate. Today, she teaches at dental meetings and study clubs both nationally and internationally, continues to write for dental journals and her website, sits on the editorial board of the Journal of Cosmetic Dentistry, Inside Dentistry and DentalTown Magazines and is the Director of Education for The Pankey Institute.

FIND A PANKEY DENTIST OR TECHNICIAN

I AM A
I AM INTERESTED IN

VIEW COURSE CALENDAR

Restorative Tips: Successful Intracrevicular Tooth Preparation

April 20, 2018 Pankey Gram

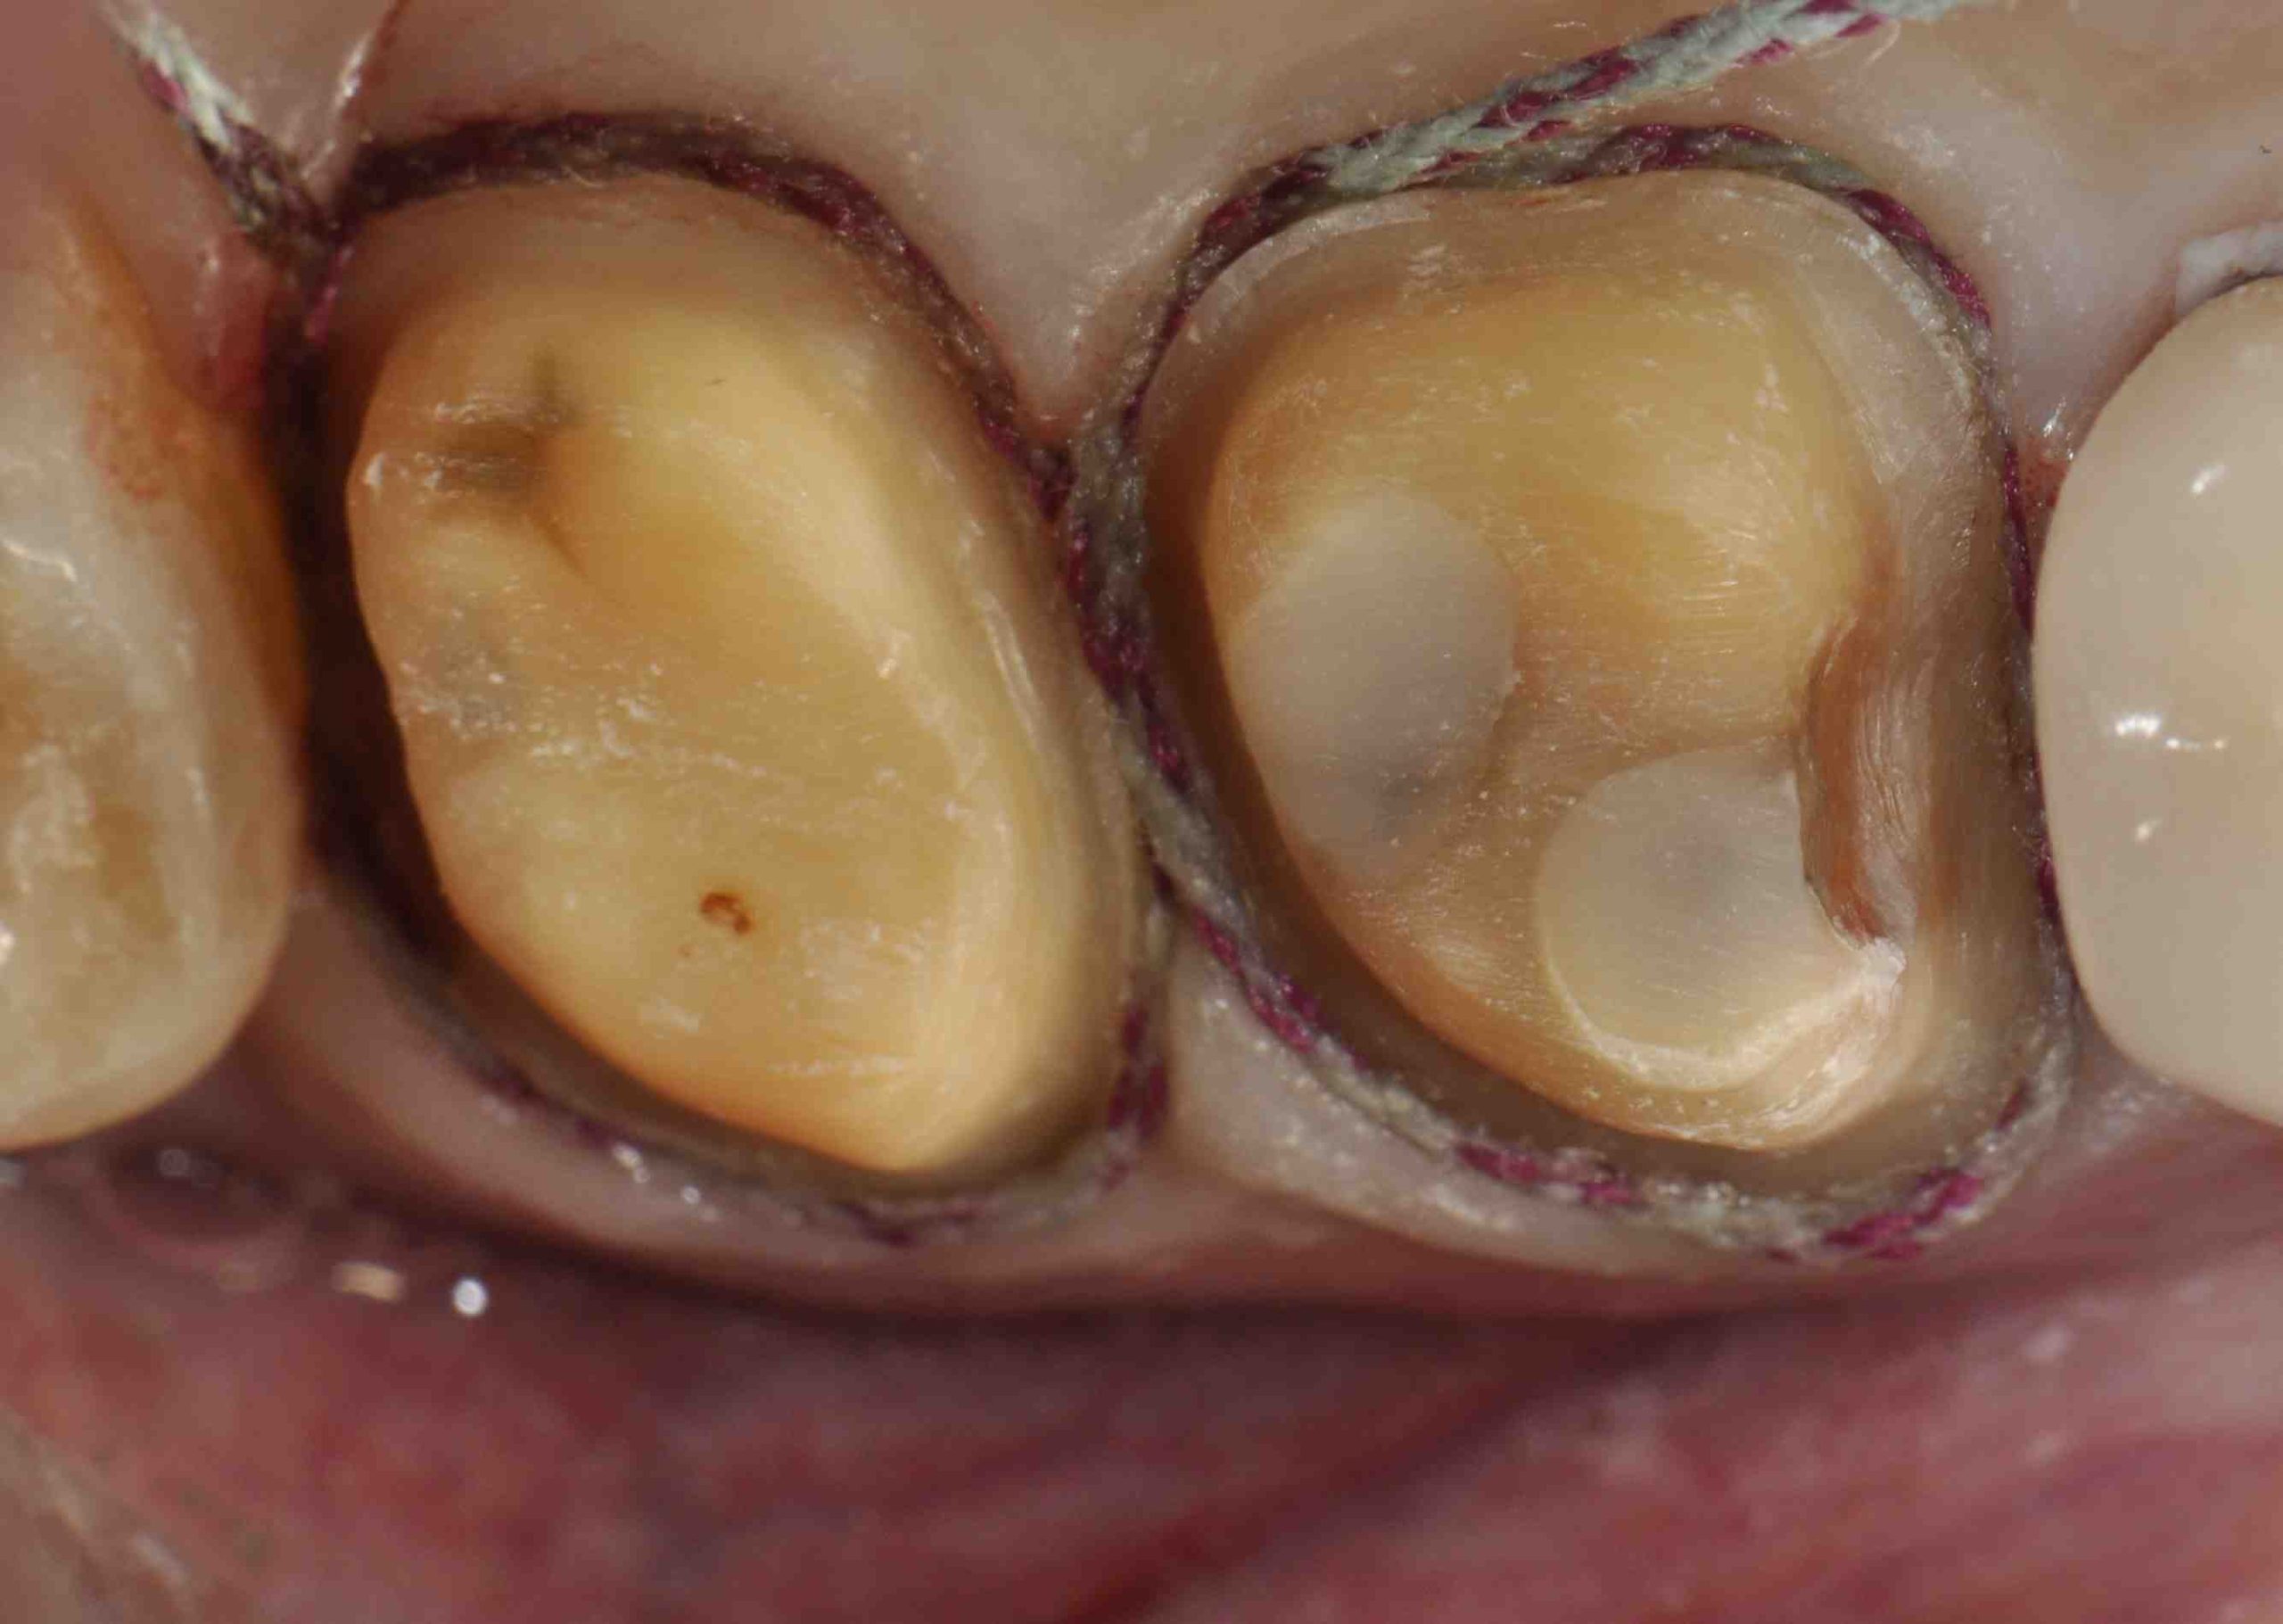
Maintaining the gingival margin during a restoration is one of the more challenging aspects of restorative care. Part of why this can be so difficult is that the gingival crevice is not always well understood.

The goal with a restoration should be to limit the possibility of inflammation or gingivitis post-treatment. This can only be accomplished if the intracrevicular margins (meaning those placed within and limited to the gingival crevice) are properly created.

There are multiple techniques needed for this goal, but one critical piece is how the tooth is prepared.

Successful Tooth Preparation Guidelines

There are multiple components of an ideal tooth preparation, including distinct margins and sufficient tooth reduction. If you have to extend the material you are using into the gingival crevice, then you must ensure the intracrevicular tooth reduction is large enough to account for the cosmetic material that will inevitably recess into the tooth’s normal shape.

One thing that absolutely must be avoided is forcing cosmetic material out into the tissue. This can occur as a result of under reducing the cervical aspect of the tooth. The negative effects of this problem are plaque growth, decreasing the patient’s ability to adequately cleanse the area, and a crevice that appears flabby and retractable. You’ll see these problems happening because as the cervical bulge protrudes, it distends the crevicular epithelium and connective tissue.

Sometimes, you may put plenty of care and precision into your effort and still find that the tissue is injured during your tooth preparation. To avoid this, you can consistently follow these simple guidelines:

1. Don’t overextend the rotary instrumentation circumferentially.

2. Avoid permanently damaging surrounding tissue during retraction or while making impressions.

3. Create polished and excellently contoured margins, as well as a great fit, for the interim restoration.

4. Prevent retention of temporary cement in the gingival crevice.

5. Sustain control of intracrevicular plaque.

Follow these guidelines and you’ll be on your way to long-lasting results.

How do you go about enacting successful tooth preparation in your restorations? We’d love to hear from you!

Related Course

Direct Composite: Predictable, Easy and Beautiful

DATE: October 25 2024 @ 8:00 am - October 26 2024 @ 4:00 pm

Location: The Pankey Institute

CE HOURS: 14

Regular Tuition: $ 2195

Single Occupancy with Ensuite Private Bath (per night): $ 290

Achieving Predictable and Stunning Anterior Results Direct composite is something we do every day in our practices. Yet, they can sometimes be frustrating when we don’t get a tight contact…

Learn More>

About Author

User Image
Pankey Gram

FIND A PANKEY DENTIST OR TECHNICIAN

I AM A
I AM INTERESTED IN

VIEW COURSE CALENDAR