Best Day Ever
By Daren Becker, DMD
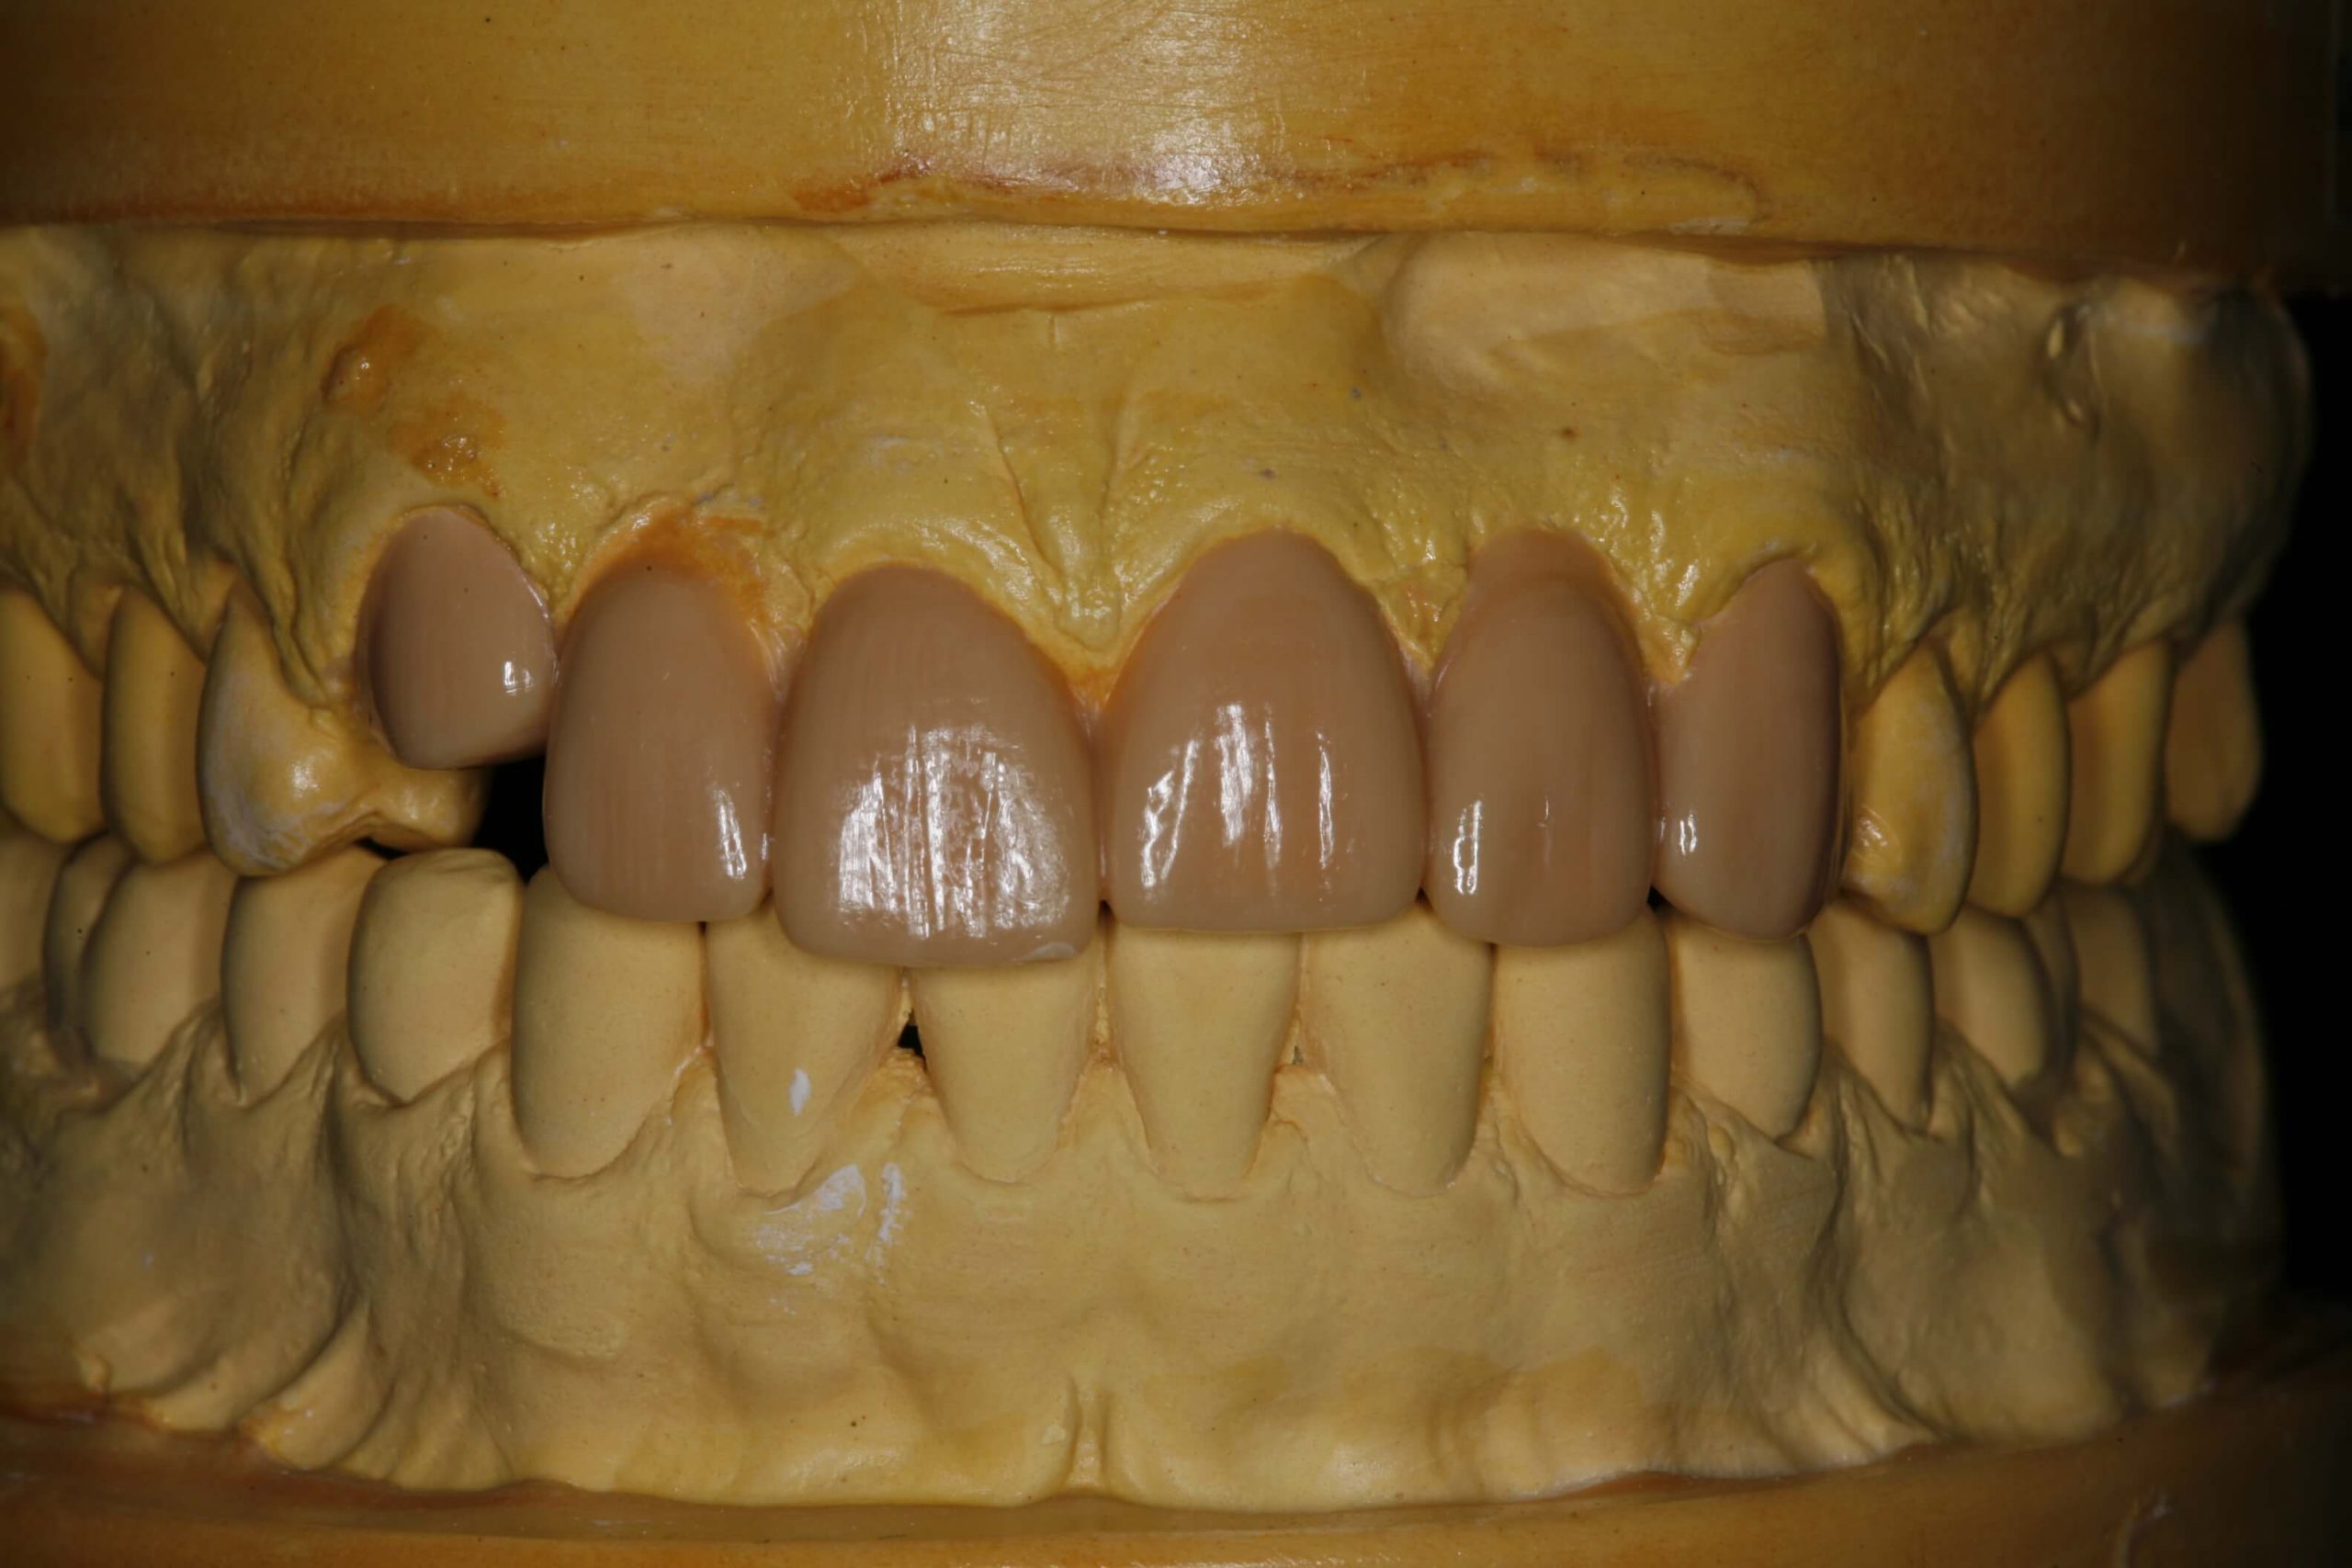
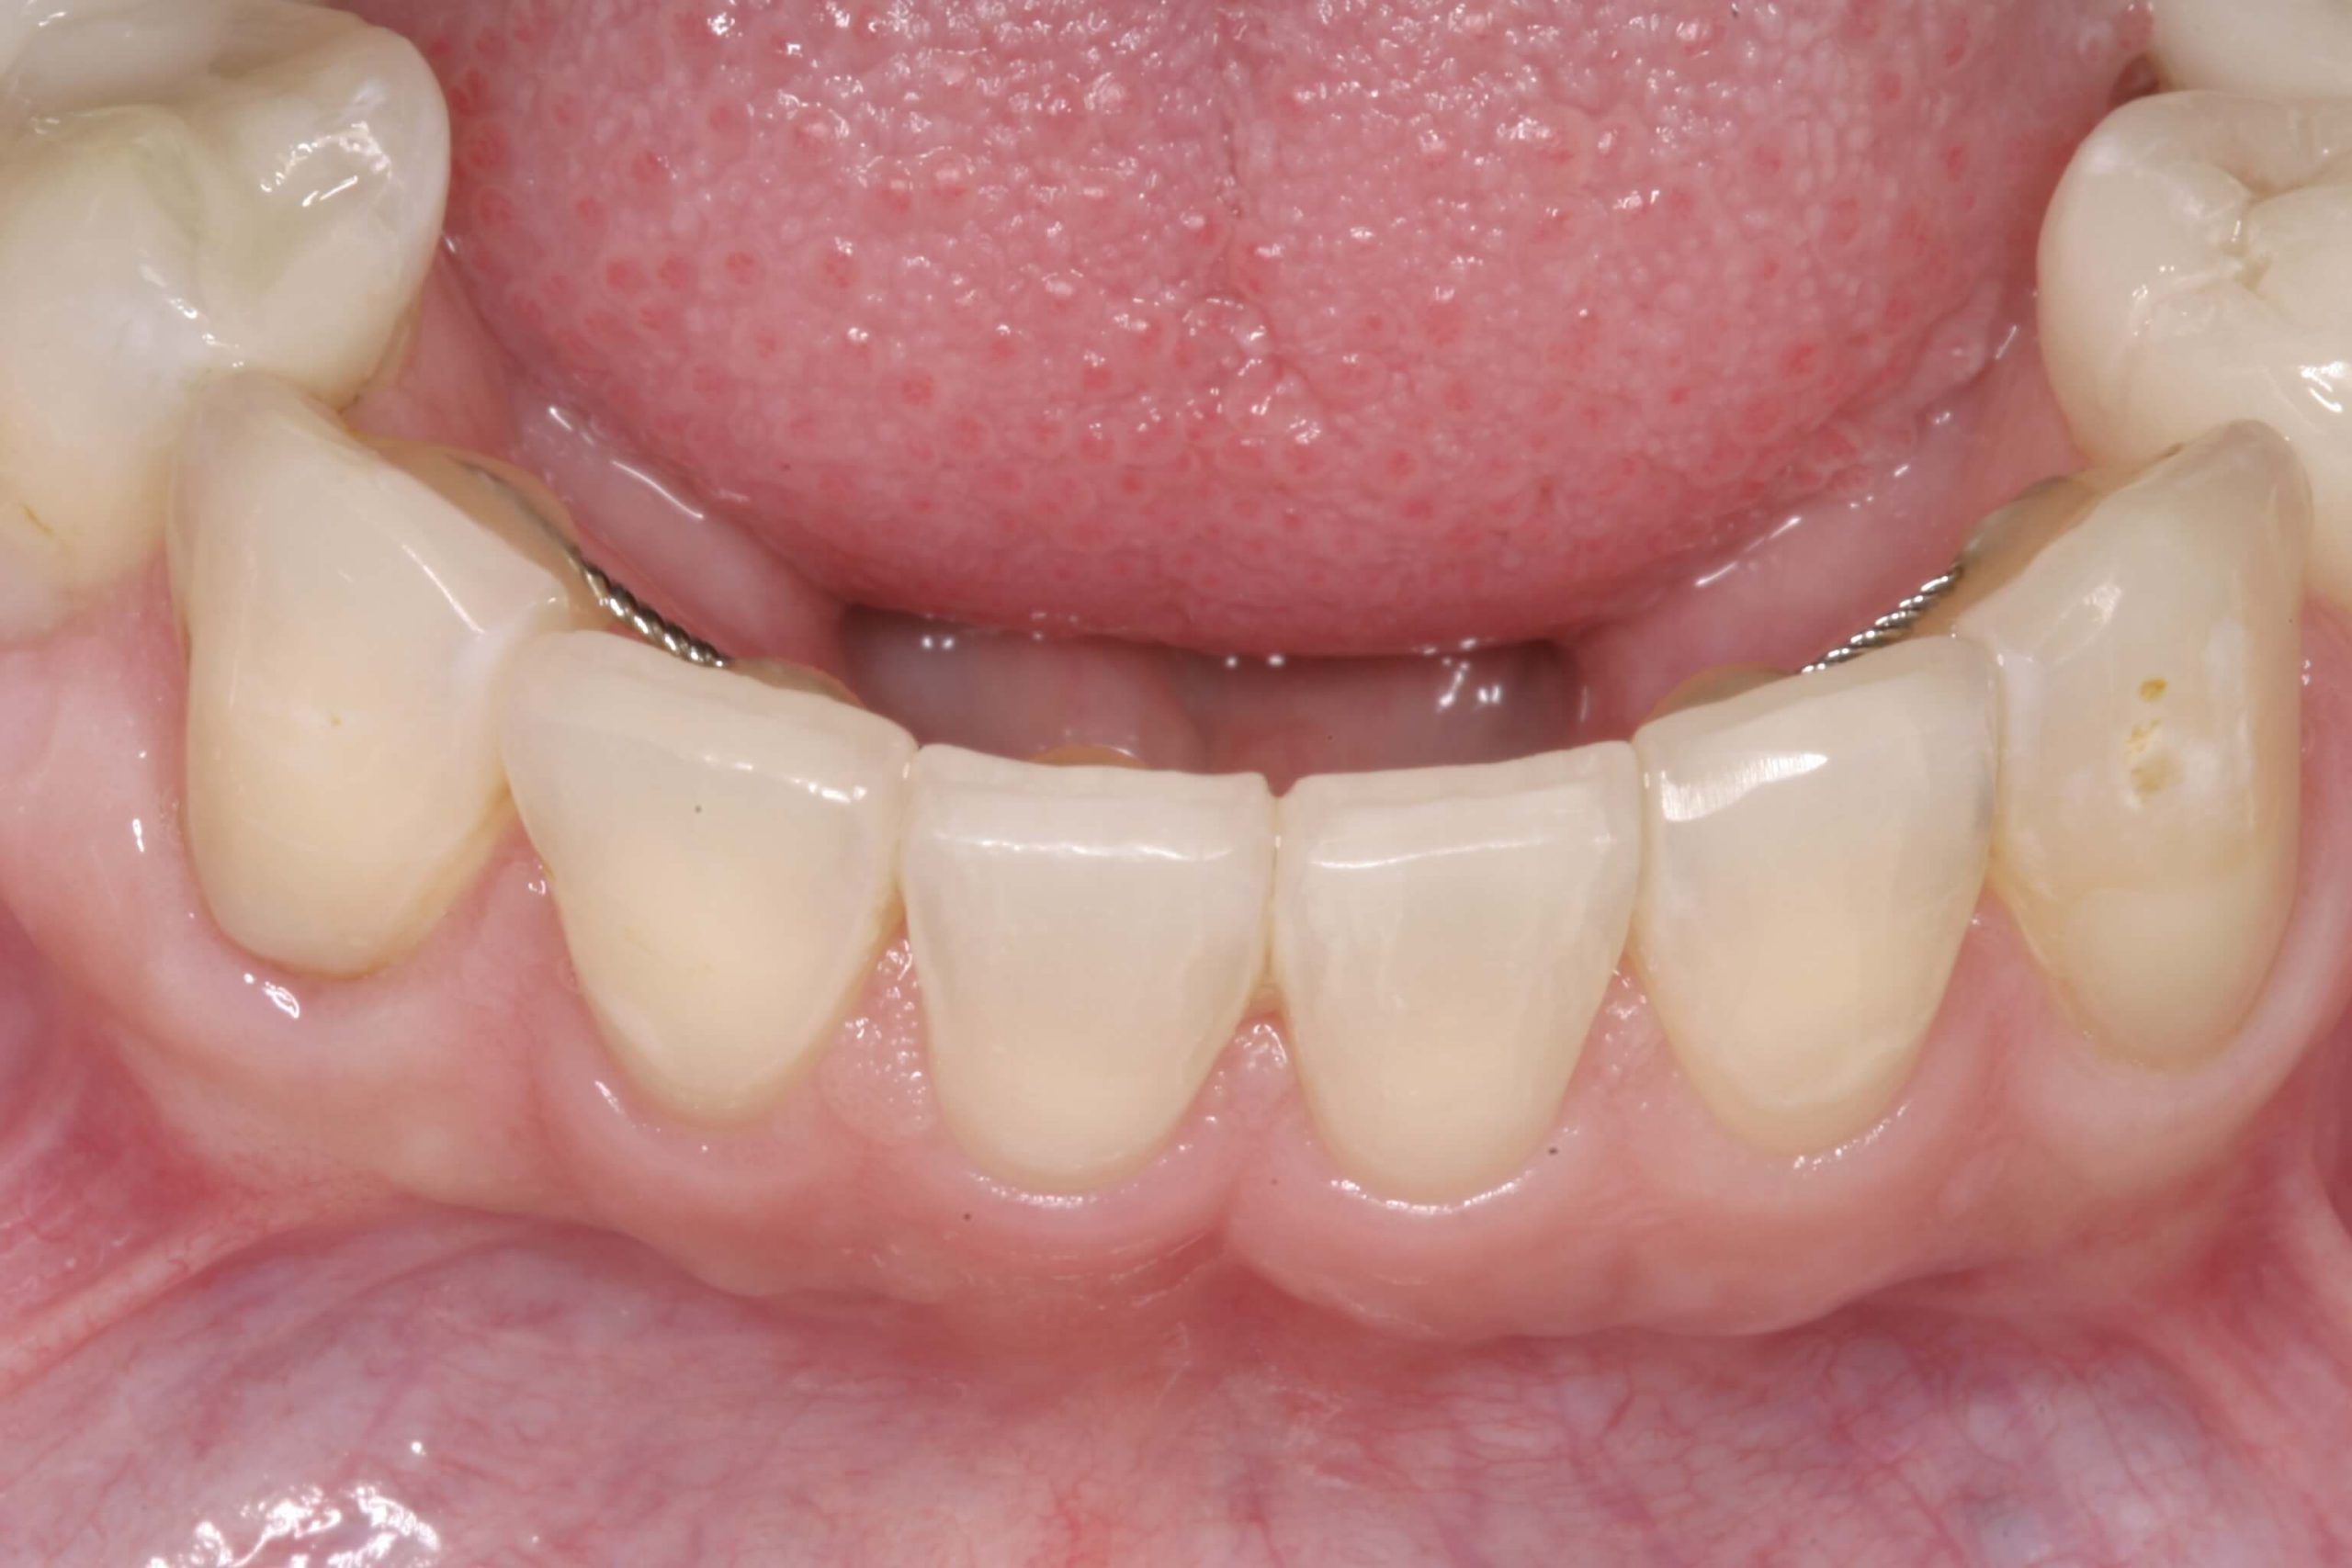
A 16-year-old girl presented with the worst case of ectodermal dysplasia I had ever seen.. She was missing all of her lower teeth except for her 12-year molars. She presented with a lower denture (made by a previous dentist) on two temporary implants in the canine position. She had only a few maxillary teeth that were malformed; some of these were still her primary teeth. The appearance of her smile made her look like she was a 9 year old child.
She was embarrassed by her smile and realized she would need implants and restorative dentistry down the road. At the time, she was too young. Our hearts went out to her.
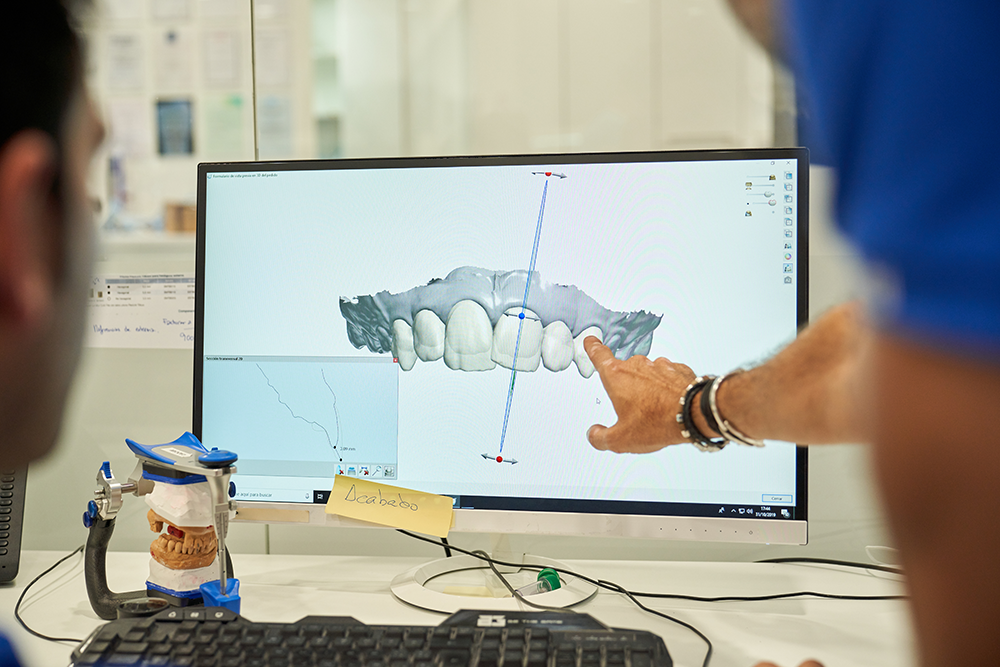
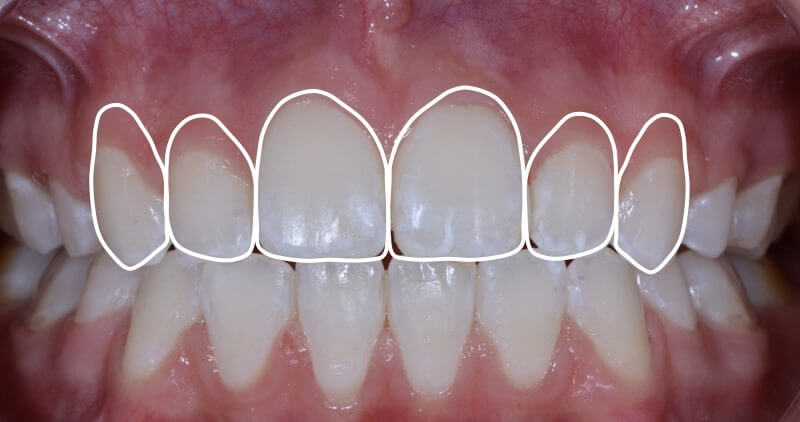
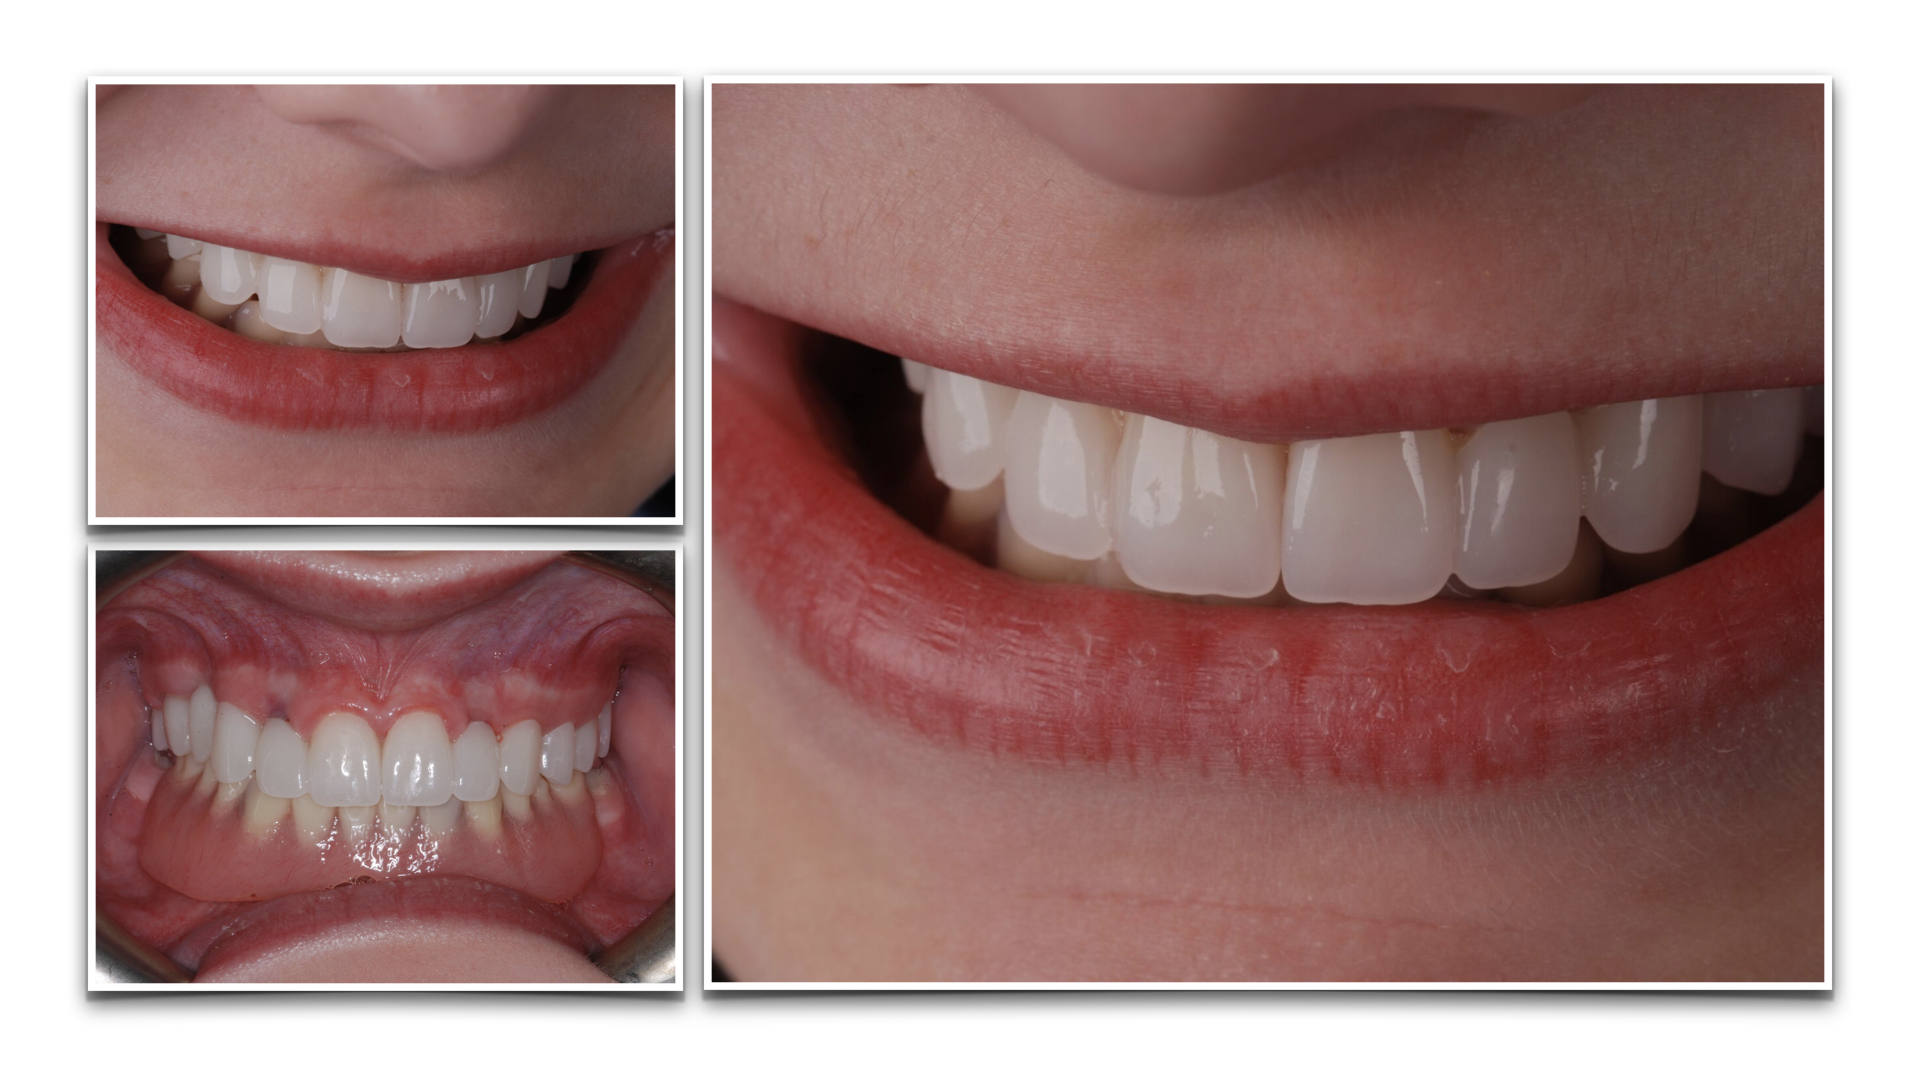
Another dentist had recommended direct bonding, which certainly could have worked, but I thought that we could get a better aesthetic result for her with significantly less time in the chair. So, we captured preclinical digital impression scans with our iTero scanner and along with Matt Roberts at CMR Dental Lab in Idaho, we designed a digital wax-up for an improved occlusion and smile. From there, we had milled PMMA (Polymethyl Methacrylate) overlays created that we direct bonded onto the existing dentition as a long-term temporary solution. We did not need to prep any teeth, and we quickly gave her a broad beautiful smile that looked natural and age appropriate.
She was in tears. We were in tears. Her mom and sister were in tears. It was the best day ever!
Soon after, she got a part as an extra in a series filmed here in Georgia, and is thinking about a career in acting. Seeing her life change with simple, comfortable clinical procedures has been priceless.


Related Course
The Pankey Administrative Team: Inspiring Front Office Excellence
DATE: February 6 2025 @ 8:00 am - February 7 2025 @ 2:00 pmLocation: The Pankey Institute
CE HOURS: 16
Regular Tuition: $ 2150
Single Occupancy Room with Ensuite Bath (Per Night): $ 345
The Pankey Administrative Team: Inspiring front office excellence Front office systems for a Pankey-trained dentist hold very specific differences compared to a typical dental office. Learning how to differentiate your…
Learn More>Related Article

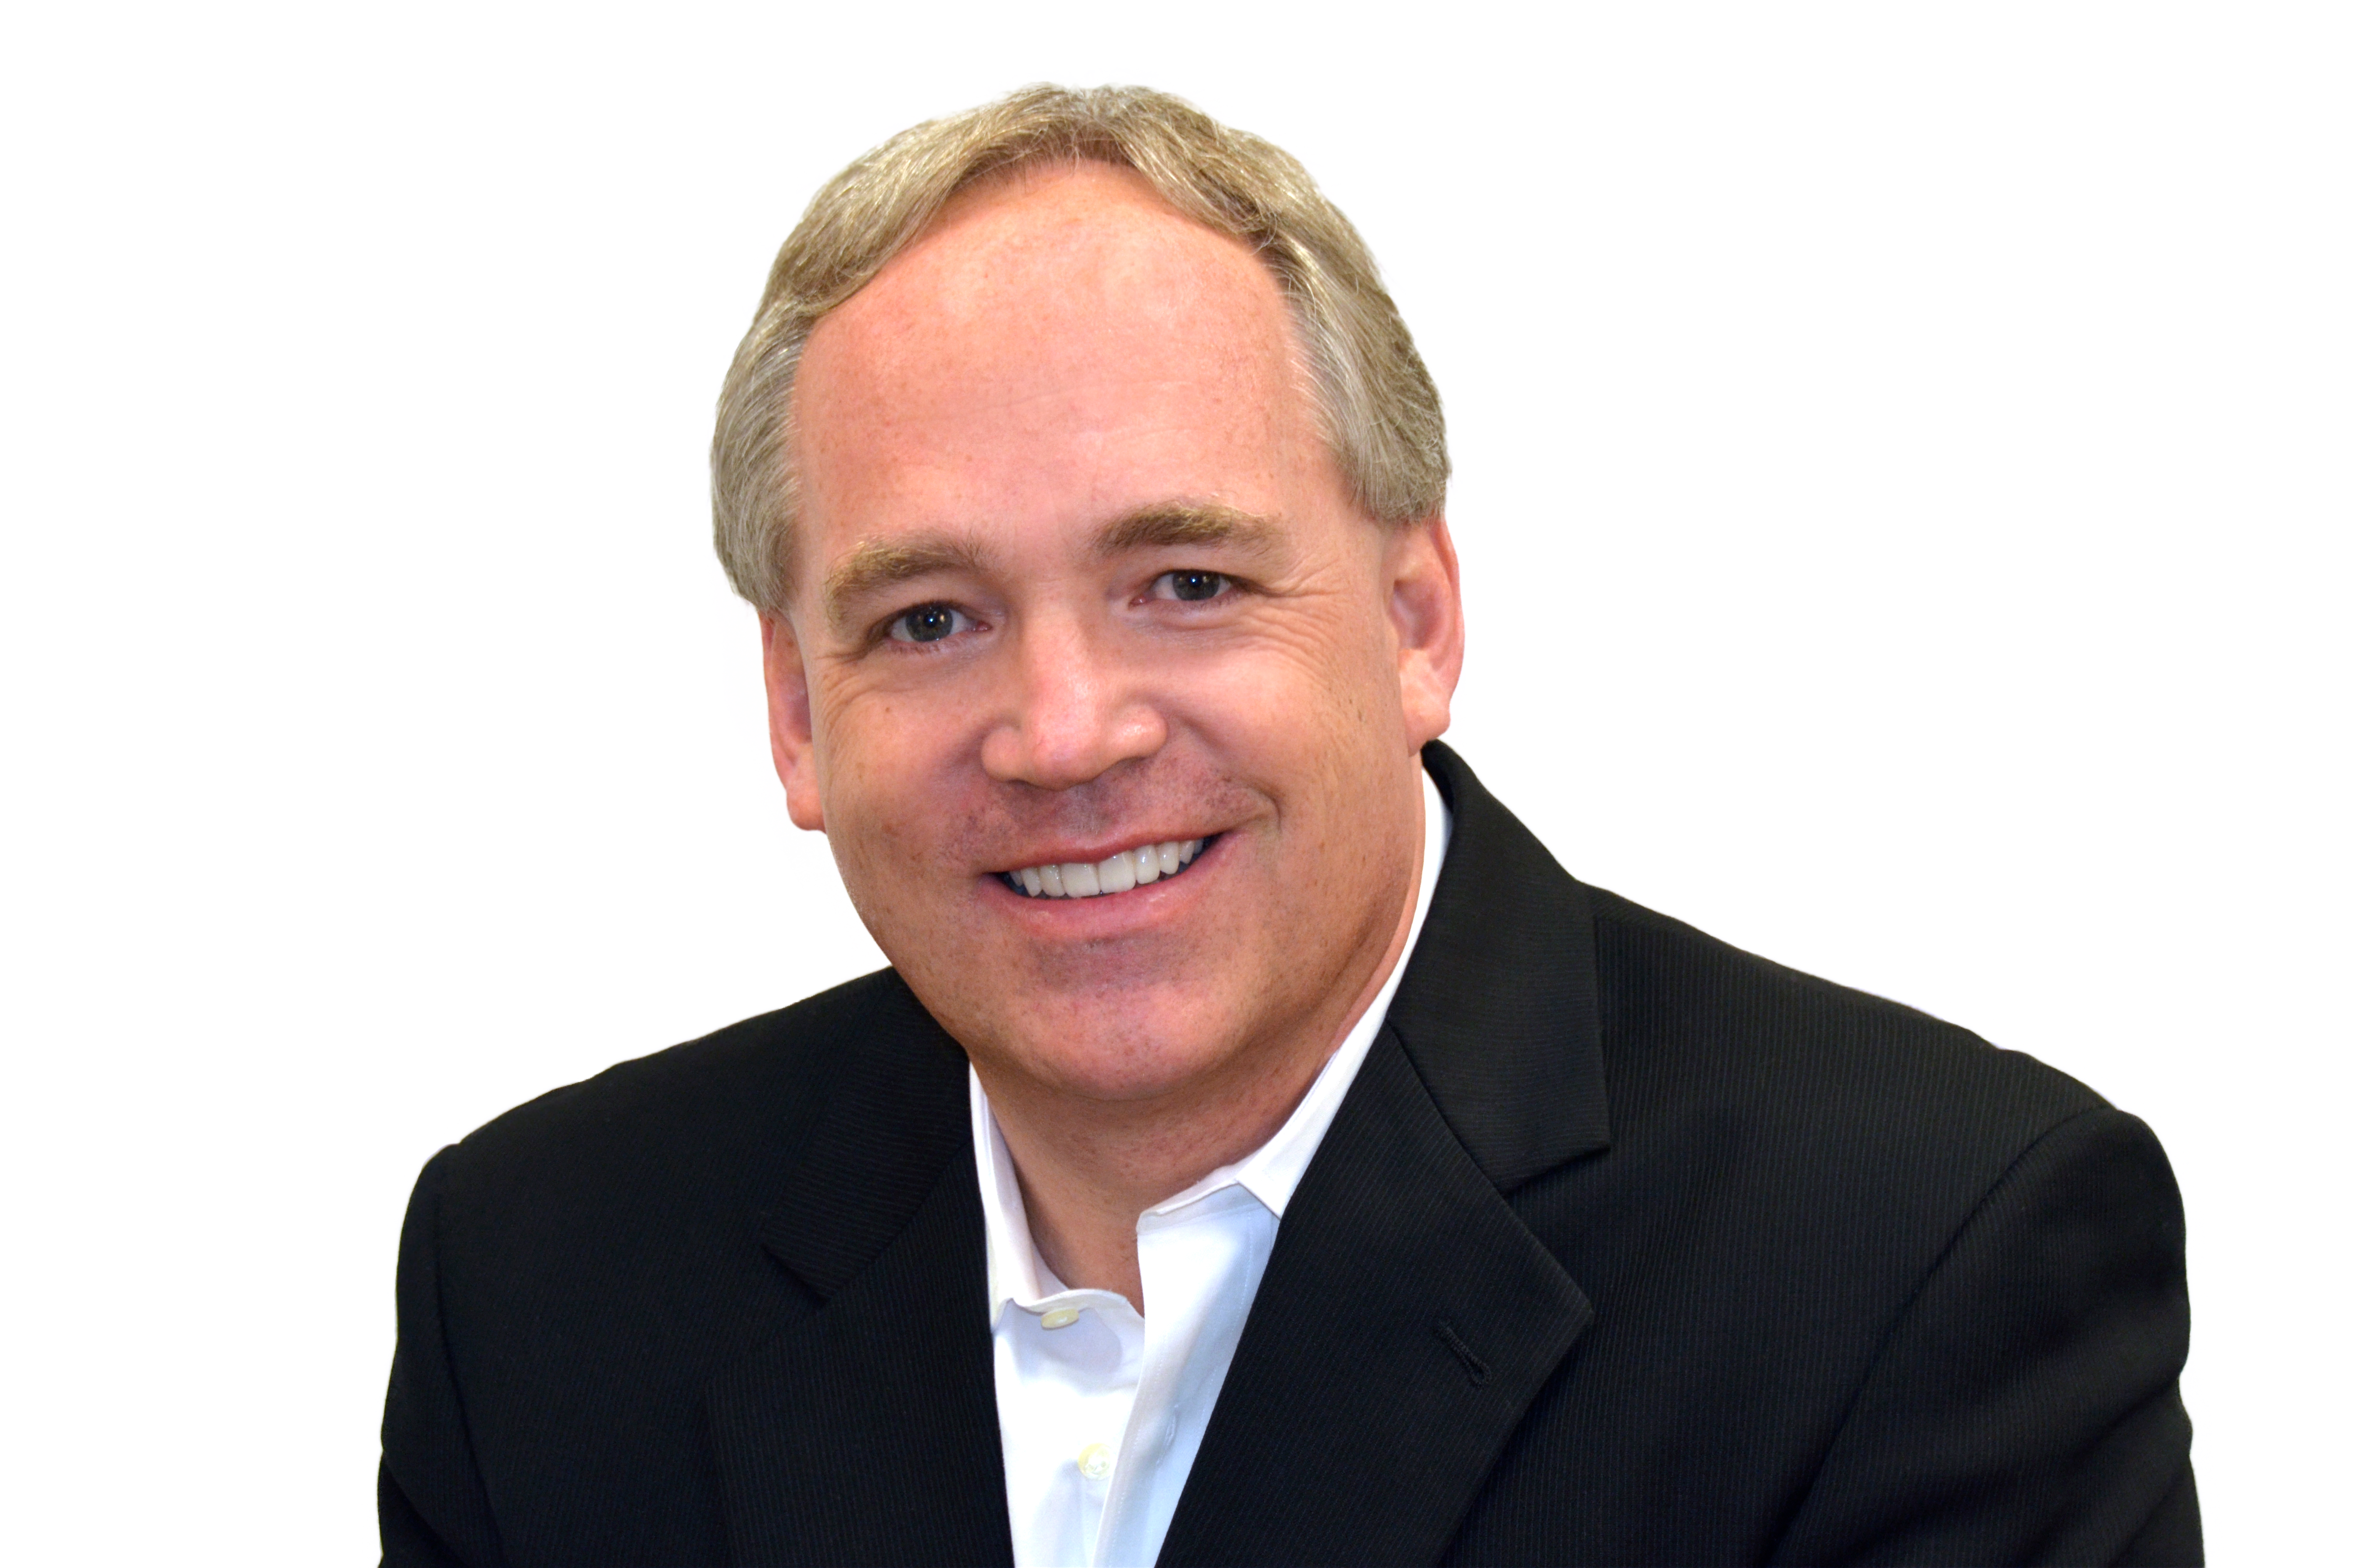
About Author
Dr. Becker earned his Bachelors of Science Degree in Computer Science from American International College and Doctor of Dental Medicine from the University of Florida College of Dentistry. He practices full time in Atlanta, GA with an emphasis on comprehensive restorative, implant and aesthetic dentistry. Daren began his advanced studies at the Pankey Institute in 1998 and was invited to be a guest facilitator in 2006 and has been on the visiting faculty since 2009. In addition, in 2006 he began spending time facilitating dental students from Medical College of Georgia College of Dentistry at the Ben Massell Clinic (treating indigent patients) as an adjunct clinical faculty. In 2011 he was invited to be a part time faculty in the Graduate Prosthodontics Residency at the Center for Aesthetic and Implant Dentistry at Georgia Health Sciences University, now Georgia Regents University College of Dental Medicine (formerly Medical College of Georgia). Dr. Becker has been involved in organized dentistry and has chaired and/or served on numerous state and local committees. Currently he is a delegate to the Georgia Dental Association. He has lectured at the Academy of General Dentistry annual meeting, is a regular presenter at ITI study clubs as well as numerous other study clubs. He is a regular contributor at Red Sky Dental Seminars.