Using X-Floss for Dental Implant Care 

June 3, 2024 Lee Ann Brady DMD

By Lee Ann Brady, DMD 

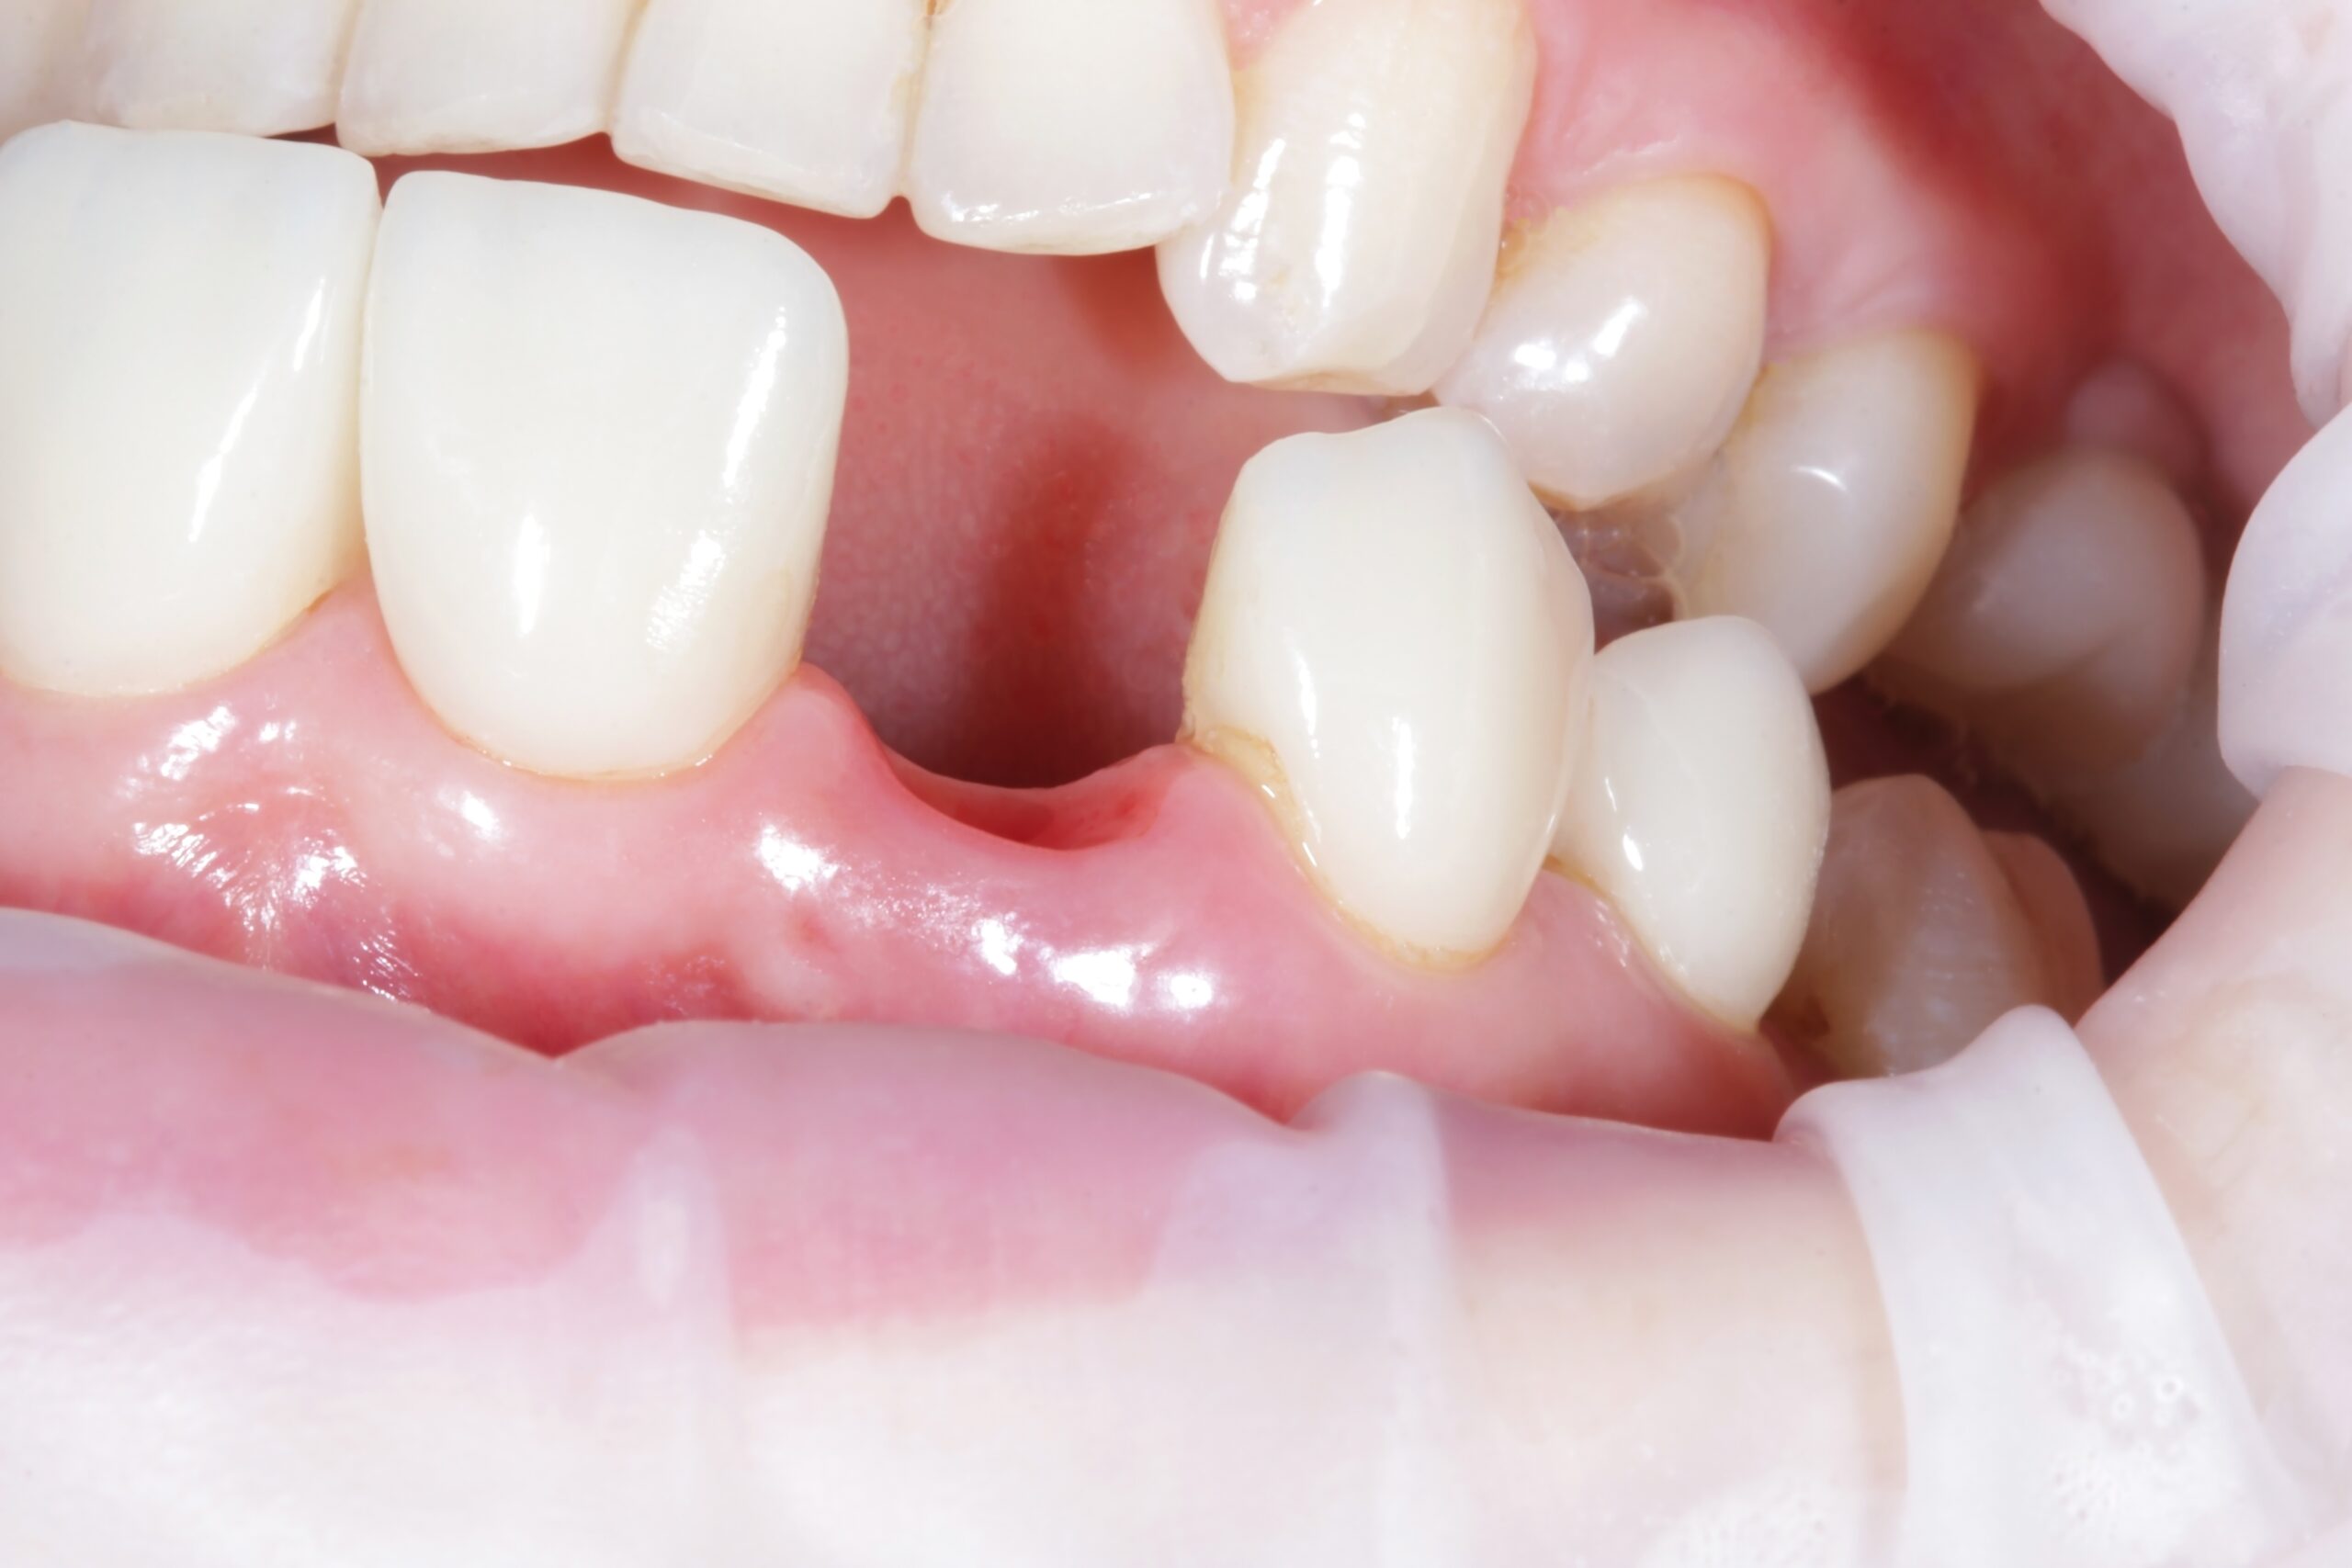
Cleaning the larger gingival embrasures around a posterior dental implant can be a challenge for patients. In my practice, posterior implant patients are some of the individuals we give X-Floss samples to try at home.  

X-Floss is a dental floss made by iDontix® that is designed to make flossing easier for individuals with bridges, braces, implants, or larger-than-normal gingival embrasures. It resembles yarn, has a thick texture, and has a hard end, making it easy to push under orthodontic wires, bridges, or in embrasure spaces. It effectively cleans larger spaces while remaining gentle on the gums. The soft material minimizes the risk of injury during flossing, even in subgingival areas, and it is conveniently available on Amazon and in drugstores.  

There are two varieties. Green X-Floss from is too thick for some spaces. Blue X-Floss Lite is less thick and just right for some spaces. You and your hygienist may want to give samples of both to your patients to try. Some of your patients are likely to more effectively and consistently floss once they are using this type of floss.  

Related Course

Integrative Dental Medicine: Creating Healthier Patients & Practices

DATE: June 27 2025 @ 8:00 am - June 28 2025 @ 4:00 pm

Location: The Pankey Institute

CE HOURS: 16

Regular Tuition: $ 2995

Single Occupancy with Ensuite Private Bath (per night): $ 345

We face a severe health crisis, that is a much larger pandemic than Covid-19! Our western lifestyle affects periodontal & periapical oral disease, vascular disease, breathing disordered sleep, GERD, dental…

Learn More>

About Author

User Image
Lee Ann Brady DMD

Dr. Lee Ann Brady is passionate about dentistry, her family and making a difference. She is a general dentist and owns a practice in Glendale, AZ limited to restorative dentistry. Lee’s passion for dental education began as a CE junkie herself, pursuing lots of advanced continuing education focused on Restorative and Occlusion. In 2005, she became a full time resident faculty member for The Pankey Institute, and was promoted to Clinical Director in 2006. Lee joined Spear Education as Executive VP of Education in the fall of 2008 to teach and coordinate the educational curriculum. In June of 2011, she left Spear Education, founded leeannbrady.com and joined the dental practice she now owns as an associate. Today, she teaches at dental meetings and study clubs both nationally and internationally, continues to write for dental journals and her website, sits on the editorial board of the Journal of Cosmetic Dentistry, Inside Dentistry and DentalTown Magazines and is the Director of Education for The Pankey Institute.

FIND A PANKEY DENTIST OR TECHNICIAN

I AM A
I AM INTERESTED IN

VIEW COURSE CALENDAR

Removing Resin from Inside a Crown 

April 19, 2024 Lee Ann Brady DMD

By Lee Ann Brady, DMD 

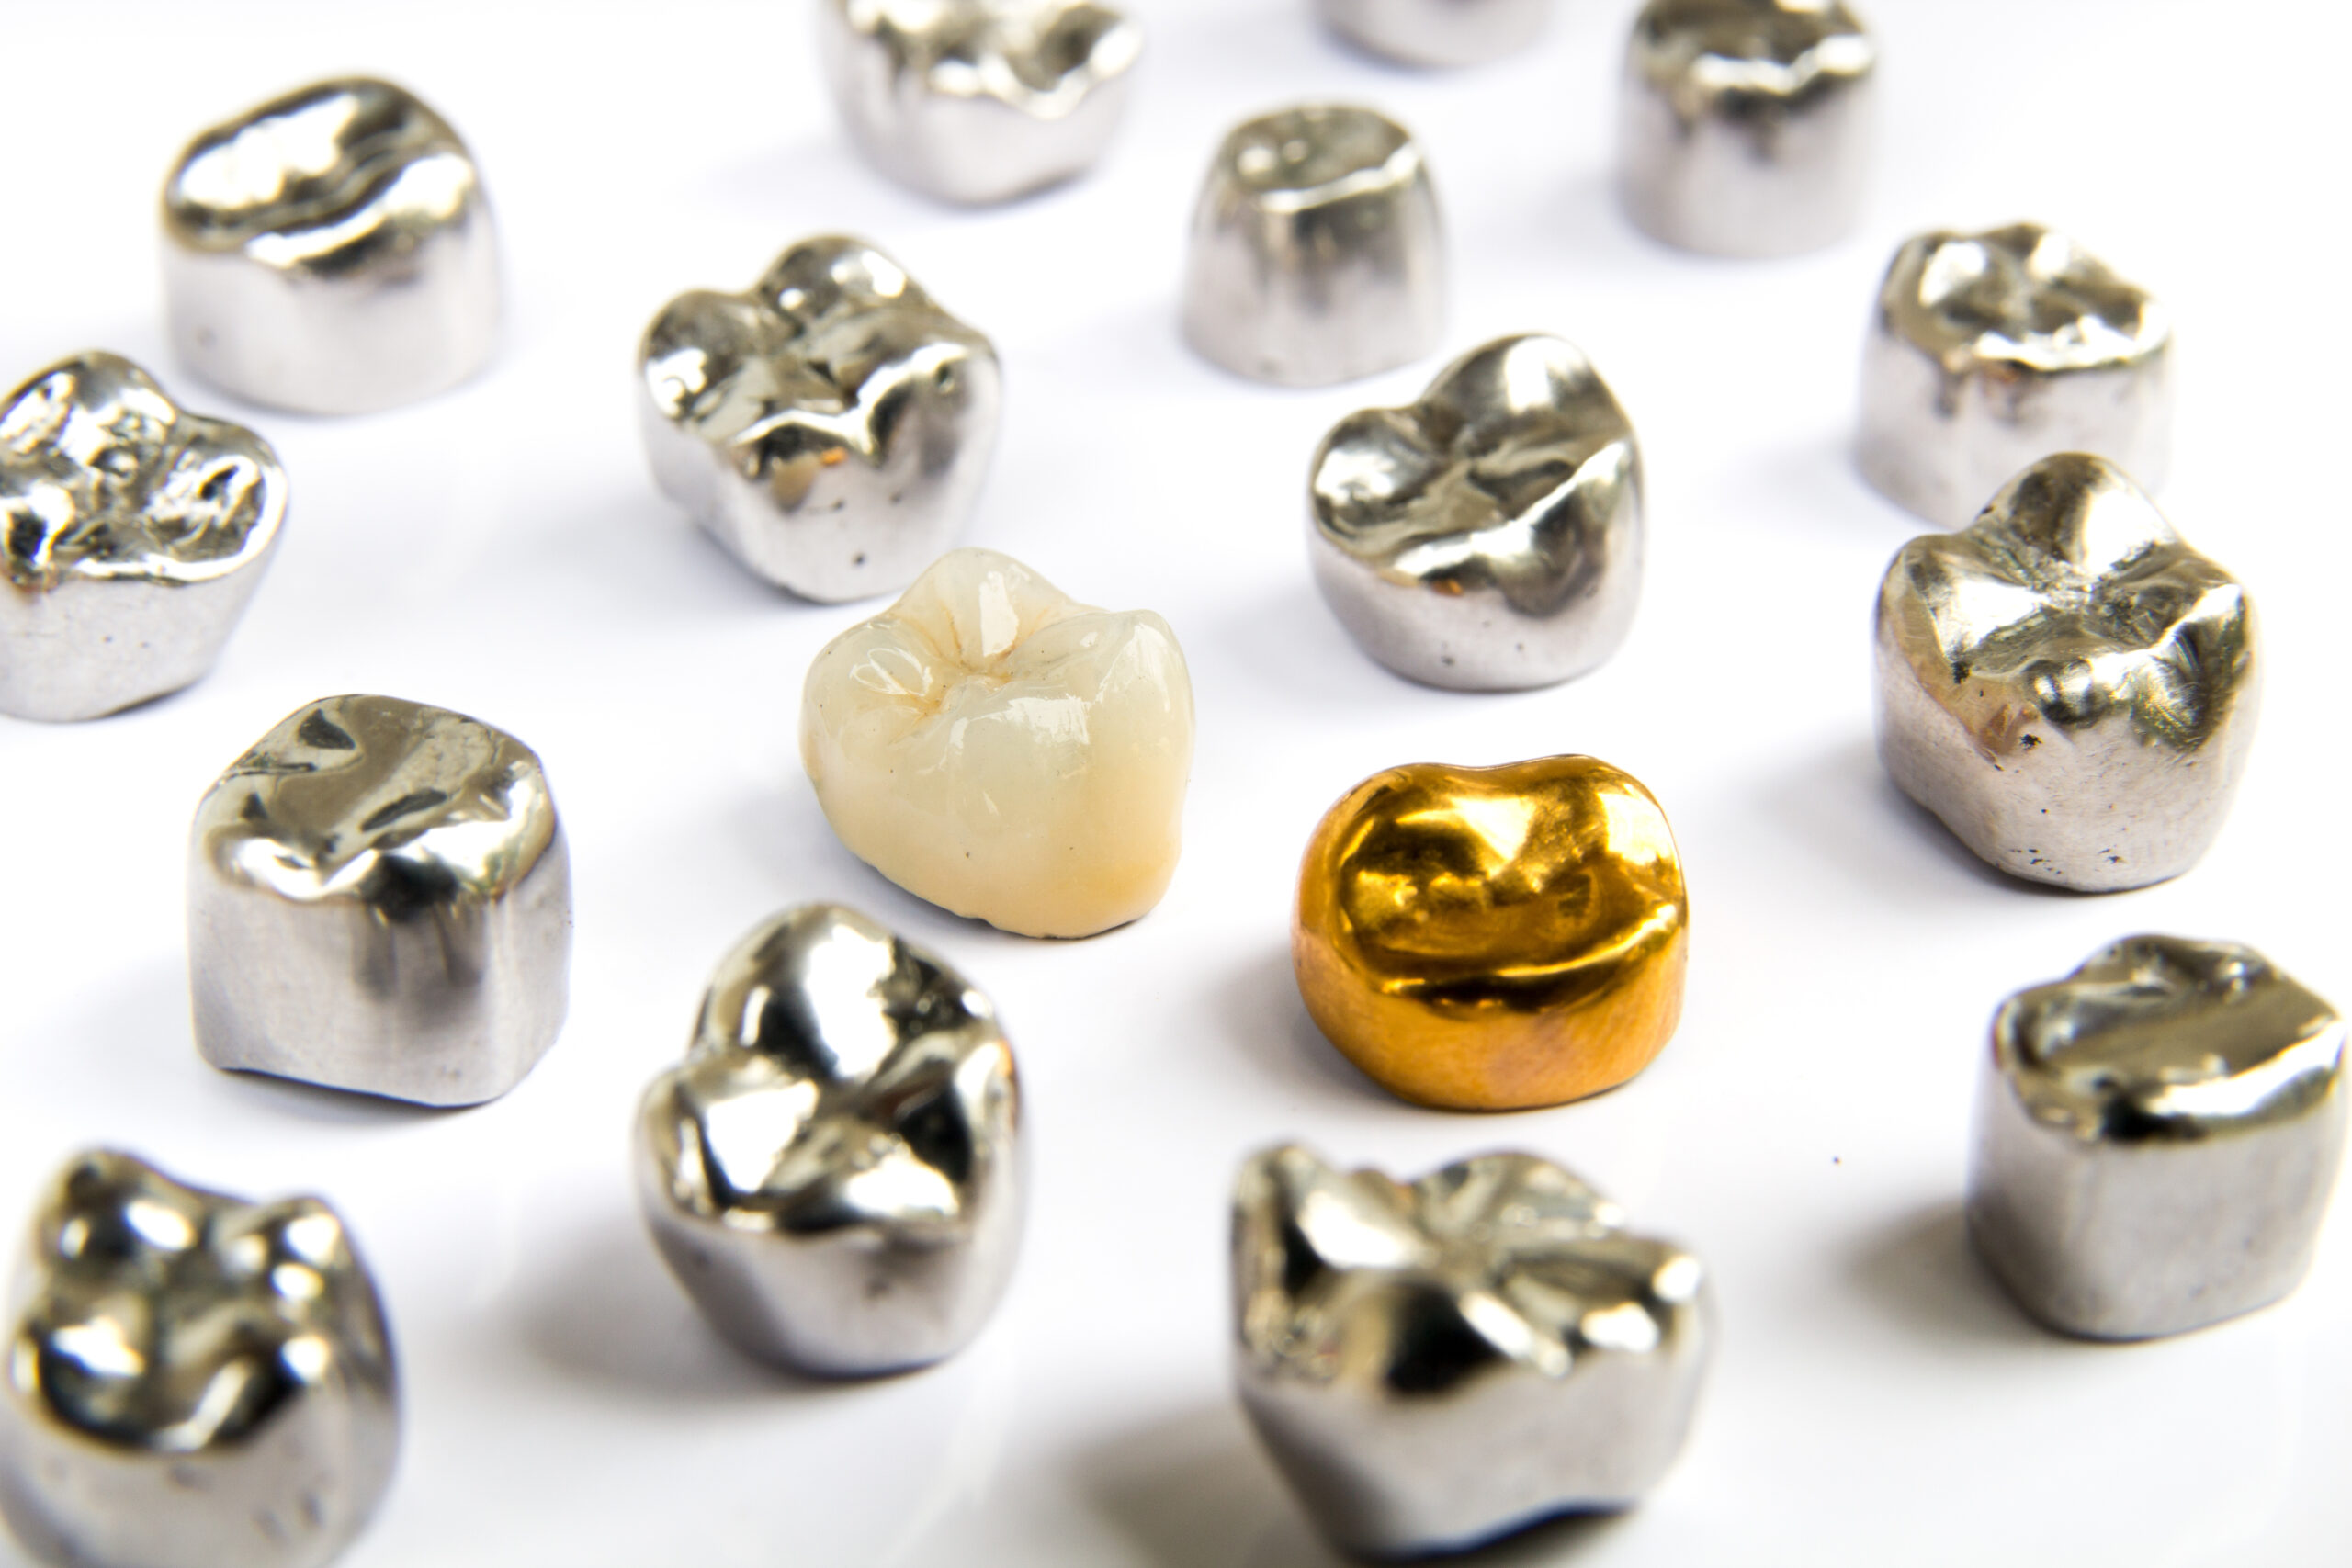
When a crown comes off and we are going to put it back in the mouth, we need to remove the old resin cement that is inside the crown. What is the best way to go about this? 

First, we need to know if the crown is made of zirconia or lithium disilicate. If you have a radiograph of that restoration, you can tell immediately which one of those two things it is. If you don’t, you can always attempt to X-ray it. (That’s what I do.) Alternatively, you can assume the crown is made of lithium disilicate, which is the more technique-sensitive material when it comes to removing cement. 

For crowns confirmed to be zirconia, employing 30-micron aluminum oxide air abrasion effectively clears out the old resin cement. Subsequently, re-etching the inside of the zirconia prepares it for reseating. For crowns presumed to be lithium disilicate, this approach should be avoided to prevent crack propagation. 

In the case of lithium disilicate crowns, two alternative methods can be employed: 

  1. The crown can be placed in a porcelain oven to liquefy and evaporate the old resin. However, caution must be exercised to avoid rapid heating of the hydrated ceramic that has been in the oral environment. Rapid dehydration will introduce cracks and lead to crown fracturing. 
  1. An alternative method involves using a brown silicone point in a high-speed handpiece, adjusted to lowest speed. A brown silicone point at slow speed effectively removes resin without damaging ceramic. 

How will you know when all the resin has been removed? When etching lithium disilicate, whether using red 5% hydrofluoric acid or Monobond Etch & Prime from Ivoclar Vivadent, any remaining resin will be evident because the dye sticks to it after the etching solution is rinsed off.  

Related Course

Surgically Facilitated Orthodontic Therapy

DATE: October 10 2024 @ 8:00 pm - October 10 2024 @ 9:00 pm

Location: Online

CE HOURS: 1

Date: October 10, 2024 Time: 8 – 9 pm ET Speaker: George Mandelaris, DDS, MS COURSE DESCRIPION Patients seeking ideal esthetics may require a more sophisticated diagnosis and treatment plan…

Learn More>

About Author

User Image
Lee Ann Brady DMD

Dr. Lee Ann Brady is passionate about dentistry, her family and making a difference. She is a general dentist and owns a practice in Glendale, AZ limited to restorative dentistry. Lee’s passion for dental education began as a CE junkie herself, pursuing lots of advanced continuing education focused on Restorative and Occlusion. In 2005, she became a full time resident faculty member for The Pankey Institute, and was promoted to Clinical Director in 2006. Lee joined Spear Education as Executive VP of Education in the fall of 2008 to teach and coordinate the educational curriculum. In June of 2011, she left Spear Education, founded leeannbrady.com and joined the dental practice she now owns as an associate. Today, she teaches at dental meetings and study clubs both nationally and internationally, continues to write for dental journals and her website, sits on the editorial board of the Journal of Cosmetic Dentistry, Inside Dentistry and DentalTown Magazines and is the Director of Education for The Pankey Institute.

FIND A PANKEY DENTIST OR TECHNICIAN

I AM A
I AM INTERESTED IN

VIEW COURSE CALENDAR

How I Address Filling the Access Hole of a Screw-Retained Implant Crown 

April 17, 2024 Lee Ann Brady DMD

By Lee Ann Brady, DMD 

For addressing the access hole of a screw-retained implant crown, my preferred method involves applying Teflon tape over the hole followed by temporary filling material, such as Telio Inlay from Ivoclar Vivadent. 

I emphasize to patients the importance of maintaining accessibility to the screw for potential adjustments without jeopardizing the integrity of the ceramic crown. Hence, immediately after seating the crown, I ensure no adjustments are needed before doing the filling. 

Patients are scheduled for a final post-op appointment with the surgeon after the restoration is in place. If there are no issues requiring crown removal, the Teflon tape and Telio Inlay may remain indefinitely, monitored during hygiene recall appointments. As long as the temporary filling remains intact, replacement is unnecessary. 

In cases where the Telio Inlay dislodges but the Teflon tape remains intact, I inform the patient of our plan to reapply the temporary filling. However, if repeated dislodgment occurs, leading to inconvenience, we consider transitioning to a permanent filling. In such instances, fresh Teflon tape is applied, and the access hole is filled with composite that precisely matches the crown’s color. 

Even if years pass and the Telio Inlay needs replacement, I opt for a temporary filling for ease of identification if removal is necessary. Only if frequent filling replacements prove bothersome do I consider switching to a permanent filling because I prioritize easy retrievability of the screw. 

Related Course

E4: Posterior Reconstruction and Completing the Comprehensive Treatment Sequence

DATE: July 31 2025 @ 8:00 am - August 4 2025 @ 2:30 pm

Location: The Pankey Institute

CE HOURS: 44

Dentist Tuition: $ 7400

Single Occupancy with Ensuite Private Bath (per night): $ 345

The purpose of this course is to help you develop mastery with complex cases involving advanced restorative procedures, precise sequencing and interdisciplinary coordination. Building on the learning in Essentials Three…

Learn More>

About Author

User Image
Lee Ann Brady DMD

Dr. Lee Ann Brady is passionate about dentistry, her family and making a difference. She is a general dentist and owns a practice in Glendale, AZ limited to restorative dentistry. Lee’s passion for dental education began as a CE junkie herself, pursuing lots of advanced continuing education focused on Restorative and Occlusion. In 2005, she became a full time resident faculty member for The Pankey Institute, and was promoted to Clinical Director in 2006. Lee joined Spear Education as Executive VP of Education in the fall of 2008 to teach and coordinate the educational curriculum. In June of 2011, she left Spear Education, founded leeannbrady.com and joined the dental practice she now owns as an associate. Today, she teaches at dental meetings and study clubs both nationally and internationally, continues to write for dental journals and her website, sits on the editorial board of the Journal of Cosmetic Dentistry, Inside Dentistry and DentalTown Magazines and is the Director of Education for The Pankey Institute.

FIND A PANKEY DENTIST OR TECHNICIAN

I AM A
I AM INTERESTED IN

VIEW COURSE CALENDAR

A Tip for Matching the Color of Cement Between an Implant Abutment and Crown

March 8, 2024 Lee Ann Brady

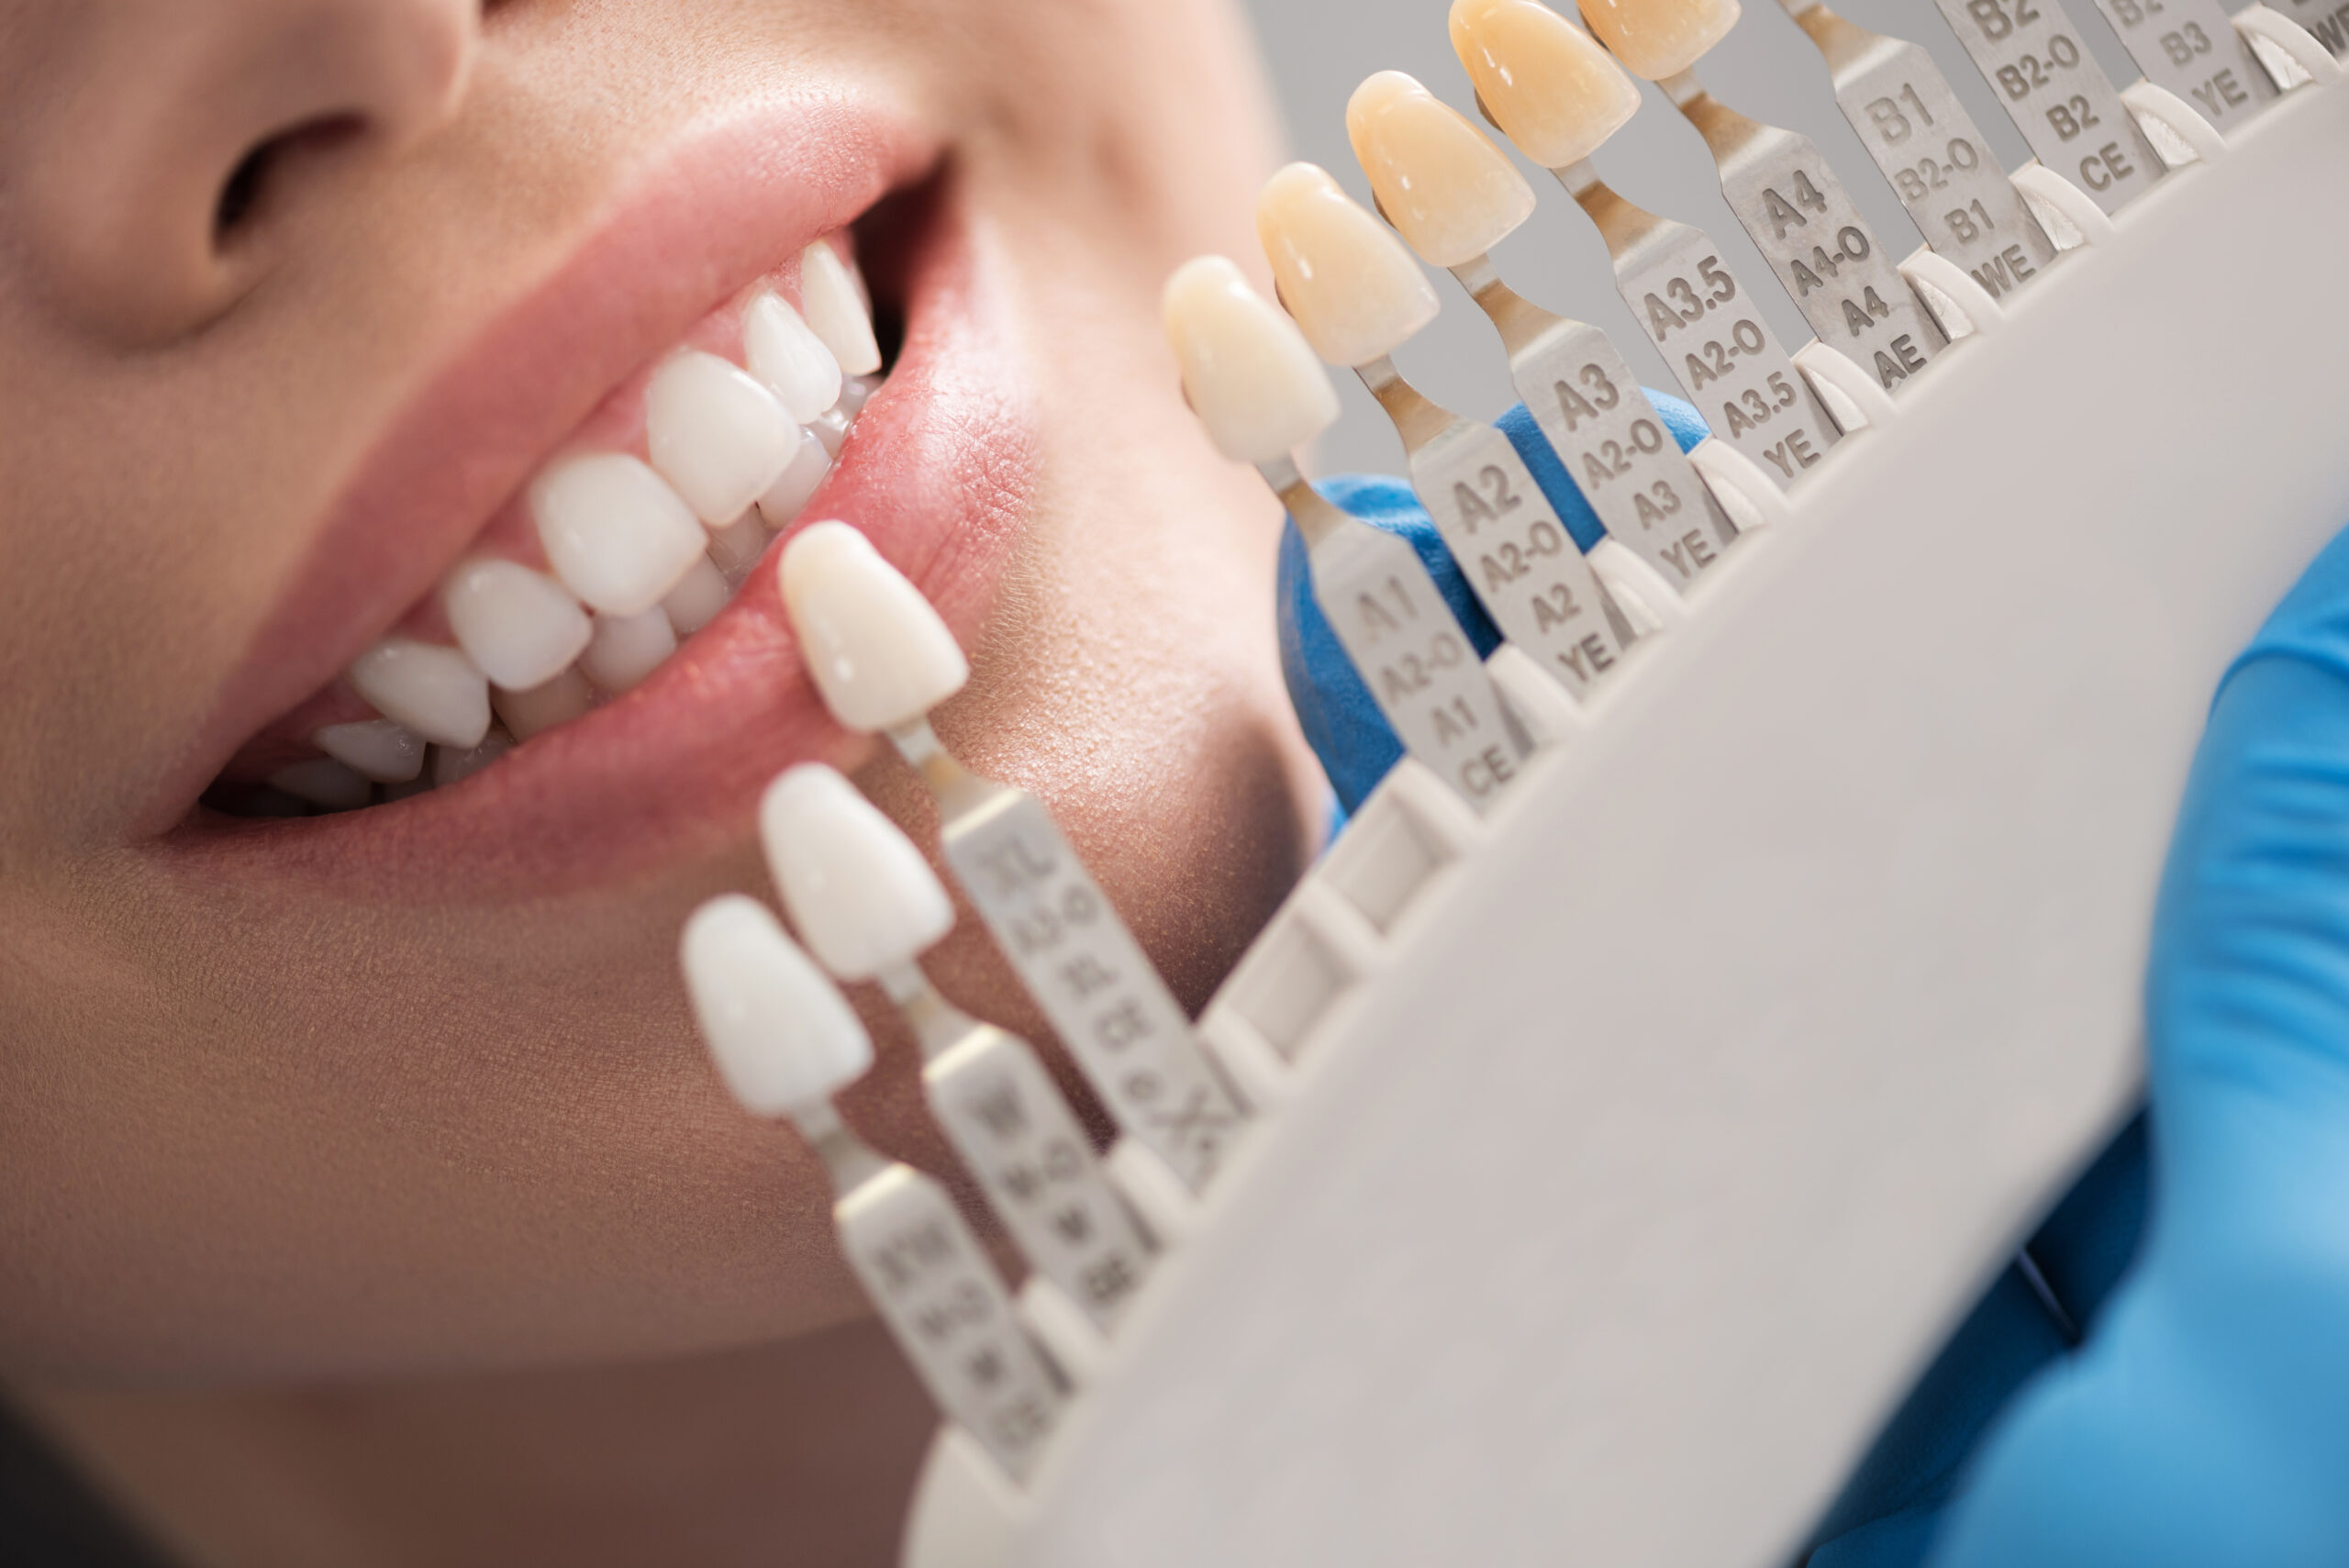
Trying to match the color of the cement between the abutment and the dental implant crown in the anterior can be very frustrating. Here’s a trick that works well for me. 

A while back I was struggling to match the color of the cement between the abutment and an anterior implant crown. I always try-in the abutment and the crown and try to confirm the shade before they are put together. We do this because the laboratory can’t redo the shade once they’ve bonded the crown and the abutment for screw retention without trying to separate the cement, which is difficult. 

Over the years, it was a challenge to replicate the opacity of the cement used to connect the titanium abutment and ceramic crown. I’ve tried using some of the opaquest try-in paste on the market. 

In the case I referred to above, we thought we had it. My lab cemented it together and I put it in. I could see the opacity of the cement through the restoration. So, we had to take it apart and try again. My laboratory technician shared with me a trick that he had learned from one of his other dentist clients. And that was to simply go to CVS, Costco, or Target and buy good old fashioned liquid white out.  

Now, I put a very tiny amount of whiteout on a micro brush and paint it on the inside of the labial surface of the crown on the intaglio surface. Then, I use a bit of translucent try-in paste to seat the crown. 

The whiteout works well because it is basically titanium dioxide and water with preservatives—the same white compound that is in super white sunscreens. In my opinion, it is relatively safe to use, and I can see what the implant will look like when the pieces are cemented together. 

Related Course

Surgically Facilitated Orthodontic Therapy

DATE: October 10 2024 @ 8:00 pm - October 10 2024 @ 9:00 pm

Location: Online

CE HOURS: 1

Date: October 10, 2024 Time: 8 – 9 pm ET Speaker: George Mandelaris, DDS, MS COURSE DESCRIPION Patients seeking ideal esthetics may require a more sophisticated diagnosis and treatment plan…

Learn More>

About Author

User Image
Lee Ann Brady

FIND A PANKEY DENTIST OR TECHNICIAN

I AM A
I AM INTERESTED IN

VIEW COURSE CALENDAR

Why Use an Essix Retainer Versus a Flipper During Dental Implant Therapy

February 16, 2024 Lee Ann Brady DMD

Why Use an Essix Retainer Versus a Flipper During Dental Implant Therapy 

Lee Ann Brady, DMD 

When it comes to choosing a provisional during implant therapy in the anterior aesthetic zone, we have two removable options. One is called a “flipper.” It’s an interim partial denture composed of an acrylic base and a denture tooth. The other is an Essix retainer.  

There is no question that both options are taxing for the patient for the three to five months that the patient is edentulous and must deal with having this removable device to replace the tooth. So, I always tell my patients that they are going to have to manage the provisional for that time, but it’s worth it because, in the end, they have replaced the tooth with an implant with all the benefits of an implant versus an alternative prosthetic solution. 

In my practice, I use Essix retainers in nearly 100% of the cases. Why? Because an Essix retainer is tooth-borne. The pressure is placed on the teeth and not on the surgical site. In the case of a flipper, the prosthesis is primarily tissue-borne with a little pressure placed on the adjacent teeth. We really don’t want any pressure on the surgical site while it is healing. Pressure can induce biological problems in bone grafts and connective tissue, which affect the long-term outcome. From an aesthetic perspective, the most challenging thing about anterior implant aesthetics is replicating the size, shape, and position of the tissues of the alveolar ridge and papilla. I want to do everything I can to eliminate pressure on the healing tissue. 

In my practice, we do Essix retainers that don’t have a full solid tooth in them. Instead, we simply paint flowable on the facial so that there’s zero pressure anywhere around that surgical site after extraction, after grafting, and after implant placement.  

In addition to explaining the improved outcomes associated with using an Essix retainer, I assure my patients that the retainer will be more comfortable to wear than a denture and be easily removed by them for eating, for drinking liquids other than water that are likely to stain the retainer, for teeth cleaning, and for cleaning the prosthesis. When out in public, such as in a restaurant, patients may carefully eat while wearing the Essix retainer.  

Related Course

Surgically Facilitated Orthodontic Therapy

DATE: October 10 2024 @ 8:00 pm - October 10 2024 @ 9:00 pm

Location: Online

CE HOURS: 1

Date: October 10, 2024 Time: 8 – 9 pm ET Speaker: George Mandelaris, DDS, MS COURSE DESCRIPION Patients seeking ideal esthetics may require a more sophisticated diagnosis and treatment plan…

Learn More>

About Author

User Image
Lee Ann Brady DMD

Dr. Lee Ann Brady is passionate about dentistry, her family and making a difference. She is a general dentist and owns a practice in Glendale, AZ limited to restorative dentistry. Lee’s passion for dental education began as a CE junkie herself, pursuing lots of advanced continuing education focused on Restorative and Occlusion. In 2005, she became a full time resident faculty member for The Pankey Institute, and was promoted to Clinical Director in 2006. Lee joined Spear Education as Executive VP of Education in the fall of 2008 to teach and coordinate the educational curriculum. In June of 2011, she left Spear Education, founded leeannbrady.com and joined the dental practice she now owns as an associate. Today, she teaches at dental meetings and study clubs both nationally and internationally, continues to write for dental journals and her website, sits on the editorial board of the Journal of Cosmetic Dentistry, Inside Dentistry and DentalTown Magazines and is the Director of Education for The Pankey Institute.

FIND A PANKEY DENTIST OR TECHNICIAN

I AM A
I AM INTERESTED IN

VIEW COURSE CALENDAR