Dental Care While Wearing an Essix Retainer 

April 15, 2024 Lee Ann Brady

By Lee Ann Brady, DMD 

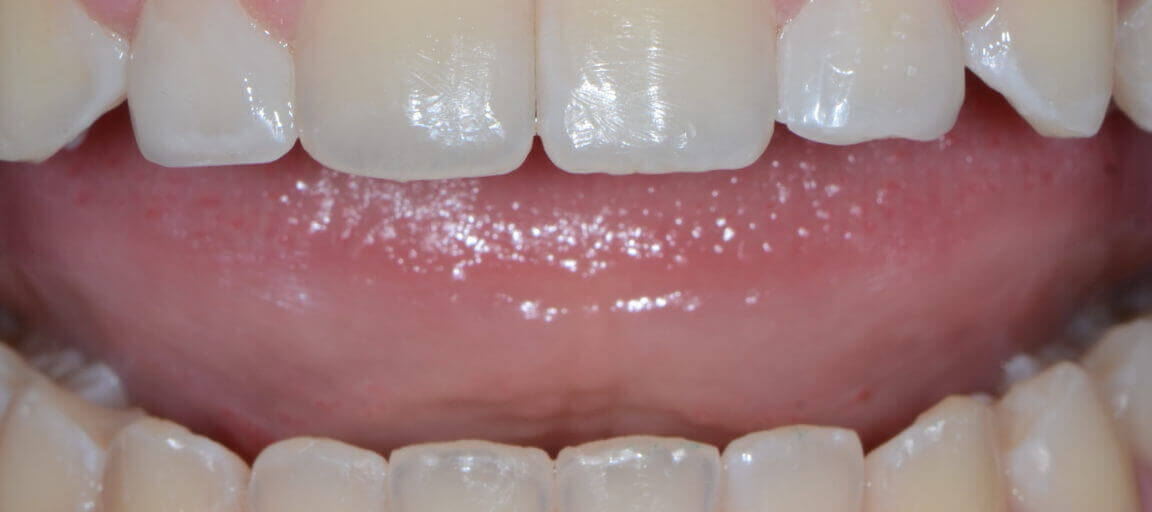
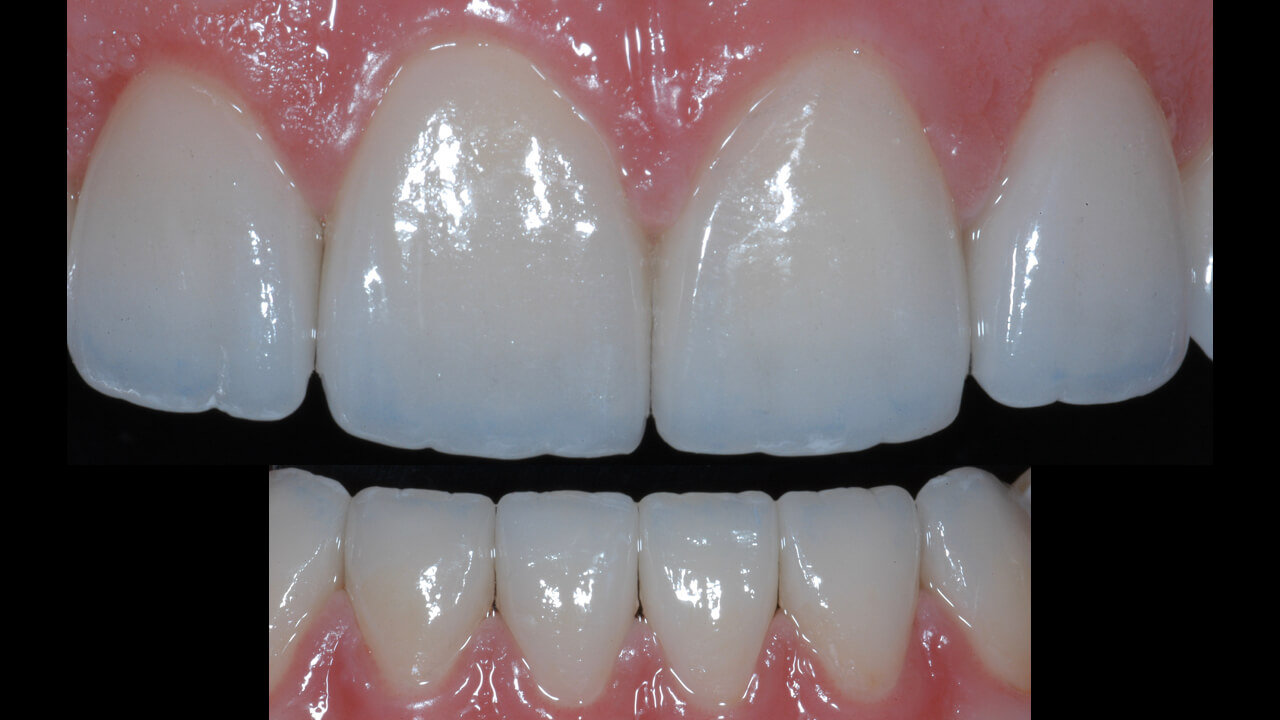
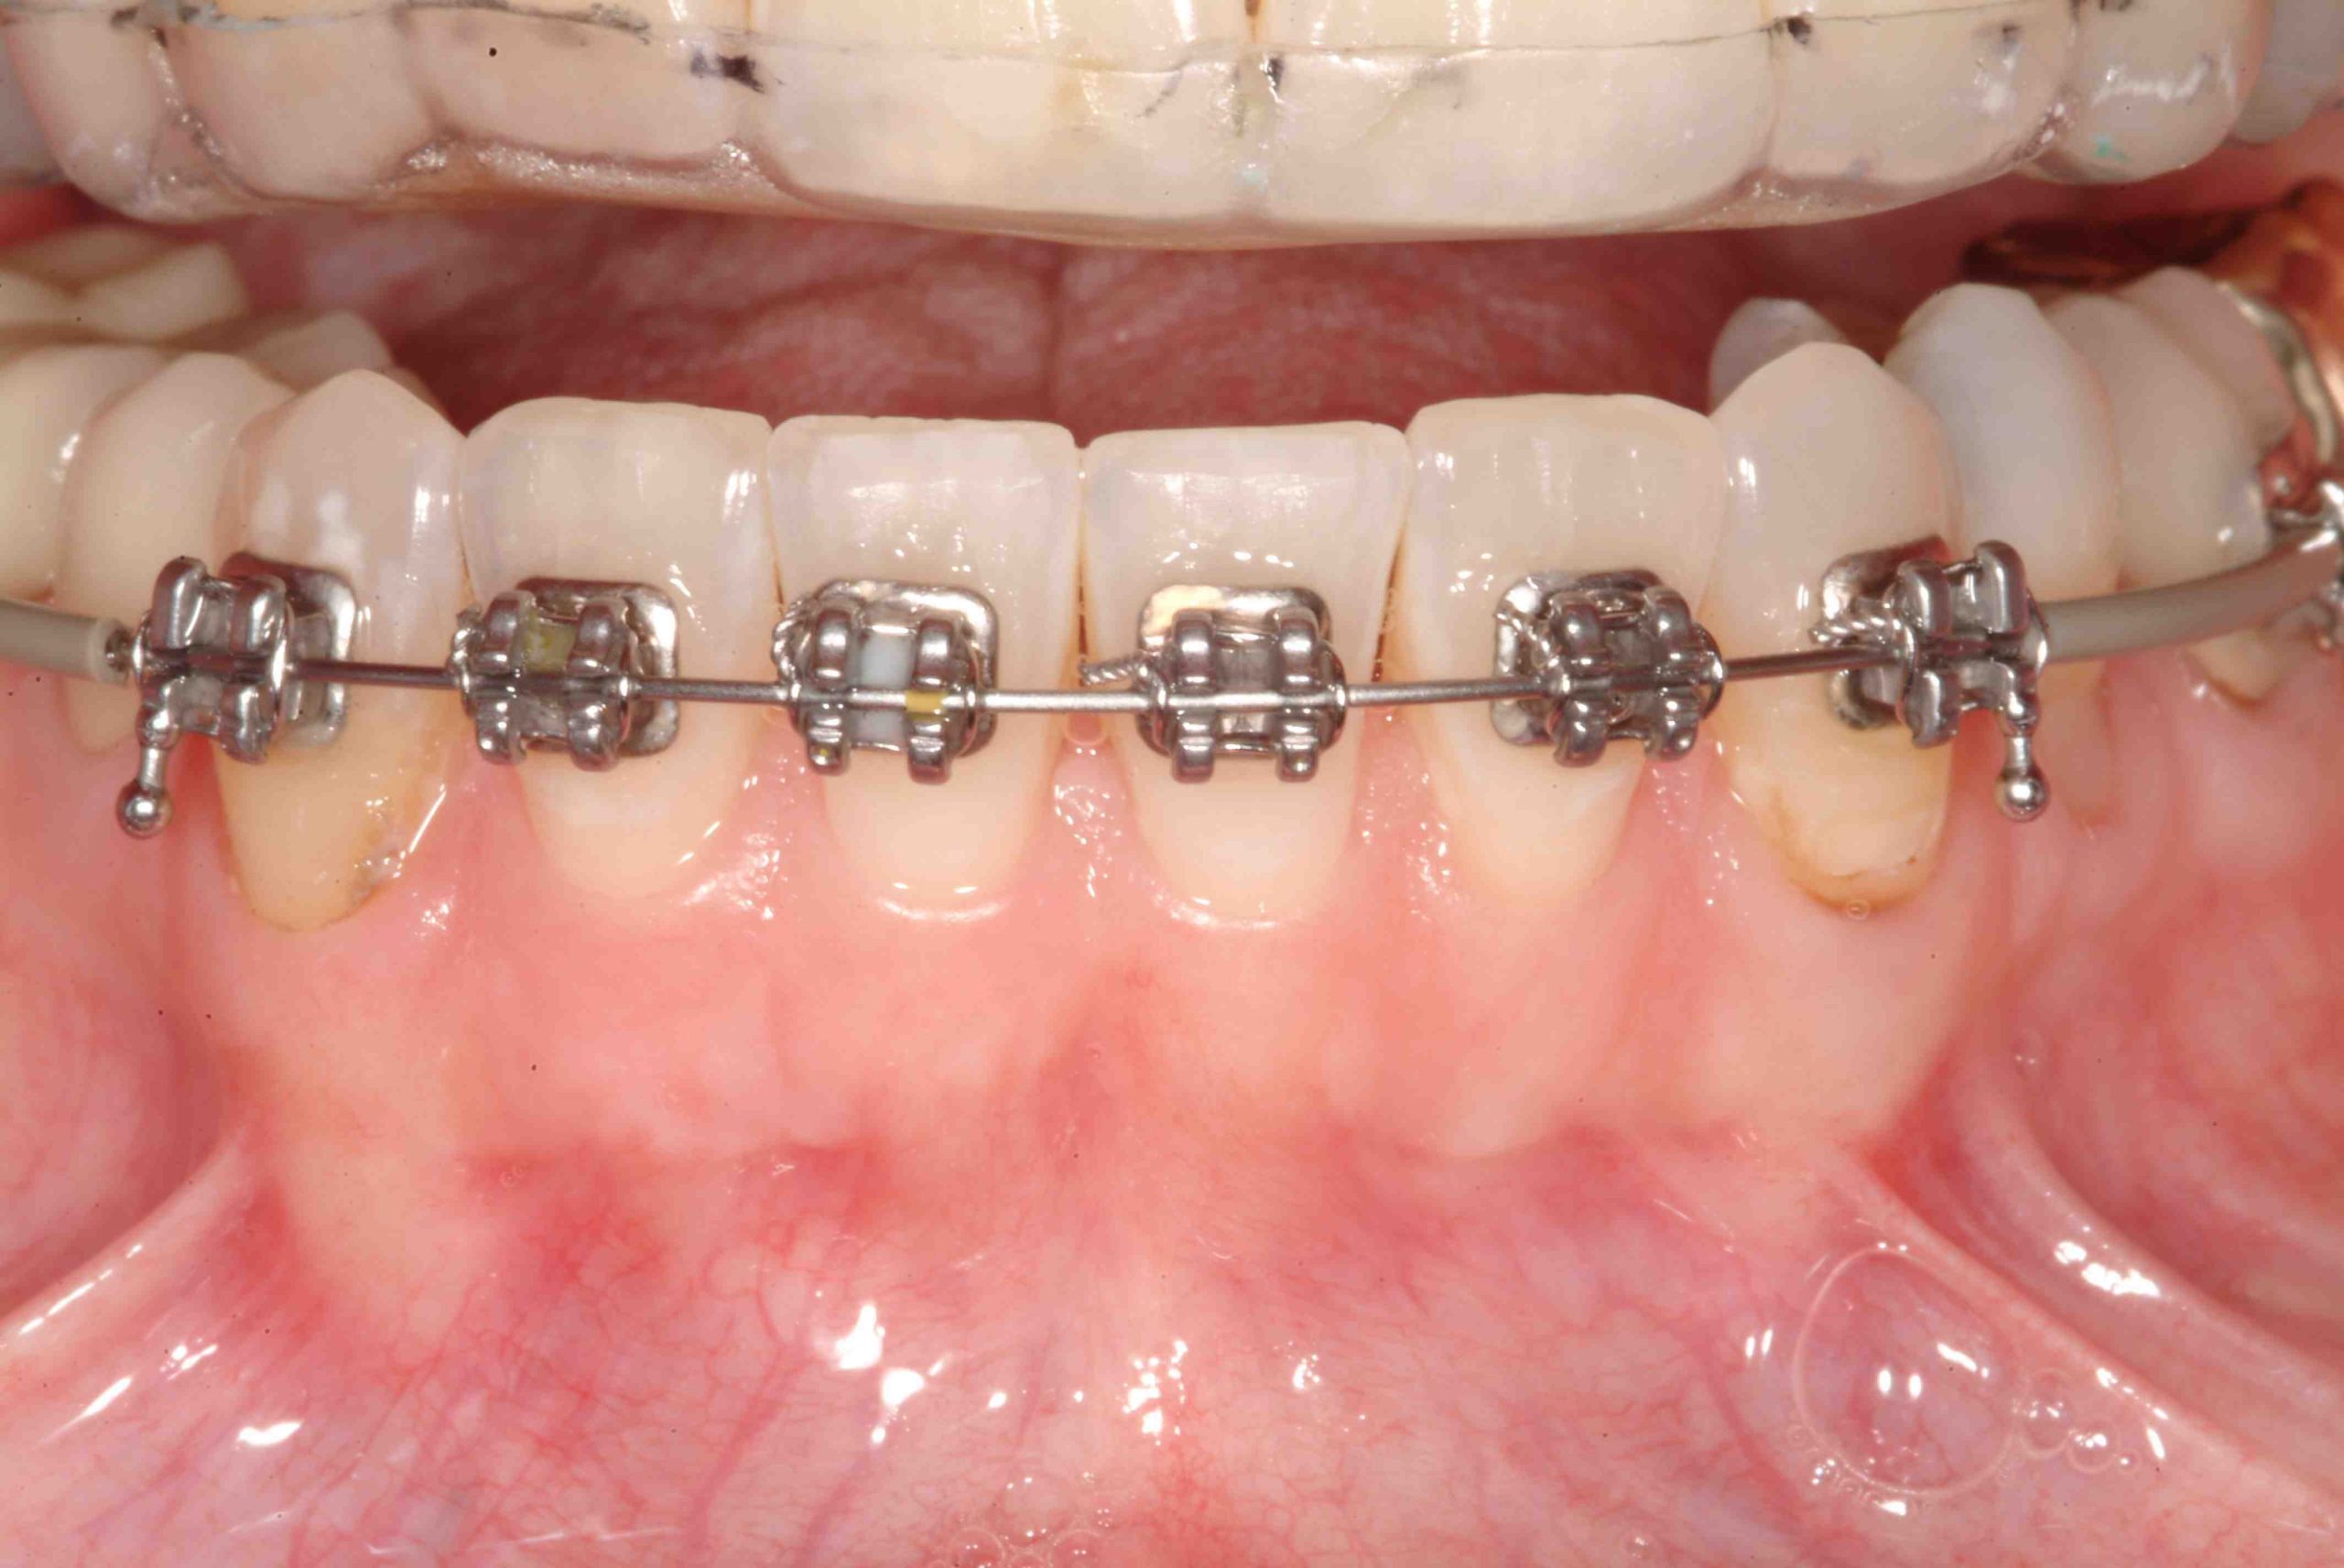
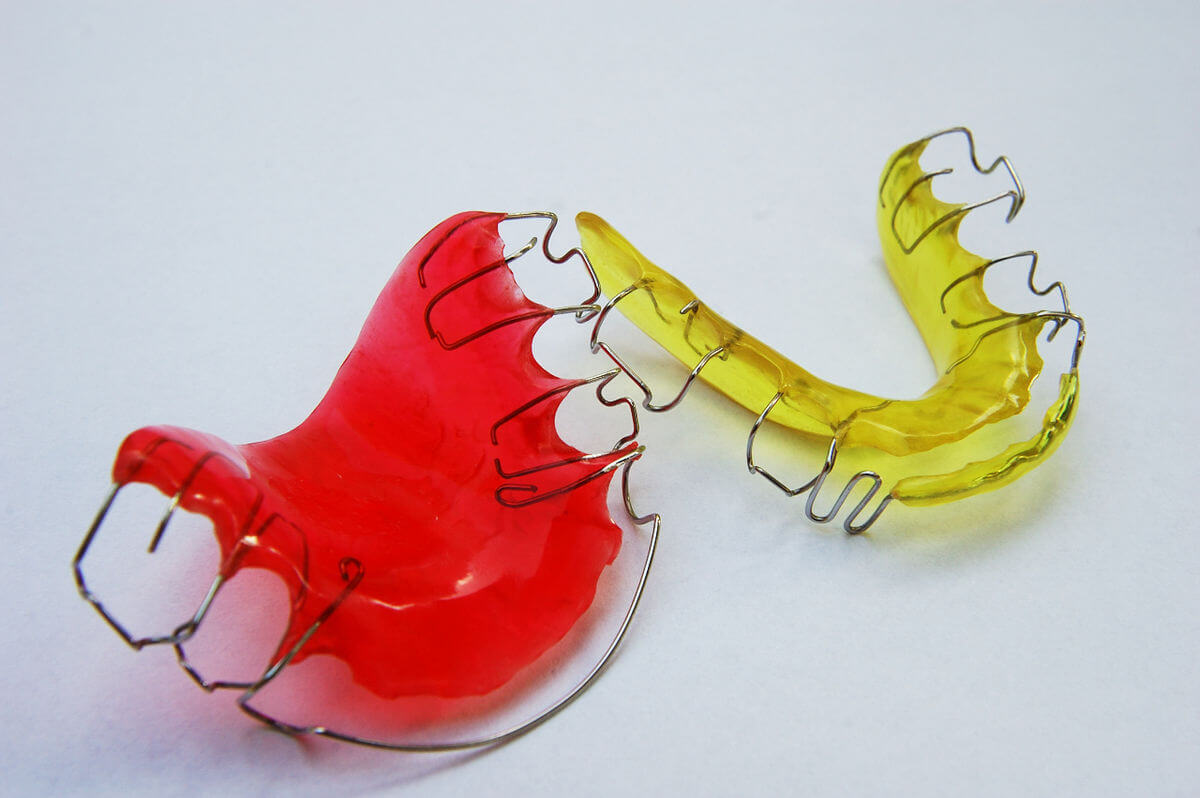
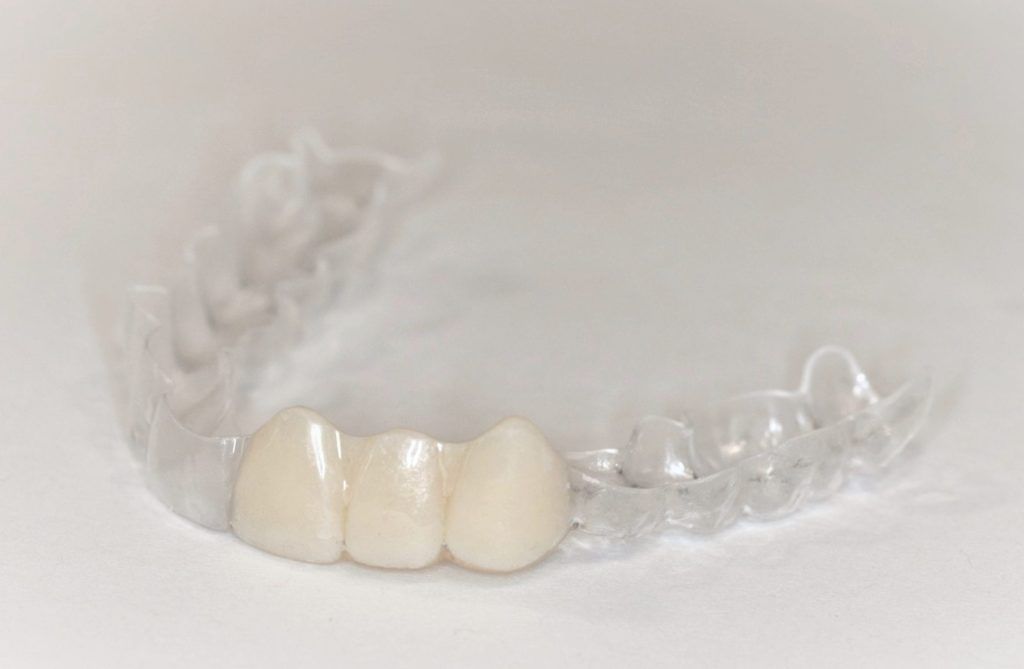
One of the most common ways that we temporize a patient who is having maxillary anterior implant dentistry is with an Essix retainer. Some patients will wear it 24 hours a day and others for less. Hopefully they are taking it out to rinse, brush, and floss, but the reality is they are wearing a removable device that covers all of the tooth surfaces for a lot of hours every day, and we’re increasing their risk of caries, decalcification, and gingivitis. 

In addition to discussing the normal oral hygiene to be done at home, in our practice, we typically dispense a product like Clinpro 5000 from 3M or MI Paste from GC America. These are high calcium and fluoride products that provide fluoride treatments inside the Essex retainer. 

  • If a patient is sleeping in the Essix, the instructions are to brush and floss the teeth and then use a toothbrush to spread a little bit of Clinpro or MI Paste on the inside of the retainer before going to sleep. 
  •  If they are not wearing the Essix during sleep, the instructions are the same but to wear the Essix for up to an hour every evening before removing it to go to sleep. 

If the patient’s caries risk is high, I prefer using 10% carbamide peroxide gel instead of Clinpro or MI Paste. This is the active ingredient we us in perio trays to help prevent gingivitis. This is also the means by which patients can whiten their teeth while wearing an Essix retainer. 

To prevent damage to the Essix, instruct patients to rinse it with cold water and, when not wearing it, to store it in the provided container.  

Related Course

Mastering Dental Photography: From Start to Finish

DATE: October 29 2026 @ 8:00 am - October 31 2026 @ 12:00 pm

Location: The Pankey Institute

CE HOURS: 19

Regular Tuition: $ 2995

Single Occupancy with Ensuite Private Bath (per night): $ 355

Dental photography is an indispensable tool for a high level practice. We will review camera set-up and what settings to use for each photo. All photos from diagnostic series, portraits,…

Learn More>
About Author

User Image
Lee Ann Brady

FIND A PANKEY DENTIST OR TECHNICIAN

I AM A
I AM INTERESTED IN

VIEW COURSE CALENDAR

Positioning Peg Laterals & Undersized Lateral Incisors for Optimal Aesthetics 

April 14, 2023 Lee Ann Brady DMD

When restoring peg laterals and laterals that are undersized, great goals are to optimize the final aesthetics and not have to do any tooth preparation prior to adding restorative material. In this blog, I’d like to discuss where we should have the orthodontist optimally position the laterals prior to restoration.

True Peg Laterals

In the case of a true peg lateral, I think of the tooth like I would an implant abutment. In my mind’s eye, I visualize the tooth as a fixture with an abutment on it.

When I talk with the orthodontist, I communicate that I want a minimum of 1 mm and a maximum of 1.5 mm of space between the mesial on the lateral incisor and the distal on the central incisor.

If there is excess space, it is going to be on the distal. We always hide excess space or insufficient space on the distal side of an upper anterior tooth. We always want to perfect the effect on the mesial so we achieve a perfect emergence profile.

And then I communicate that I want the labial of that peg lateral to be positioned about 1 mm to the lingual of where the final facial of the tooth position will be so that I can add material–composite or ceramic, without having to prep the tooth. This position is going to ideally position the free gingival margin of the tooth exactly where I want it based on the free gingival margin of the canine and central incisor. The CEJ is going to be placed exactly where I want the CEJ.

Undersized Lateral Incisors

Often, we have lateral incisors that are not true peg laterals. They’re just undersized lateral incisors. In this case, we must do a thought process about how much restorative material will be added and calibrate how much forward dimension will be added to the tooth. If I’m going to have .5 mm of material on the labial, then I will have the orthodontist position the tooth .5 mm lingually.

If the emergence profile is perfect, then the orthodontist should make it touch the central and all the added material will go on the distal. If not, then a little material will be added to the mesial and to the distal.

Often, for me, the process is thinking, “Where do I want to add restorative material and how much material do I want to add?” Then, I think about where to position the tooth in the space so I will not need to remove any of the tooth structure.

Related Course

E4: Posterior Reconstruction and Completing the Comprehensive Treatment Sequence

DATE: October 30 2025 @ 8:00 am - November 3 2025 @ 2:30 pm

Location: The Pankey Institute

CE HOURS: 44

Dentist Tuition: $ 7400

Single Occupancy with Ensuite Private Bath (per night): $ 345

The purpose of this course is to help you develop mastery with complex cases involving advanced restorative procedures, precise sequencing and interdisciplinary coordination. Building on the learning in Essentials Three…

Learn More>

About Author

User Image
Lee Ann Brady DMD

Dr. Lee Ann Brady is passionate about dentistry, her family and making a difference. She is a general dentist and owns a practice in Glendale, AZ limited to restorative dentistry. Lee’s passion for dental education began as a CE junkie herself, pursuing lots of advanced continuing education focused on Restorative and Occlusion. In 2005, she became a full time resident faculty member for The Pankey Institute, and was promoted to Clinical Director in 2006. Lee joined Spear Education as Executive VP of Education in the fall of 2008 to teach and coordinate the educational curriculum. In June of 2011, she left Spear Education, founded leeannbrady.com and joined the dental practice she now owns as an associate. Today, she teaches at dental meetings and study clubs both nationally and internationally, continues to write for dental journals and her website, sits on the editorial board of the Journal of Cosmetic Dentistry, Inside Dentistry and DentalTown Magazines and is the Director of Education for The Pankey Institute.

FIND A PANKEY DENTIST OR TECHNICIAN

I AM A
I AM INTERESTED IN

VIEW COURSE CALENDAR

Orthodontic Setups – A Great Planning Tool

June 18, 2021 Lee Ann Brady DMD

The more complex the dental treatment plan gets, the more challenging the process becomes. Adding in interdisciplinary care with multiple specialists adds another layer of complexity. We need to clearly plan our sections, and clearly communicate the outcomes we hope for from the other providers.

The Challenges

One of the challenges has been communicating to my orthodontist my visual for the results. The other challenge has been how to visualize tooth movement to optimize my restorative. What has helped me tremendously is doing an ortho setup as well as a restorative wax-up.

My Process

This is a process I use when planning complex cases involving orthodontic and restorative that has helped create clear expectations for everyone.

  1. I start my aesthetic treatment planning by drawing white shapes and lines on photographs of the teeth to determine the desired tooth proportions and gingival aesthetics. I’ve blogged about this before in these two articles: Tooth Proportion Aesthetic Ratio and Where the Pink Should Be. I also draw lines on photographs to determine the Anterior Segment Aesthetic Ratio.
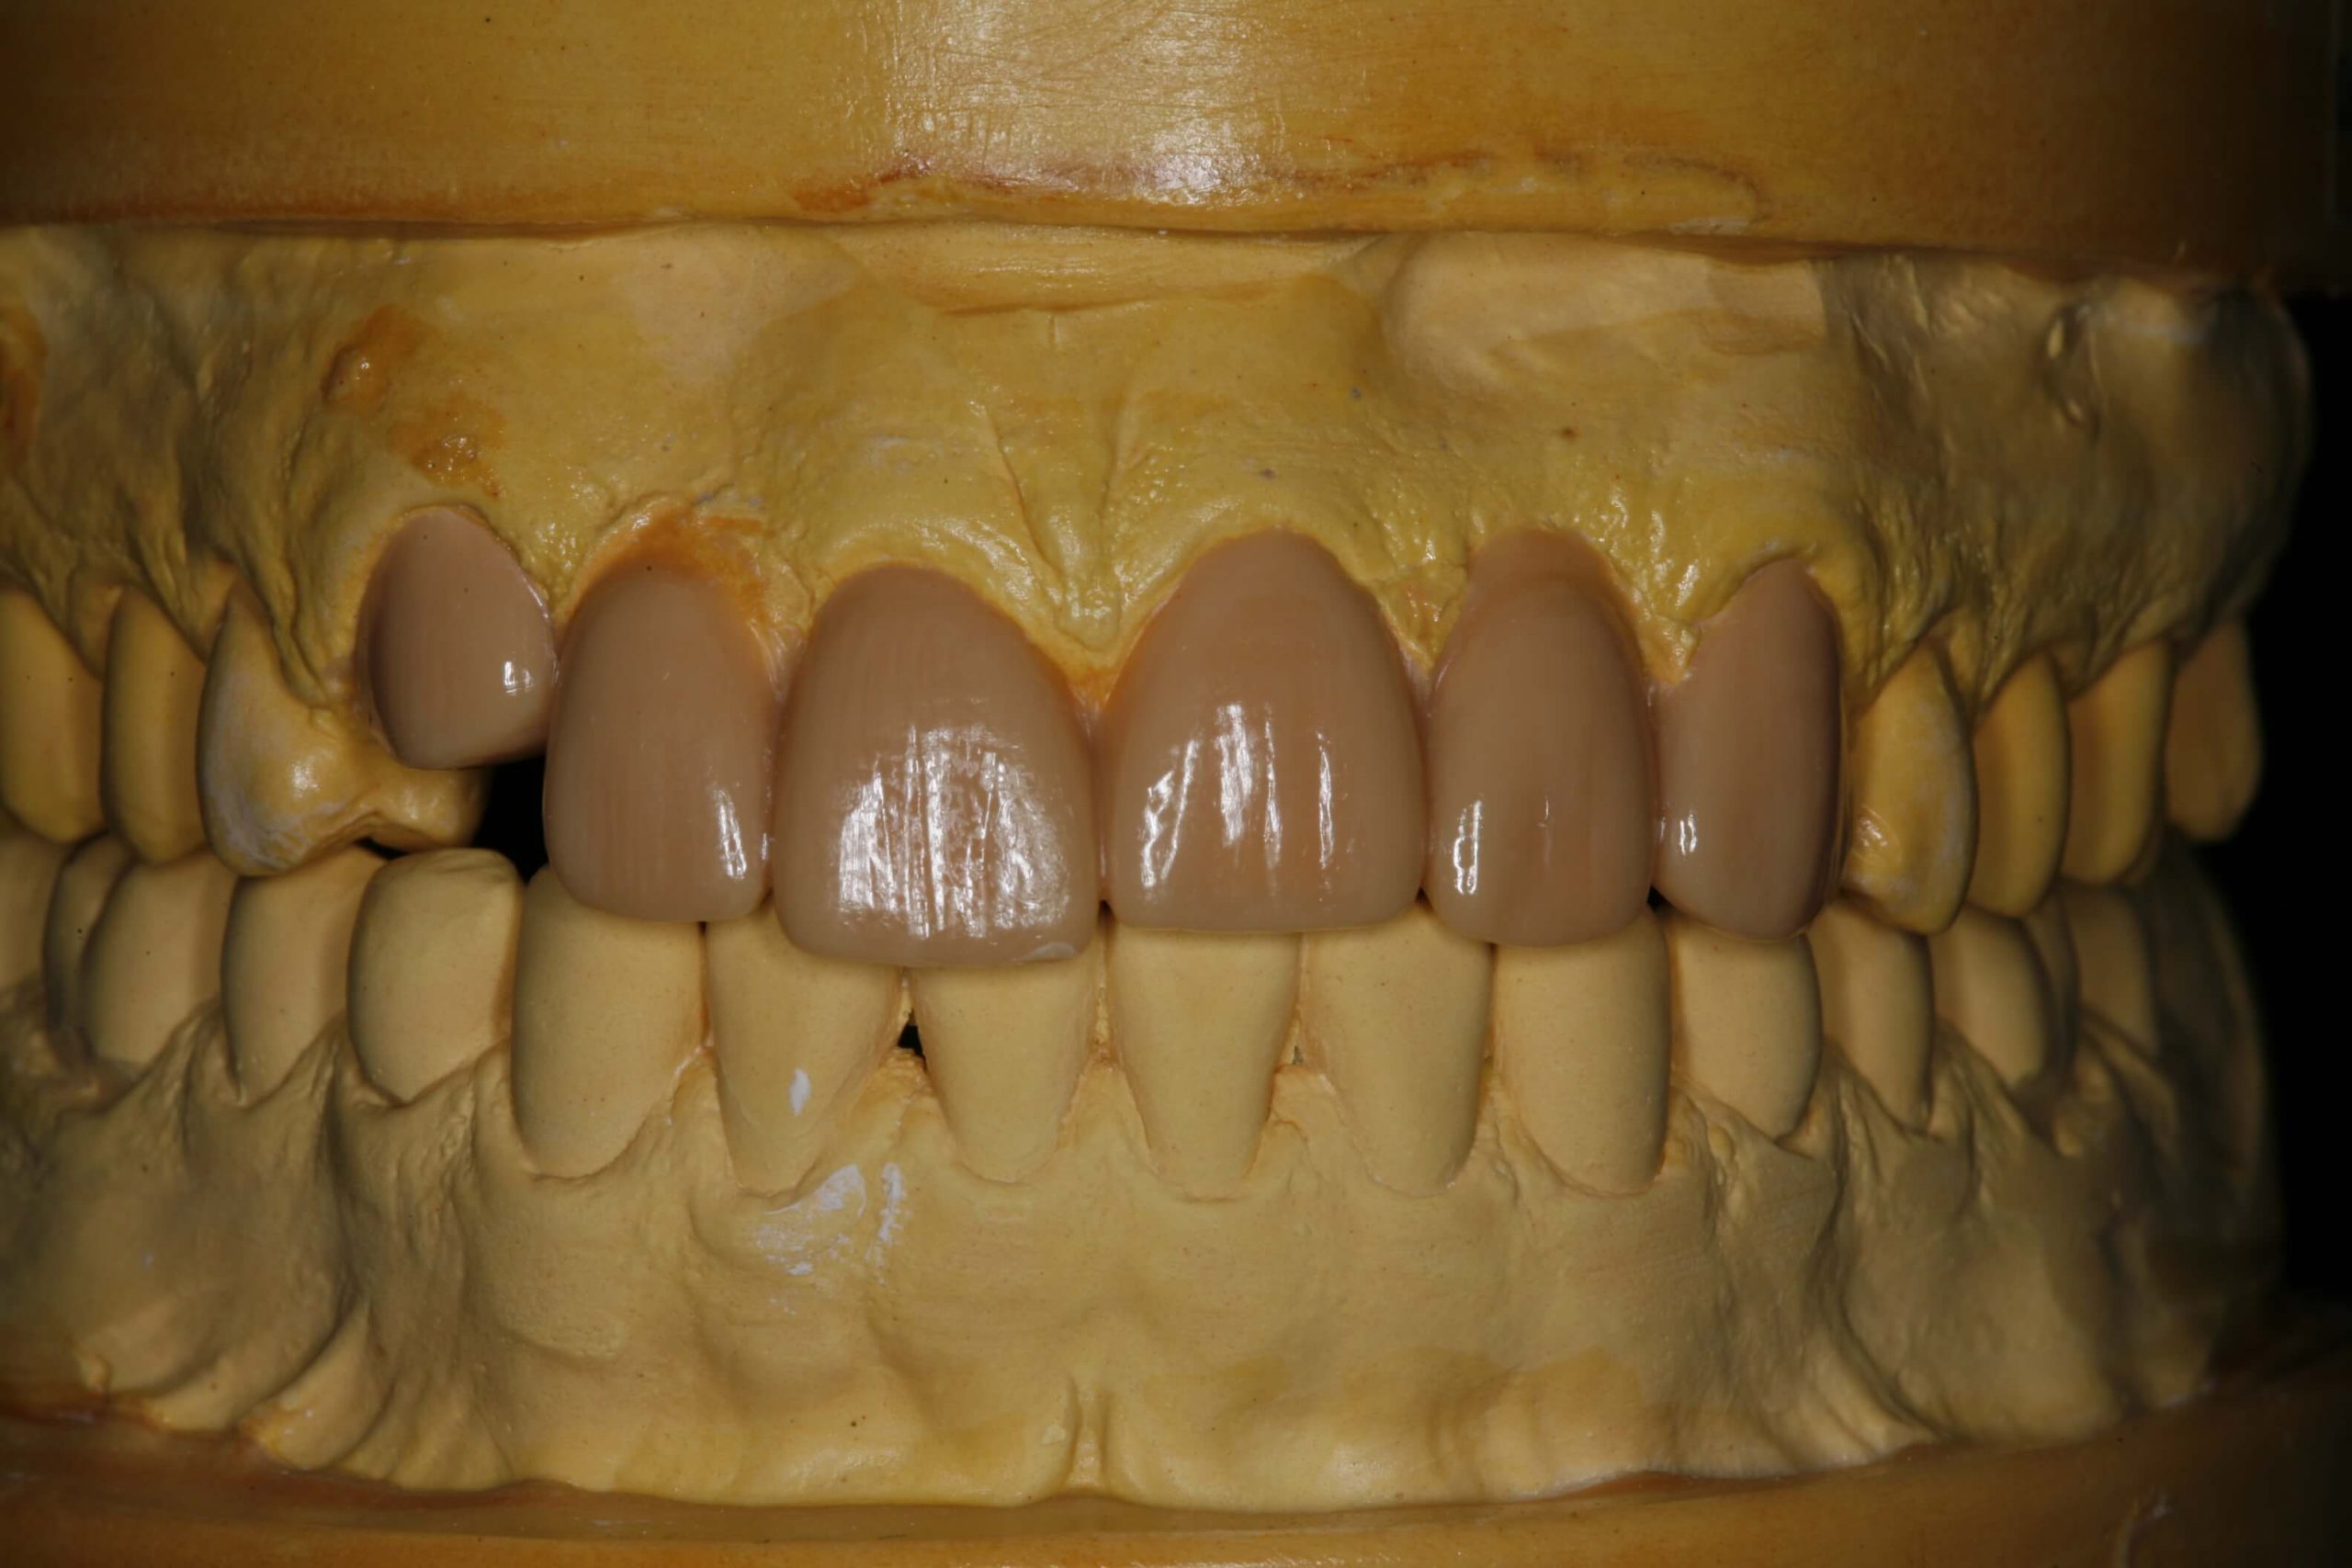
  2. When a complex restorative case involves orthodontics, I want a clear sense from my white lines of where I want the teeth moved so I can optimize my restorative. I will send a set of preoperative models to the laboratory and ask them to do an ortho setup. Multiple copies of the ortho setup allow us to move the teeth and do a restorative wax-up on the moved teeth. Once I examine the wax-up I decide if the teeth look the way I visualized they would. Do they have the right length to width ratios? Do they have all gingival margins in the right positions? If I were to just do a carved restorative wax-up, I wouldn’t understand if the tooth movement is helpful. If you are not familiar with ortho setups, I recommend reading this article from 2012.
  3. Once I have the teeth positioned in an ortho model the way I think will be best for my restorative, I send my orthodontist the model to communicate exactly where I want the teeth moved. The orthodontist provides feedback on what will be involved to get those movements. Based on that, I can balance the risks and benefits of alternative treatment plans and discuss with the orthodontist whether restorative treatment should occur at the very end of orthodontics or be done in phases during orthodontic treatment.

Related Course

E4: Posterior Reconstruction and Completing the Comprehensive Treatment Sequence

DATE: July 31 2025 @ 8:00 am - August 4 2025 @ 2:30 pm

Location: The Pankey Institute

CE HOURS: 44

Dentist Tuition: $ 7400

Single Occupancy with Ensuite Private Bath (per night): $ 345

The purpose of this course is to help you develop mastery with complex cases involving advanced restorative procedures, precise sequencing and interdisciplinary coordination. Building on the learning in Essentials Three…

Learn More>

About Author

User Image
Lee Ann Brady DMD

Dr. Lee Ann Brady is passionate about dentistry, her family and making a difference. She is a general dentist and owns a practice in Glendale, AZ limited to restorative dentistry. Lee’s passion for dental education began as a CE junkie herself, pursuing lots of advanced continuing education focused on Restorative and Occlusion. In 2005, she became a full time resident faculty member for The Pankey Institute, and was promoted to Clinical Director in 2006. Lee joined Spear Education as Executive VP of Education in the fall of 2008 to teach and coordinate the educational curriculum. In June of 2011, she left Spear Education, founded leeannbrady.com and joined the dental practice she now owns as an associate. Today, she teaches at dental meetings and study clubs both nationally and internationally, continues to write for dental journals and her website, sits on the editorial board of the Journal of Cosmetic Dentistry, Inside Dentistry and DentalTown Magazines and is the Director of Education for The Pankey Institute.

FIND A PANKEY DENTIST OR TECHNICIAN

I AM A
I AM INTERESTED IN

VIEW COURSE CALENDAR

Fixing the Failed Restoration: Treatment Planning

July 30, 2018 Lee Ann Brady DMD

Replacing a failed restoration starts with a careful examination of the patient’s needs, desires, and current oral health. My patient in this case presented with a six unit anterior bridge, decay, and many esthetic issues. After an esthetic evaluation and comprehensive exam, it was time to move on to treatment planning.

Failed Restoration: Treatment Plan

To treatment plan this case, I relied on an advanced facially-generated treatment planning system for communicating with the rest of the team. Communication is essential to a reliable outcome.

First, a diagnostic work-up was generated. Then, the interdisciplinary team together developed a final treatment plan and sequence, with the incisal edge position of the upper right central as reference.

We chose orthodontic extrusion of the upper teeth to handle proclination in the anterior and the gingival discrepancy. Additionally, we treatment panned the maxillary right canine for over-extrusion by 2 mm. This was done to achieve adequate restorative ferrule through crown lengthening, not to mention re-treatment endodontic therapy with post and core.

We talked about implant therapy, but ultimately it was not a workable solution. Root proximity on the upper right and the gingival tissues meant it wasn’t ideal as a first option. For the final treatment, we decided on placing a six unit anterior bridge. I then discussed the outcome with the patient and she decided conservative therapy for the posterior esthetics of direct composite veneers was best. This enabled us to create consistent contour and shade.

Next up was the lab, which made a pre-orthodontic wax-up based on periodontal surgery and planned tooth movement. I gave them the proper information by using PowerPoint and digital photography with the proposed tooth positions. After this, the post and core endodontic re-treatment was done for the upper right canine.

To be continued…

What’s your approach to treatment planning? 

Related Course

Worn Dentition: Direct & Indirect Adhesive Management Through a Non-Invasive Approach

DATE: October 24 2025 @ 8:00 am - October 25 2025 @ 2:30 pm

Location: The Pankey Institute

CE HOURS: 15

Dentist Tuition : $ 2595

Single Occupancy with Ensuite Private Bath (per night): $ 345

Enhance Restorative Outcomes The main goal of this course is to provide, indications and protocols to diagnose and treat severe worn dentition through a new no prep approach increasing the…

Learn More>

About Author

User Image
Lee Ann Brady DMD

Dr. Lee Ann Brady is passionate about dentistry, her family and making a difference. She is a general dentist and owns a practice in Glendale, AZ limited to restorative dentistry. Lee’s passion for dental education began as a CE junkie herself, pursuing lots of advanced continuing education focused on Restorative and Occlusion. In 2005, she became a full time resident faculty member for The Pankey Institute, and was promoted to Clinical Director in 2006. Lee joined Spear Education as Executive VP of Education in the fall of 2008 to teach and coordinate the educational curriculum. In June of 2011, she left Spear Education, founded leeannbrady.com and joined the dental practice she now owns as an associate. Today, she teaches at dental meetings and study clubs both nationally and internationally, continues to write for dental journals and her website, sits on the editorial board of the Journal of Cosmetic Dentistry, Inside Dentistry and DentalTown Magazines and is the Director of Education for The Pankey Institute.

FIND A PANKEY DENTIST OR TECHNICIAN

I AM A
I AM INTERESTED IN

VIEW COURSE CALENDAR

Pankey Bite Stop Centric Relation Record

February 3, 2018 Jeff Baggett DDS

Taking a centric relation record with a Pankey Bite Stop can be simple and straightforward. Gather your tools and use these five steps to achieve success:

Five Steps of Taking a Centric Relation Record

1. Try-In: Evaluate the patient’s lower incisal plane for evenness. Try the Pankey Bite Stop on the upper teeth and have the patient close. Move the stop left or right to get an even contact between the most level area of the lower incisal edges.  

2. Preparing the Bite Stop: Squirt Futar-D Polyvinylsiloxane bite registration (regular set) into the underside of the Pankey Bite Stop. Reposition it onto the maxillary anterior teeth as done in step 1. Again, the goal is to position it in such a way as to capture two lower incisal edges that are as level as possible. They should also touch the upper occlusal surface of the record as parallel to each other as possible.   

Have the patient close to touch the bite stop and hold it until the Futar-D registration material is set firm (at least 45 seconds). As it is setting, you can have the patient quickly open once to wipe any excess registration material that has come out around the sides. This is so it does NOT go down past the incisal plane of the bite stop or catch any incisor on a protrusive movement. Have the patient close back down on the record lightly and hold until the registration material sets up.

3. Full Record: Now that the anterior Pankey Bite Stop is stable, in a very calm tone instruct the patient to slide their lower jaw forward, backward, and squeeze. Every 15 seconds, repeat this process. I will often go check on a hygiene patient and leave them to continue this movement as we are deprogramming muscles. 

Next, insert accufilm articulation paper (red side up) and have the patient slide forward and backward. Flip the articulation paper over and instruct the patient to bite in the very back position with the black side up. These posterior occlusal marks will be your reference points to check as you verify your record in the mouth.   

Dry the maxillary teeth with a 2×2 gauze. Squirt new Futar-D regular set polyvinylsiloxane material starting with the posterior teeth on both sides. The goal is to cover both the lingual and buccal cusps. This registers the lower buccal and lingual cusps for an accurate, stable record.

4. Trimming the Record: Beforehand, go to Home Depot/Lowes. Get a 1.5 inch drum sander and some fine sandpaper that fits on the drum. The sander will fit in your quick change lathe for gross trimming of the record. After gross trimming, go back with your E cutter lab carbide burs and fine-tune trim the record so only flat planes are left. There should be no grooves or sharp areas. 

5. Mounting Your Models: Once the record is properly trimmed and your accurate diagnostic models are properly groomed, place the records on the models. The records should sit passively and not lift off. If they do lift off the stone, go back and look for discrepancies in the record and the models. You are now ready to mount the models on a semi-adjustable articulator.

Pankey Bite Stops are available at the L.D.Pankey Resource center. Call 1-800-4-Pankey and ask for Mark Collis.

Related Course

E3: Restorative Integration of Form & Function

DATE: January 12 2025 @ 8:00 am - January 16 2025 @ 2:30 pm

Location: The Pankey Institute

CE HOURS: 41

Dentist Tuition: $ 7400

Single Occupancy with Ensuite Private Bath (per night): $ 345

THIS COURSE IS SOLD OUT Understanding that “form follows function” is critical for knowing how to blend what looks good with what predictably functions well. E3 is the phase of…

Learn More>

About Author

User Image
Jeff Baggett DDS

Dr. Jeff D. Baggett attended Oklahoma State University where he received his undergraduate degree and attended professional school at the University of Oklahoma College of Dentistry. After obtaining his Doctorate of Dental Surgery degree, Dr. Baggett received postgraduate training at the L.D. Pankey Institute, recognized worldwide for its excellence in advanced technical dentistry. He was accredited as a Pankey Scholar. Practicing for over 30 years, Dr. Baggett is also a visiting faculty member at the L.D. Pankey Institute. He lectures various dental study clubs and dental meetings. He is a guest speaker of the Victim's Impact Panel Against Drunk Driving. A published author, Dr. Baggett wrote sections in the book Photoshop CS3 and PowerPoint 2007 for the Dental Professional. Dr. Baggett is also the team dentist for the Oklahoma City Thunder with his partner, Dr. Lembke. An esteemed member of the dental community, Dr. Baggett is a member of many professional organizations including the American Dental Association, the Oklahoma Dental Association, the Oklahoma County Dental Society, the Southwest Academy of Restorative Dentistry, the McGarry Study Club, the University Oklahoma College of Dentistry Alumni Association and the Oklahoma State University Alumni Association. He also served on the Board of Directors of the Oklahoma County Dental Society.

FIND A PANKEY DENTIST OR TECHNICIAN

I AM A
I AM INTERESTED IN

VIEW COURSE CALENDAR

Case Report: Ceramic Veneers & Invisalign Part Two

January 3, 2018 Mike Crete DDS

This is part 2 in a series where Dr. Mike Crete describes an conservative esthetic case where he combined Invisalign and veneers.  Part one looks at helping the patient become aware of the possibilities. Read on for the conclusion.

A Smile Dialogue

… All of this conversation took place in about 5 minutes at the end of the patient’s initial hygiene examination. I then invited him to return for a ‘complimentary smile analysis’ appointment where I would take a series of digital photos and then sit down with him and talk about what we could do to improve his smile.   

I find I can build trust and credibility with a new patient by offering to see them for this complimentary appointment. It only takes about 20 minutes and I typically ‘convert’ the patient to a records appointment (comprehensive exam, X-rays, and mounted study models).

The records appointment was scheduled. More co-discovery revealed how significant Drew’s self-esteem was impacted by his smile and his ‘baby face and baby teeth.’ The records appointment was followed by a diagnostic wax up (or a “3D Design” as I like to call it when talking to patients).

Then a consultation was done to review treatment options. This was a formal case presentation using Powerpoint, photos, and mounted models. Drew’s mother sat in on the consultation appointment.

By having accurately mounted study models on a semi-adjustable articulator, I was able to determine I could give Drew an ideal occlusion AND a pleasing smile. This would involve some minor tooth movement using Invisalign for 6 months and then restoring his upper and lower anterior teeth with conservative porcelain veneers. His posterior teeth were equilibrated during the restorative process. Also, an upper bite guard was fabricated for nighttime wear and added protection of the restorations.  

Drew graduated from college approximately 18 months after I first met him. He completed an internship during his final semester and then was hired by the Fortune 500 company immediately following graduation. He recently got married and said to me, “After I had my teeth done everything in my life started to fall into place. I graduated, got a great job, and met the love of my life. Thanks, doc.”  

Changing a smile and changing a life. It’s being able to impact the lives of others in this way that makes it so rewarding to practice dentistry!  

Related Course

E2: Occlusal Appliances & Equilibration

DATE: May 3 2026 @ 8:00 am - May 7 2026 @ 2:30 pm

Location: The Pankey Institute

CE HOURS: 44

Dentist Tuition: $ 7500

Single Occupancy with Ensuite Private Bath (per night): $ 355

What if you had one tool that increased comprehensive case acceptance, managed patients with moderate to high functional risk, verified centric relation and treated signs and symptoms of TMD? Appliance…

Learn More>

About Author

User Image
Mike Crete DDS

Dr. Mike Crete lives and practices in Grand Rapids, MI. He graduated from the University of Michigan dental school over 30 years ago. He has always been an avid learner and dedicated to advanced continuing education., After completing the entire curriculum at The Pankey Institute, Mike returned to join the visiting faculty. Mike is an active member of the Pankey Board of Directors, teaches in essentials one and runs two local Pankey Learning Groups in Grand Rapids.

FIND A PANKEY DENTIST OR TECHNICIAN

I AM A
I AM INTERESTED IN

VIEW COURSE CALENDAR

Top 5 Clinical and Career Tips of 2017 for Dentists

December 31, 2017 Pankey Gram

The end of 2017 is wrapping up a solid year of incredible dental blogs from our talented Pankey contributors. Our posts featured everything from techniques for occlusion and orthodontics to practice management and leadership.

There are tons of useful tips and plenty of information for dentists at every stage of their career on the Pankey Gram. Here, we’re compiling five pieces of sound advice from blogs in 2017 that are sure to get you excited for another year of practicing dentistry your way.

As Pankey dentists, we continue to strive for greater learning and growth in our professional and personal lives. Revitalize your hunger for education with these thought-provoking tips:

5 Clinical Tips From 2017 Pankey Blogs

1. Consider physiologic changes that occur over a lifetime when planning restorative dentistry.

In his blog on ‘Adult Growth of the Dental Arch,’ Dr. Roger Solow explored the slow craniofacial growth that can affect dentistry throughout a patient’s life.

2. Set splint therapy fees in such a way that you can actually make money off them.

In his blog, ‘How to Set Splint Therapy Fees,’ Dr. James Otten described how to individualize splint therapy fees and more accurately estimate therapeutic time.

3. Think like an orthodontist when advising patients on post-ortho care.

In her blog, ‘How Long Should Patients Wear Their Retainers Post-Ortho?’, Dr. Lee Ann Brady laid out important considerations for dealing with questions about retainers.

4. Recognize when patients are in denial and practice empathy toward them.

In her blog on communication, ‘From Denial to Acceptance and Action,’ Mary Osborne RDH enlightened with a description of patient denial in dentistry.

5. Improve you protocol for restorations by adding another dental assistant.

In his blog, ‘6-Handed Bonding,’ Dr. Mike Crete made his case for why an extra dental assistant can benefit dentists dealing with adhesive dentistry and tricky restorations.

And there you have it folks. Best wishes for 2018! 

Related Course

E2: Occlusal Appliances & Equilibration

DATE: August 10 2025 @ 8:00 am - August 14 2025 @ 2:30 pm

Location: The Pankey Institute

CE HOURS: 44

Dentist Tuition: $ 7400

Single Occupancy with Ensuite Private Bath (per night): $ 345

What if you had one tool that increased comprehensive case acceptance, managed patients with moderate to high functional risk, verified centric relation and treated signs and symptoms of TMD? Appliance…

Learn More>

About Author

User Image
Pankey Gram

FIND A PANKEY DENTIST OR TECHNICIAN

I AM A
I AM INTERESTED IN

VIEW COURSE CALENDAR

Retention & Orthodontic Treatment

August 28, 2017 Lee Ann Brady DMD

How Understanding Orthodontic Treatment Can Improve Your General Care

The question of what to tell patients when they ask, ‘How long do I need to wear my retainer?’ is a conundrum on many fronts. First of all, we aren’t the orthodontist! But more than that, we have to look at things from the orthodontist’s perspective before we can decide on the best answer.

In my last blog on this topic, I went into more detail about why answering this patient question is so tricky. I also outlined five questions only an orthodontist can answer that lead to a better general understanding of retention after orthodontic treatment. Below, I give the answer to the first:

What is the Orthodontist’s Responsibility With Regard to Retention After Orthodontic Treatment?

Most orthodontists have a protocol for how they manage retention. This is why general dentists should discuss the specific protocol of orthodontists they refer to with those orthodontists. One way of doing this is to ask, “How much is management of retention included in the treatment fee?” and “What about after that?”

Protocols usually have a clearly defined endpoint to treatment. This includes how long they expect to monitor retention. An example of this is an orthodontist who includes 2 years of retainer checks in their treatment fee. Orthodontists might then ensure their patients are aware that the fee includes a defined period of supervised retention after treatment. In this case, monitoring retention after the fact incurs an additional fee.

Because orthodontists usually recommend long-term retention, ideally they would make patients aware of the cost (both in time and money) of maintenance care. Unfortunately, most orthodontists may not stress the importance of retention at the beginning of treatment and most don’t want to have a long-term relationships with their patients. Their business model is based on case starts, whereas a general dentist’s business model is based on life-long recall and dental maintenance.

It’s somewhat unlikely to find an orthodontist who actively encourages patients to return long after treatment ends. This is perfectly fine because patients like it that way. Orthodontists might want to discuss their retention protocol with you and referred patients (before treatment) because they have a vested interest in the maintenance of treatment results. The patient is a compelling advertisement for their skills as long as the quality of the work is retained. On the other hand, it isn’t always possible for the patient to see the orthodontist again and vice versa due to long distance moves or retirement.

In short, get to know the orthodontist(s) you refer to so that you can better understand what patients expect of retention maintenance after orthodontic treatment.

Do you find it valuable to see things from the perspective of doctors you refer to? We’d love to hear your thoughts in the comments!

Related Course

E2: Occlusal Appliances & Equilibration

DATE: March 27 2026 @ 8:00 am - March 31 2026 @ 2:30 pm

Location: The Pankey Institute

CE HOURS: 44

Dentist Tuition: $ 7500

Single Occupancy with Ensuite Private Bath (per night): $ 355

What if you had one tool that increased comprehensive case acceptance, managed patients with moderate to high functional risk, verified centric relation and treated signs and symptoms of TMD? Appliance…

Learn More>

About Author

User Image
Lee Ann Brady DMD

Dr. Lee Ann Brady is passionate about dentistry, her family and making a difference. She is a general dentist and owns a practice in Glendale, AZ limited to restorative dentistry. Lee’s passion for dental education began as a CE junkie herself, pursuing lots of advanced continuing education focused on Restorative and Occlusion. In 2005, she became a full time resident faculty member for The Pankey Institute, and was promoted to Clinical Director in 2006. Lee joined Spear Education as Executive VP of Education in the fall of 2008 to teach and coordinate the educational curriculum. In June of 2011, she left Spear Education, founded leeannbrady.com and joined the dental practice she now owns as an associate. Today, she teaches at dental meetings and study clubs both nationally and internationally, continues to write for dental journals and her website, sits on the editorial board of the Journal of Cosmetic Dentistry, Inside Dentistry and DentalTown Magazines and is the Director of Education for The Pankey Institute.

FIND A PANKEY DENTIST OR TECHNICIAN

I AM A
I AM INTERESTED IN

VIEW COURSE CALENDAR

How Long Should Patients Wear Their Retainers Post-Ortho?

August 5, 2017 Lee Ann Brady DMD

Patients tend to want to spend as little time as possible in their retainers after orthodontic treatment. It’s common in my practice for patients to ask me how long they have to wear them, with the implicit understanding that an extended time period is undesirable.

As dentists, we don’t want to give the patient bad news, but we also want to ensure they receive the best healthcare possible. In this case, we can benefit most from looking at the question with an orthodontist’s perspective.

Though there isn’t a ‘right’ answer, we can find one that will serve our purposes best.

Why You Need a Strategy for Dealing With Questions About Retainers

I dislike questions about retainers because there isn’t a simple answer. It makes me uncomfortable when patients ask. For one thing, practicing dentistry has shown me the evidence that relapse occurs after ortho.

Patients will ask about retainers immediately at the end of their Invisalign trays or even years later when they still have a lingual wire. Instead of speculating about how to respond, I’d like to consult with an expert.

The short answer to orthodontic retention is that it’s never OK for patients to stop wearing retainers. But clearly this is not going to be satisfactory for many patients.

The long answer requires us to ask orthodontists:

  1. What with regard to retention is the orthodontist responsible for?
  2. When does their responsibility end?
  3. What do I do if I have a patient whose orthodontist cannot or will not see them for retention?
  4. Should I be responsible for a patient’s retention?
  5. If so, what should I know about retainers?

It’s likely we will have to deal with patients curious about their retainers. This means we should have a strategy in place to answer their questions.

Look for the next blog with answers to these questions soon … How do you respond to patients in this tricky situation? Please let us know your thoughts in the comments!

Related Course

Pankey Scholar 15A

DATE: January 16 2025 @ 6:00 pm - January 18 2025 @ 3:00 pm

Location: The Pankey Institute

CE HOURS: 0

Dentist Tuition: $ 3495

Single Occupancy with Ensuite Private Bath (per night): $ 345

“A Pankey Scholar is one who has demonstrated a commitment to apply the principles, practices and philosophy they learned through their journey at The Pankey Institute.”   At its core,…

Learn More>

About Author

User Image
Lee Ann Brady DMD

Dr. Lee Ann Brady is passionate about dentistry, her family and making a difference. She is a general dentist and owns a practice in Glendale, AZ limited to restorative dentistry. Lee’s passion for dental education began as a CE junkie herself, pursuing lots of advanced continuing education focused on Restorative and Occlusion. In 2005, she became a full time resident faculty member for The Pankey Institute, and was promoted to Clinical Director in 2006. Lee joined Spear Education as Executive VP of Education in the fall of 2008 to teach and coordinate the educational curriculum. In June of 2011, she left Spear Education, founded leeannbrady.com and joined the dental practice she now owns as an associate. Today, she teaches at dental meetings and study clubs both nationally and internationally, continues to write for dental journals and her website, sits on the editorial board of the Journal of Cosmetic Dentistry, Inside Dentistry and DentalTown Magazines and is the Director of Education for The Pankey Institute.

FIND A PANKEY DENTIST OR TECHNICIAN

I AM A
I AM INTERESTED IN

VIEW COURSE CALENDAR