Using Digital Technology to Create an Analog Smile Mock-Up with Your Patient
Today we move between the digital and the analog world to accomplish the goals of aesthetic dentistry. A mock-up is a key tool in helping patients want aesthetic dentistry and visualizing what the changes will accomplish.
Lots of us have learned from masters like Dr. Susan Hollar how to hand-lay composite on the patient’s teeth so the patient can see their possible new smile. This trial smile technique is a fabulous way to motivate patients. It’s also a great way for us to learn what might be possible.
For many dentists, that technique is not natural for us, and it takes chair time. Another way we can model possible changes is through digital technology. In our office, we are using digital smile design as follows.
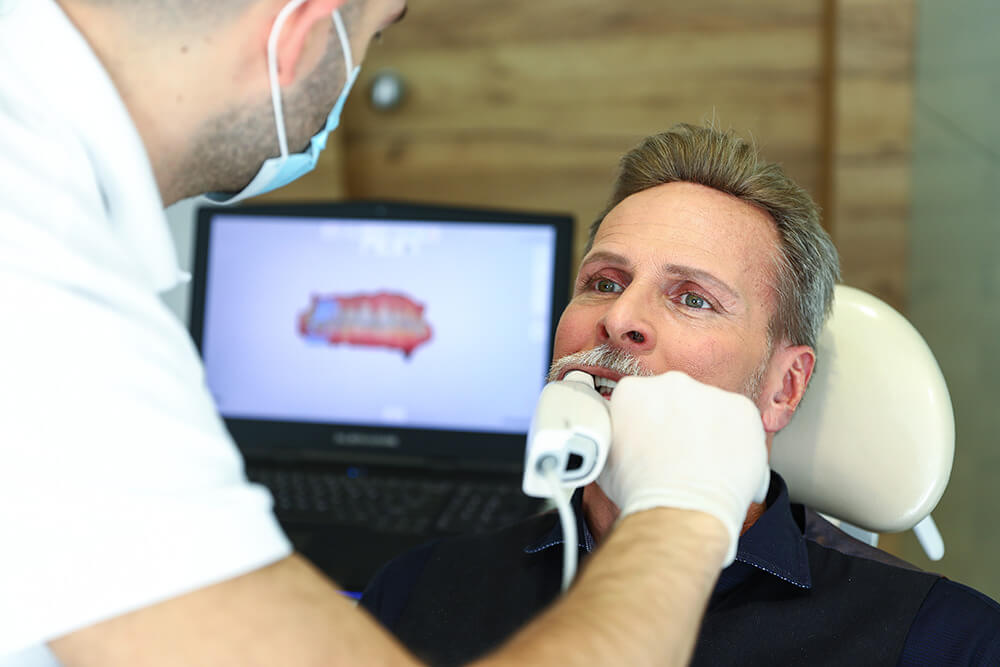
1. We do our initial records, which includes facial photos and an intraoral scan using our digital impressions intraoral scanning system.
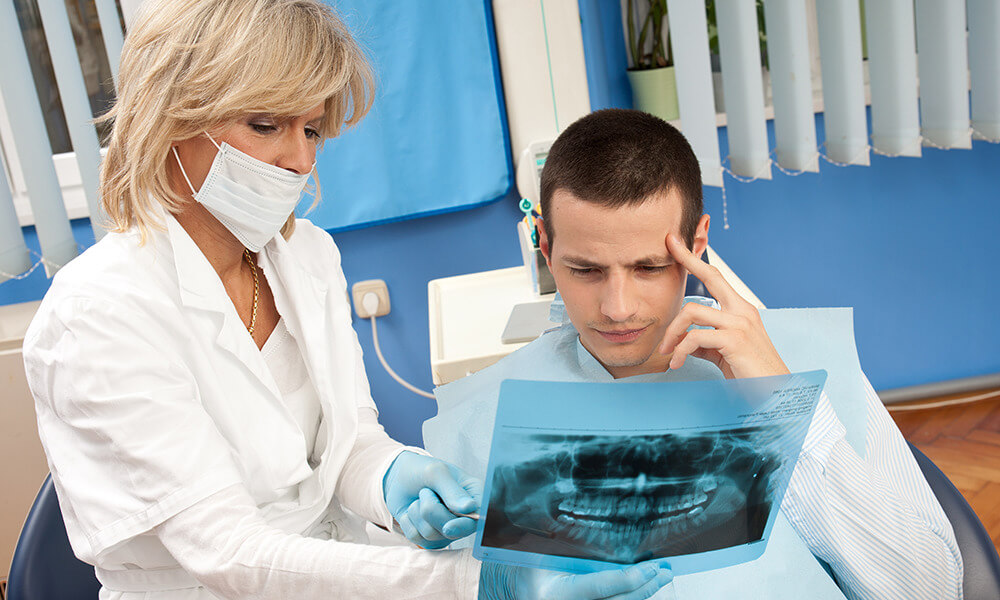
2. Either on the software in our office or at the lab, a 3-D version can be designed of what the new smile approximately could look like.This doesn’t have to be a definitive wax-up. Remember, we call it a diagnostic work-up. In fact, this is oftentimes where we discover the need for gingival changes and/or orthodontic procedures in order to achieve the desired outcome. I find this extremely helpful in communicating with the patient as I can show them what the compromised outcome would be if they choose not to correct the gingival levels or align the teeth if that is in fact appropriate.
We’ve learned it is very efficient to collaborate with the lab, the lab creates the 3-D design, and the lab emails us the STL digital file of the design. Alternatively, the lab can send printed models, matrices, or even milled/printed PMMA shells of the design.
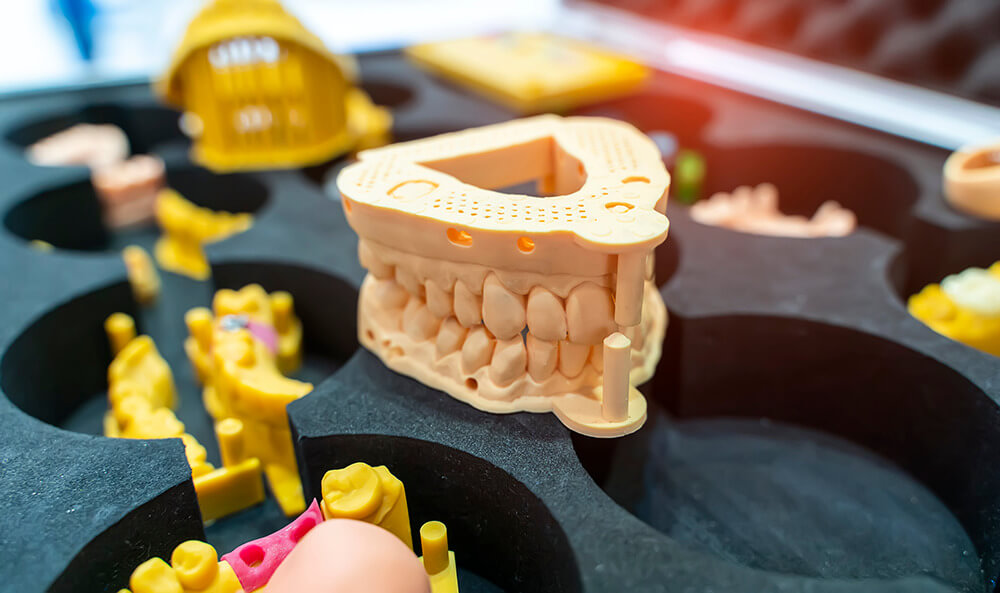
3. On the 3-D printer in our office, we print the model from the STL file.
4. We make a matrix from that, either in a suck down material or a putty matrix, and we take that to the mouth, fill it with our temporary material (usually bisacryl), and seat it right onto the teeth.
5. After letting it set, removing the matrix, and peeling off excess material, the patient is wearing their trial smile. This last step takes all of two minutes.
Using this process enables us to do the lab work between appointments, and when the patient returns, they can very quickly preview the possibilities.
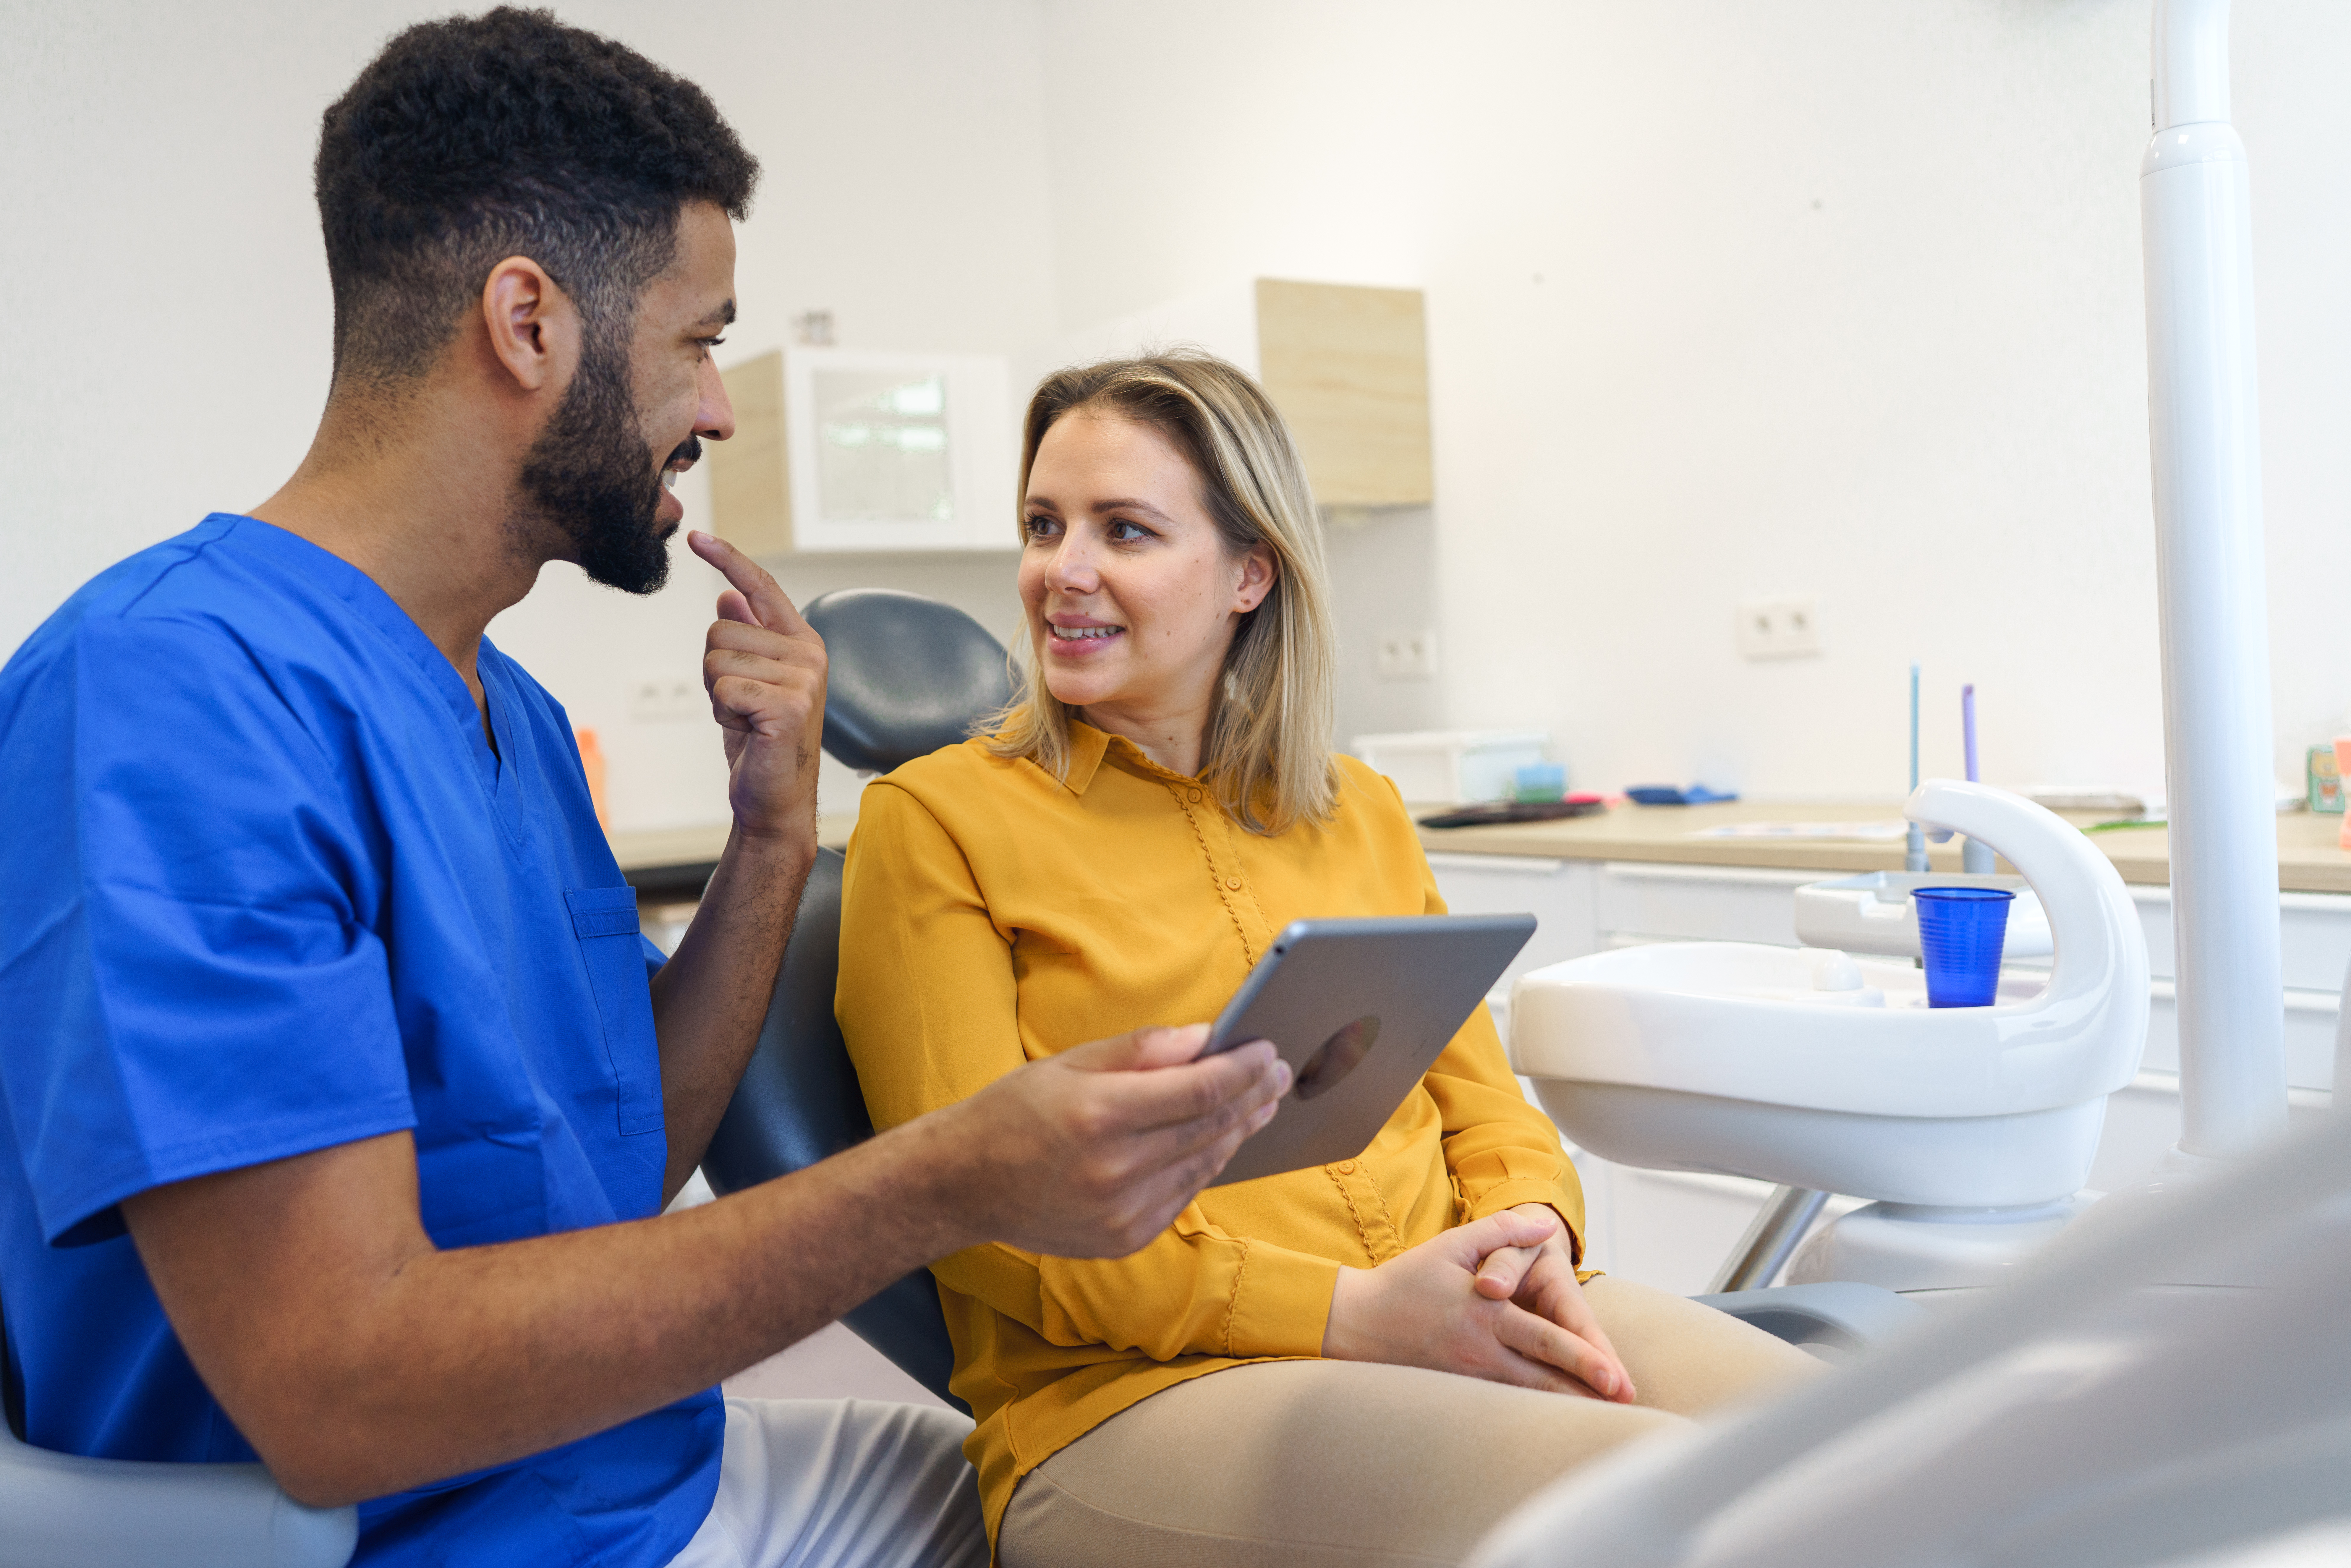
It is a wonderful communication tool, because the patient can look in their own mouth, not at a picture of someone else, not at pictures of other shapes of teeth, and say, “I like that,” or “I thought they would be shorter (longer, fatter, narrower…).” You can go in with your handpiece and reshape the temporary material or add material with flowable to make something more pronounced.
Patient participation in the tweaking of the design draws the patient into deeper engagement with and commitment to the smile they want. Now, we can scan the corrected and approved trial smile while it is in their mouth and take photos to send to the lab to help them as we move into the definitive design phase, including working out the occlusion and function.
Related Course
E4: Posterior Reconstruction and Completing the Comprehensive Treatment Sequence
DATE: February 26 2026 @ 8:00 am - March 2 2026 @ 2:30 pmLocation: The Pankey Institute
CE HOURS: 44
Dentist Tuition: $ 7500
Single Occupancy with Ensuite Private Bath (per night): $ 355
The purpose of this course is to help you develop mastery with complex cases involving advanced restorative procedures, precise sequencing and interdisciplinary coordination. Building on the learning in Essentials Three…
Learn More>
