Digital Bite Splints: Part 1
The future of dentistry is here: digital bite splints. I’ve used bite splint therapy in my practice successfully for years. I was comfortable with my preferred traditional process until I learned I could work more efficiently and more accurately with the latest technology.
There is no reason to fear implementation of a digital workflow in your practice. In this two part series, I’m going to lay out the reasons why I’ve chosen to switch to digital bite splints for goals like protecting teeth and restorations, deprogramming muscles, and treating TMD.
They’re the productivity solution you didn’t realize you needed.
Less Effective Splint Fabrication Methods
My past process for fabricating occlusal splints (bite splints) was traditional. It included making records, alginate impressions, facebow, mounting, and several bite records (protrusive and centric). We would design and fabricate with cold cure acrylic that we would make by hand, then adjust and modify as needed.
That process works great, which is why most dentists use it. Alternately, some dentists send them off to the lab and have the same process done, possibly in a cured acrylic. But the outstanding process we have transitioned to in my practice is a completely digital designed and fabricated bite splint.
Why I Love the Digital Bite Splint Fabrication Process
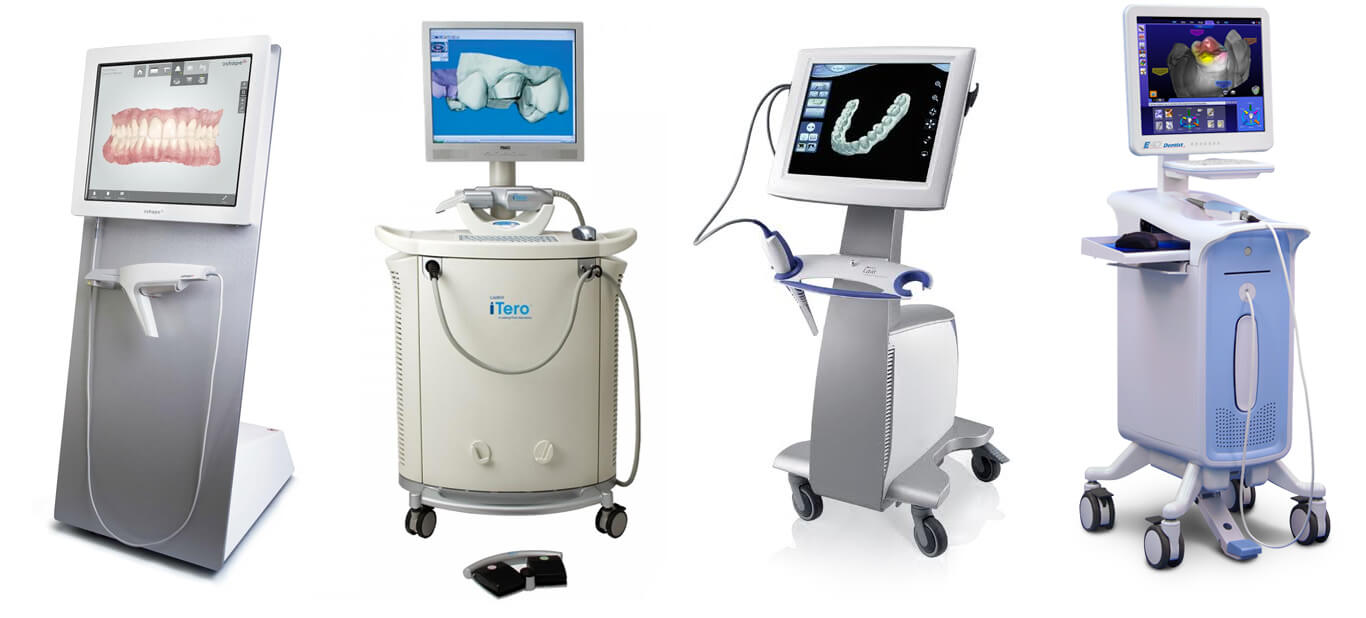
The first step for a digital bite splint is to do an intraoral scan of the patient’s dentition. Any scanner can be used. We then send the scans to a restorative lab, where a software package specifically made for appliance design is utilized. The lab designs the appliances to our specifications and then they are milled out of a solid block of acrylic. This leads to an amazingly dense result that polishes unbelievably well.
The fit is incredible because we can get such an accurate scan with no distortion. With an impression, we usually have distortion of the alginate, distortion of the stone, or distortion of the acrylic as it sets, which is why we have to reline them. I have only had to reline two CAD/CAM designed and milled splints since we’ve been doing them. These bite splints are easy to adjust and it’s easy to read the dots on them. They just drop right in with almost no adjustment needed.
You can also dial in the retention on the software, so we’ve played with it a little bit to figure out what we want in terms of retention. We’ve got it just about right where they’re not too loose and not too tight. They have a nice snug fit that’s stable and retentive enough, but doesn’t squeeze the teeth too much.
Keep your eye out for Part 2 of this digital bite splint blog series. Next week, I’ll describe how we play with different occlusal schemes and work with the lab on customization in real time.
What advancements in dental technology are you hesitant to implement in your practice and why? We’d love to hear your thoughts in the comments!
Related Course
Pankey Scholar 15B
DATE: September 4 2025 @ 6:00 pm - September 6 2025 @ 3:00 pmLocation: The Pankey Institute
CE HOURS: 0
Dentist Tuition: $ 3495
Single Occupancy with Ensuite Private Bath (per night): $ 345
“A Pankey Scholar is one who has demonstrated a commitment to apply the principles, practices and philosophy they learned through their journey at The Pankey Institute.” At its core,…
Learn More>


What labs have you had success with? I use our digital workflow as much as possible, but I end up making acrylic splints on our digital models for these large cases
Currently I am having them milled by Mike Roberts (Matt Roberts son) at CMR Dental Lab in Idaho Falls, ID. I have spent some time out there with him looking at splint design and what I want to see in my splints. It is still a work in progress. I’m not sure if he is geared up for mass production yet, but I think he would welcome another client.
We are toying with printed splints, but the material is not yet FDA approved.